Follow
The snow is falling and who knows how much snow we will end up with. The forecast calls for anywhere between 10 to 16 inches! We have been very fortunate this winter and most storms have missed us, but not this one! This area is known to lose power during storms and high winds, so I wanted to make sure that I had things I could heat up on the wood stove. We have had extremely high winds the past couple of days with no power loss – so hoping that is a good sign, but better to be prepared.
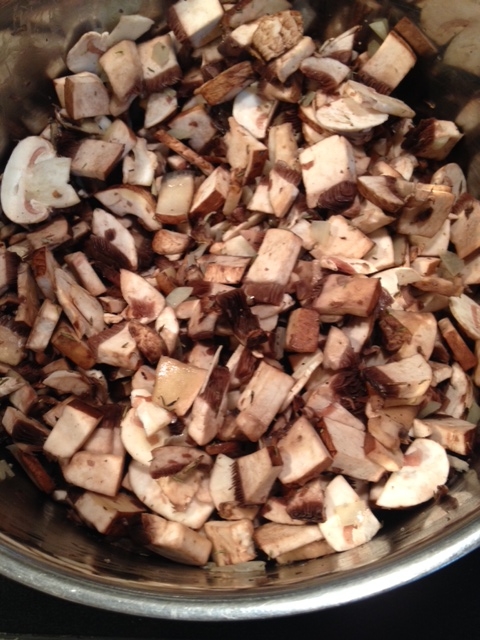
I made this soup with canned diced tomatoes, so I will try and translate it as close as possible to store bought items as I can. This soup is forgiving so a little extra or less of something I don’t think will make a huge difference!
I came up with idea as I was thinking about how much Stella had been wanting my 7 ingredient tomato basil soup and since basil is not in season, what could I use instead. The light bulb went off – I have basil pesto cubes in the freezer!
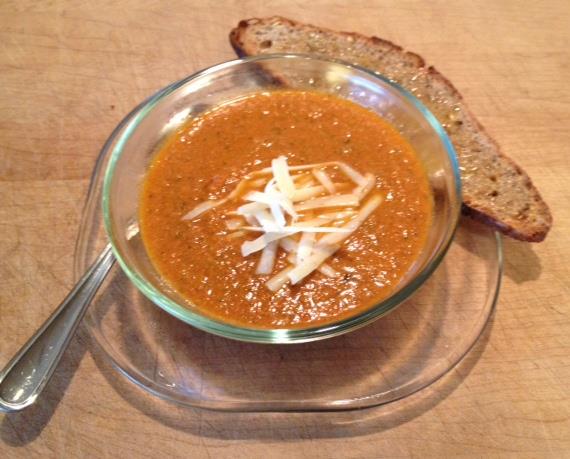
Tomato Basil Pesto Soup
Ingredients
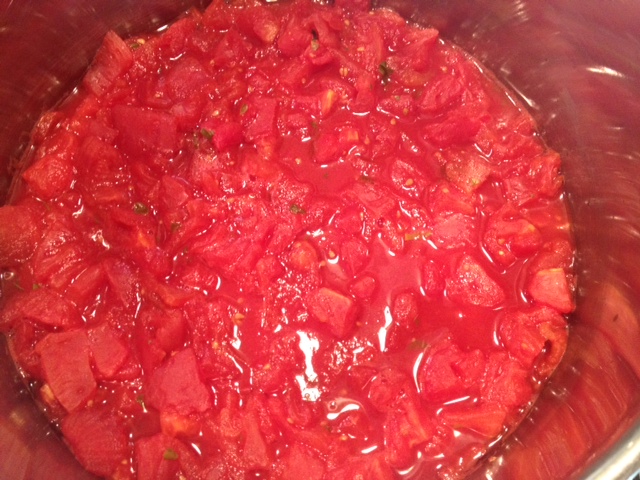
8 – 10 cups canned diced tomato with juice (you could use canned stewed or diced tomatoes)
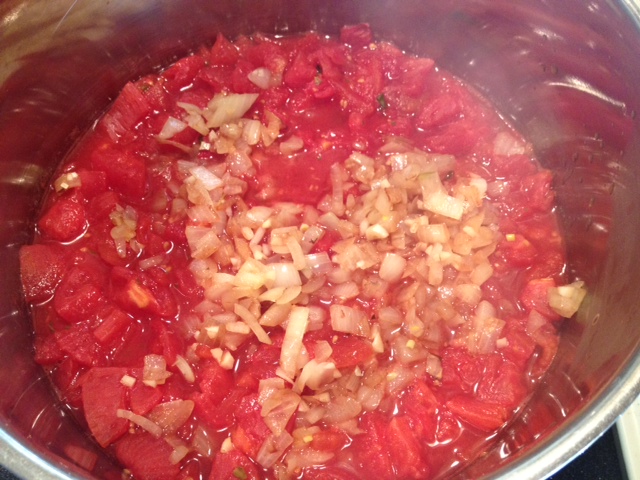
1 medium sized onion, diced
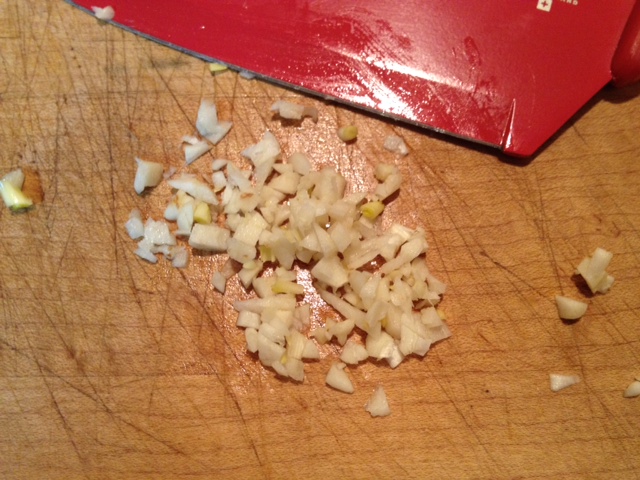
2 – 3 cloves of garlic, diced
2 Tbl lard, coconut oil or olive oil
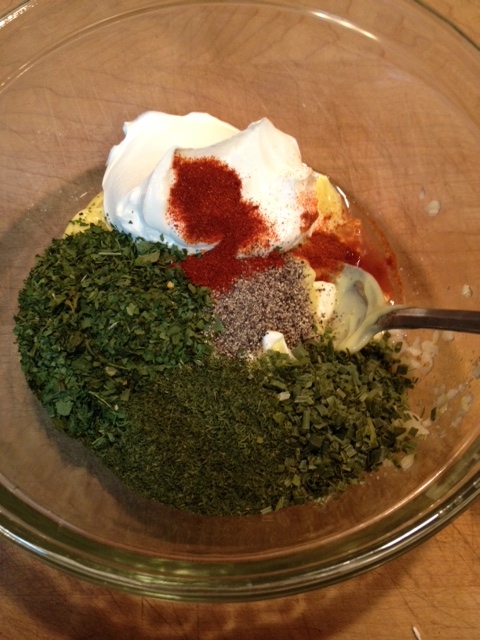
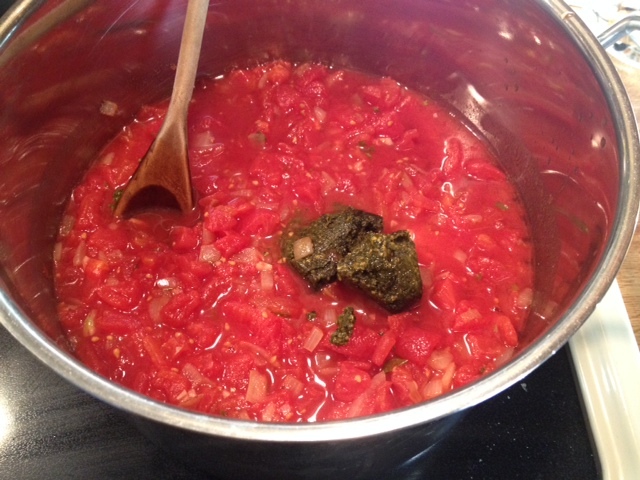
4 – 6 Tbl basil pesto
1/4 – 1/2 cup cream or half and half (optional, but recommended)
Broth
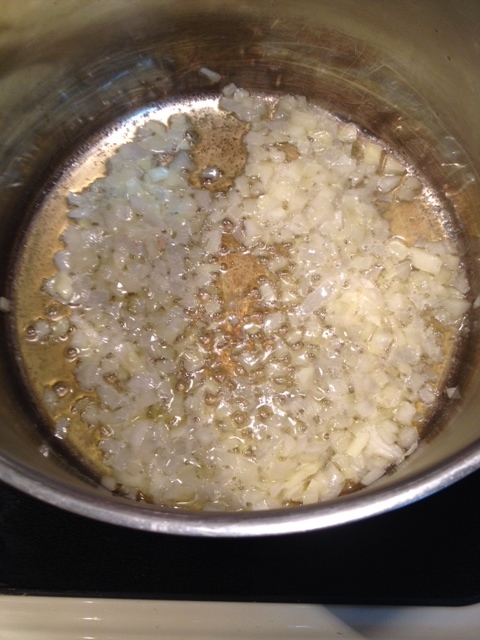
1. Dice your onion and garlic and allow to sit for at least 10 minutes.
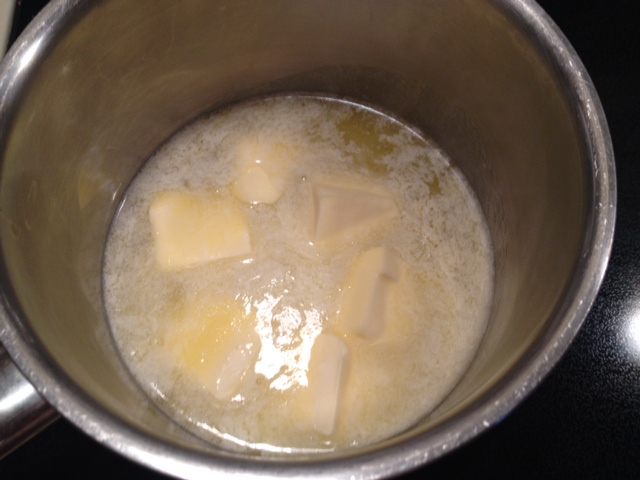
2. Heat lard, coconut oil or olive oil in a large soup pot. Add onions and saute for about 5 minutes, add the garlic and saute for another 2 – 3 minutes.
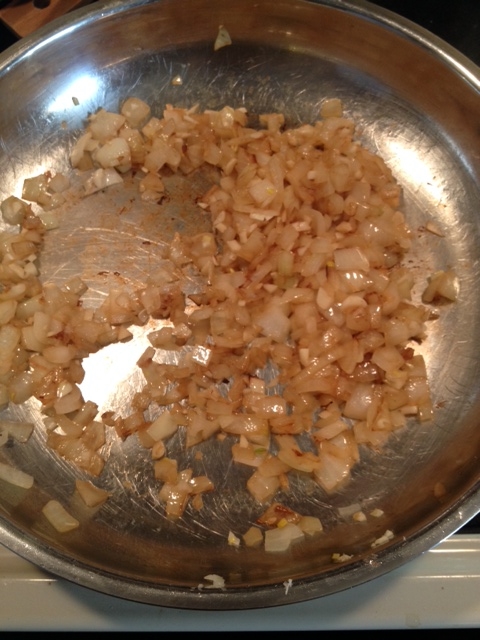
3. Add the tomatoes to the pot. (Ok – my pictures show cooking the onions and garlic in a pan and adding them to soup pot. I got ahead of myself and poured the tomatoes into the soup pot, not thinking!)
4. Add the pesto, stir and let the soup simmer for 2-0 – 30 minutes. You really want the flavors to mix together.

5. If the soup is too thick you can add some warm broth. I had enough liquid and did not have to add any broth.
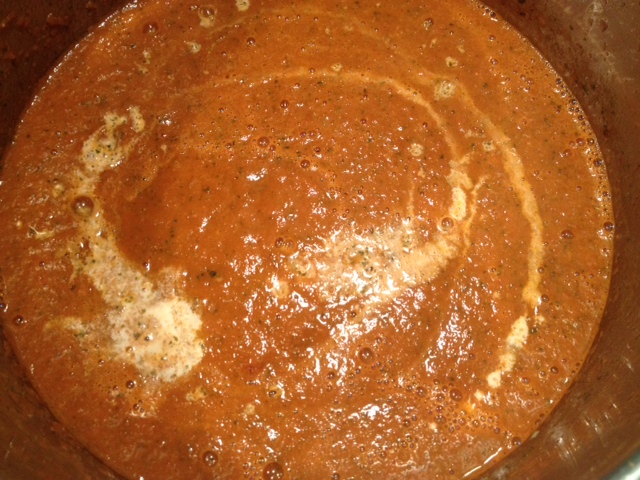
6. Using a stick blender or blender puree the soup.


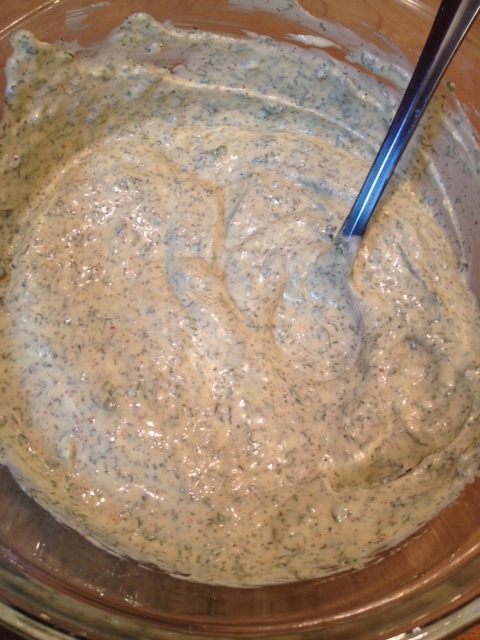
7. Add the cream or half and half to the soup, blend and serve.
I had Stella taste the final soup and she immediately asked for a bowl and then seconds! Glad I make a big batch!
 Copyright secured by Digiprove © 2015