
 Follow
It has been almost a year since I had a bathroom put in downstairs and until this past weekend it was just the sheet rock! I knew what I wanted to do, had the paint and the tissue paper, but for some reason I thought it would be a much bigger project than it turned out to be. I also thought that I would not be able to do it and had a friend, who is a painter, and say she would come over and help – BUT … our schedules were hard to coordinate. So this past weekend I took the plunge, had my friend give me some pointers, and then off to painting.
I prepped everything, got my painting clothes on, turned on some upbeat music and off I went. Stella thanked me afterwards for painting the bathroom (and yes she did help some). Why did she thank me you ask? She has been wanting to move to the downstairs bedroom and one of the parameters that was put on the move was that the bathroom had to be done before she made it hers.
I really liked the way it turned out and I think it adds a lot to such a small bathroom instead of just smooth walls.
Tissue Paper Painting
Items Needed
Paint
Brushes
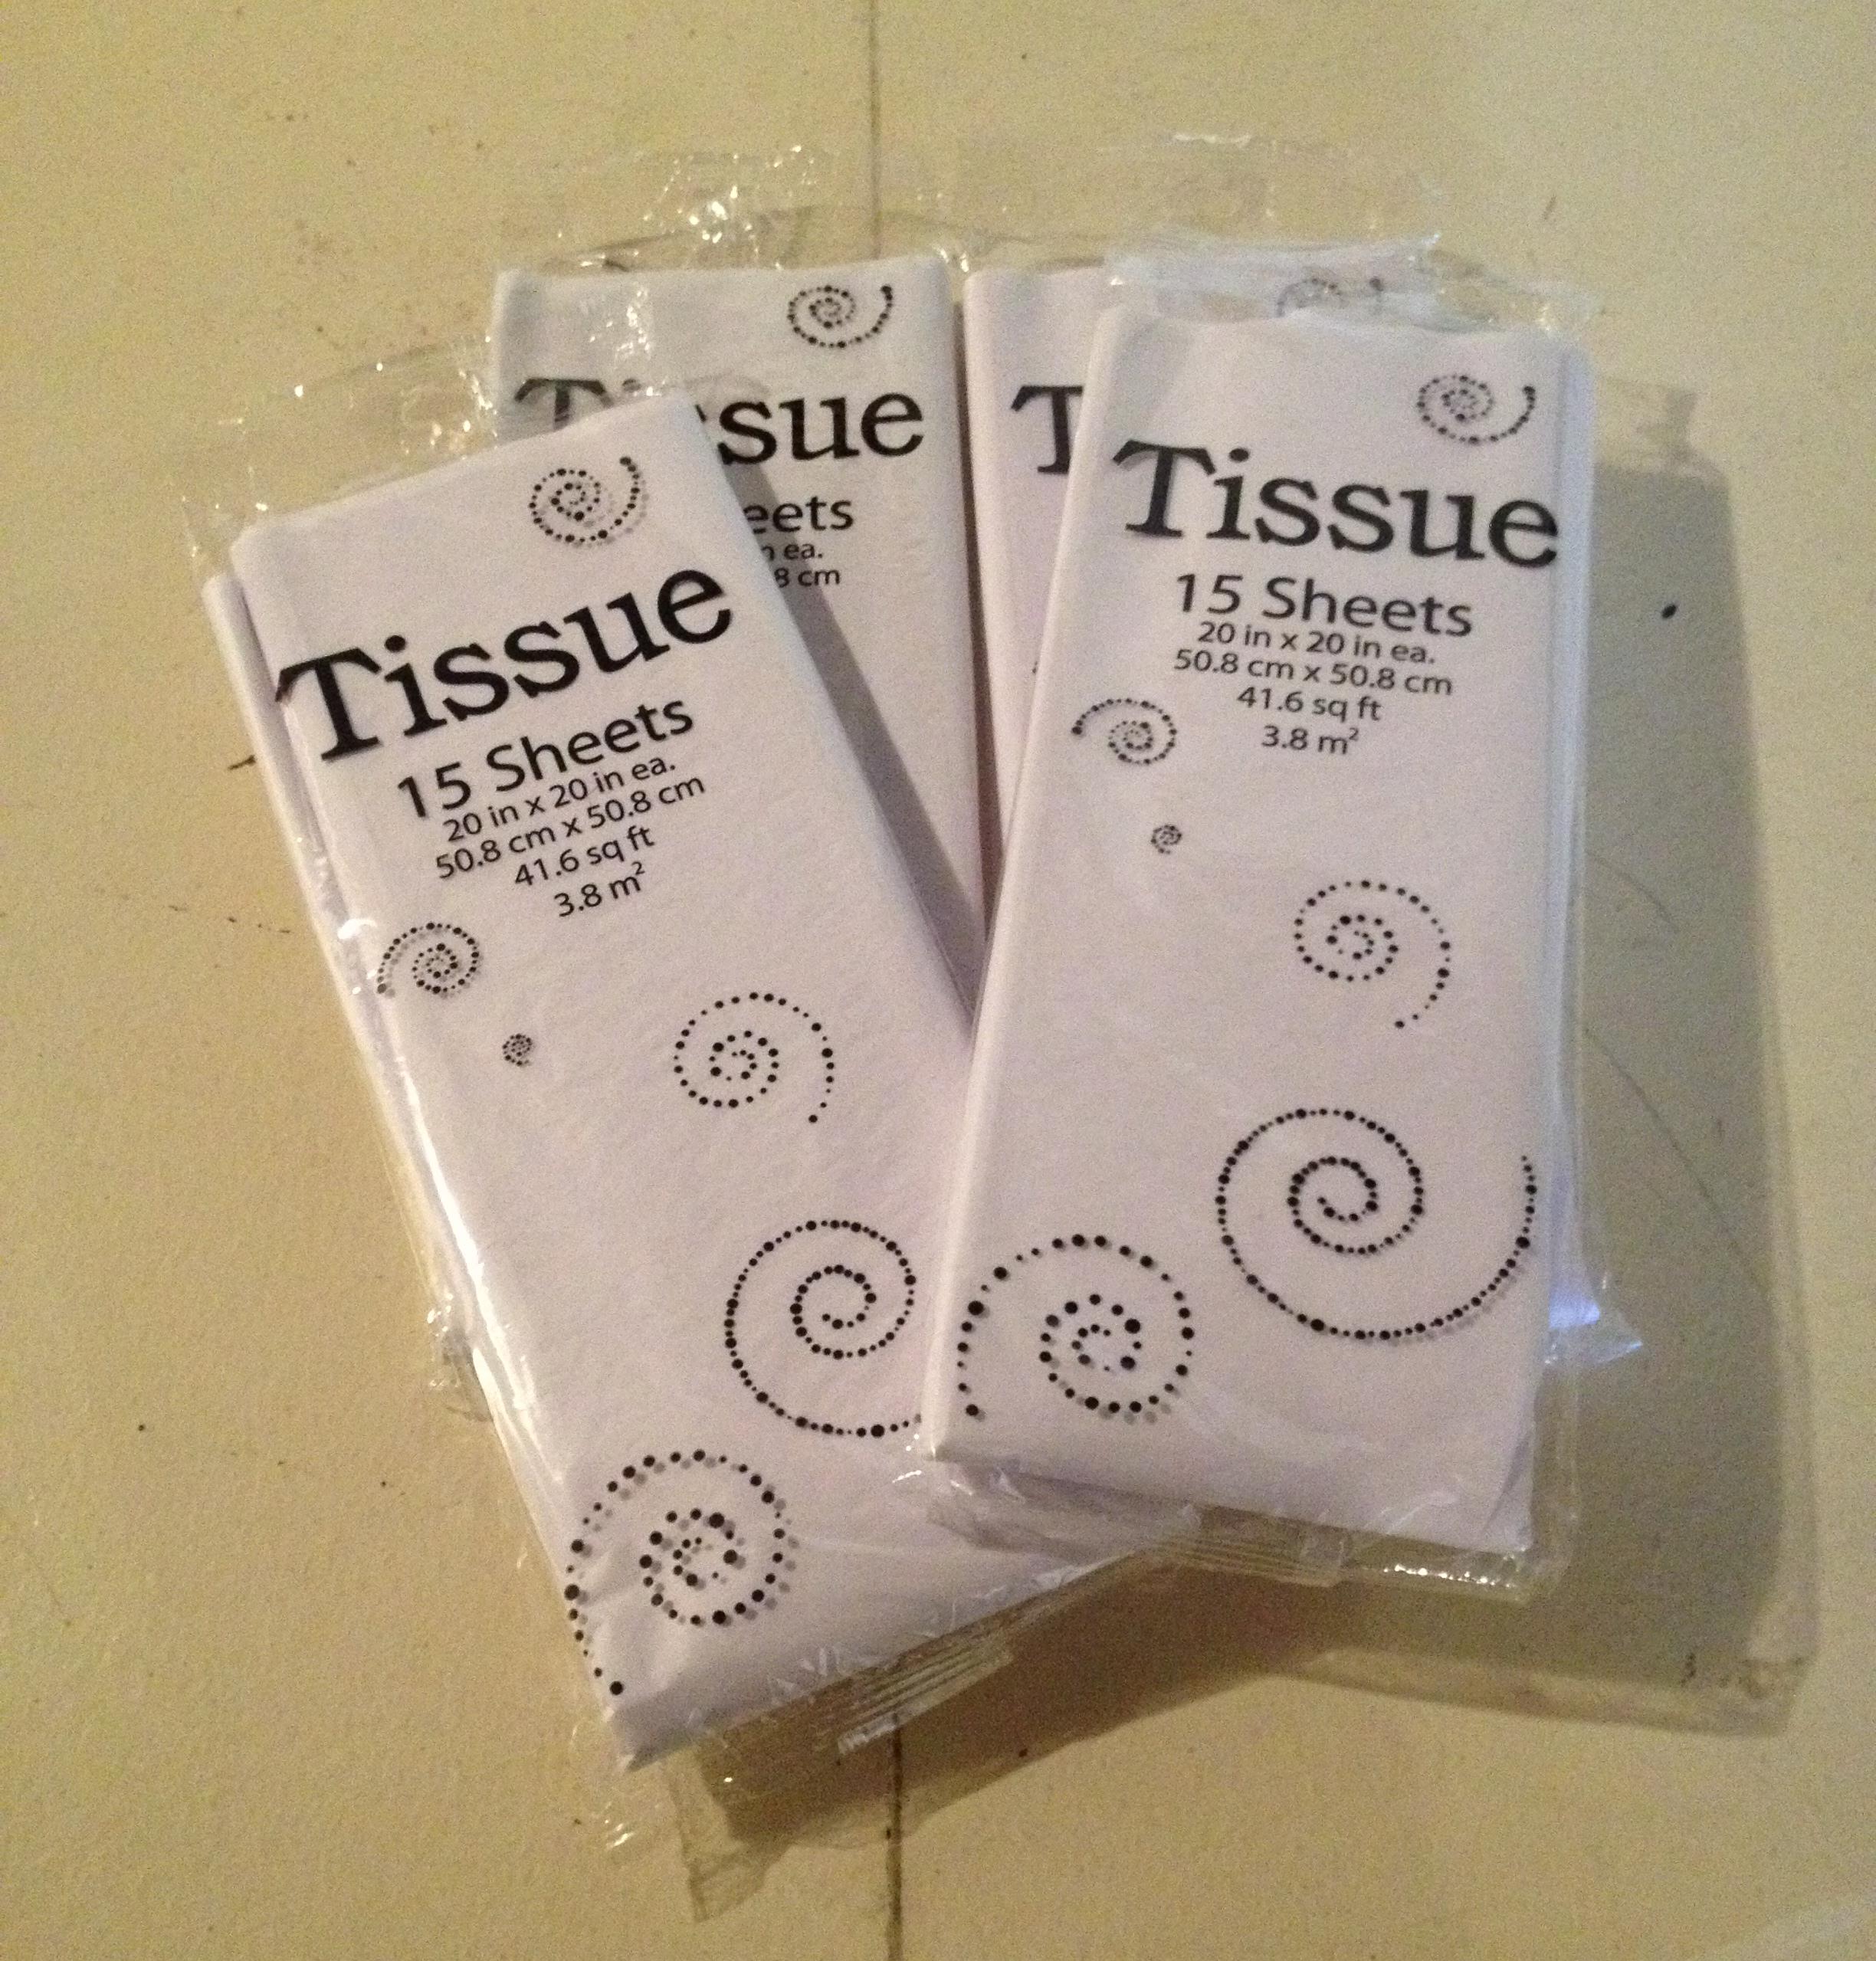
White tissue paper (quantity depends on the size of your room)
Painters tape
Disposable gloves (optional)
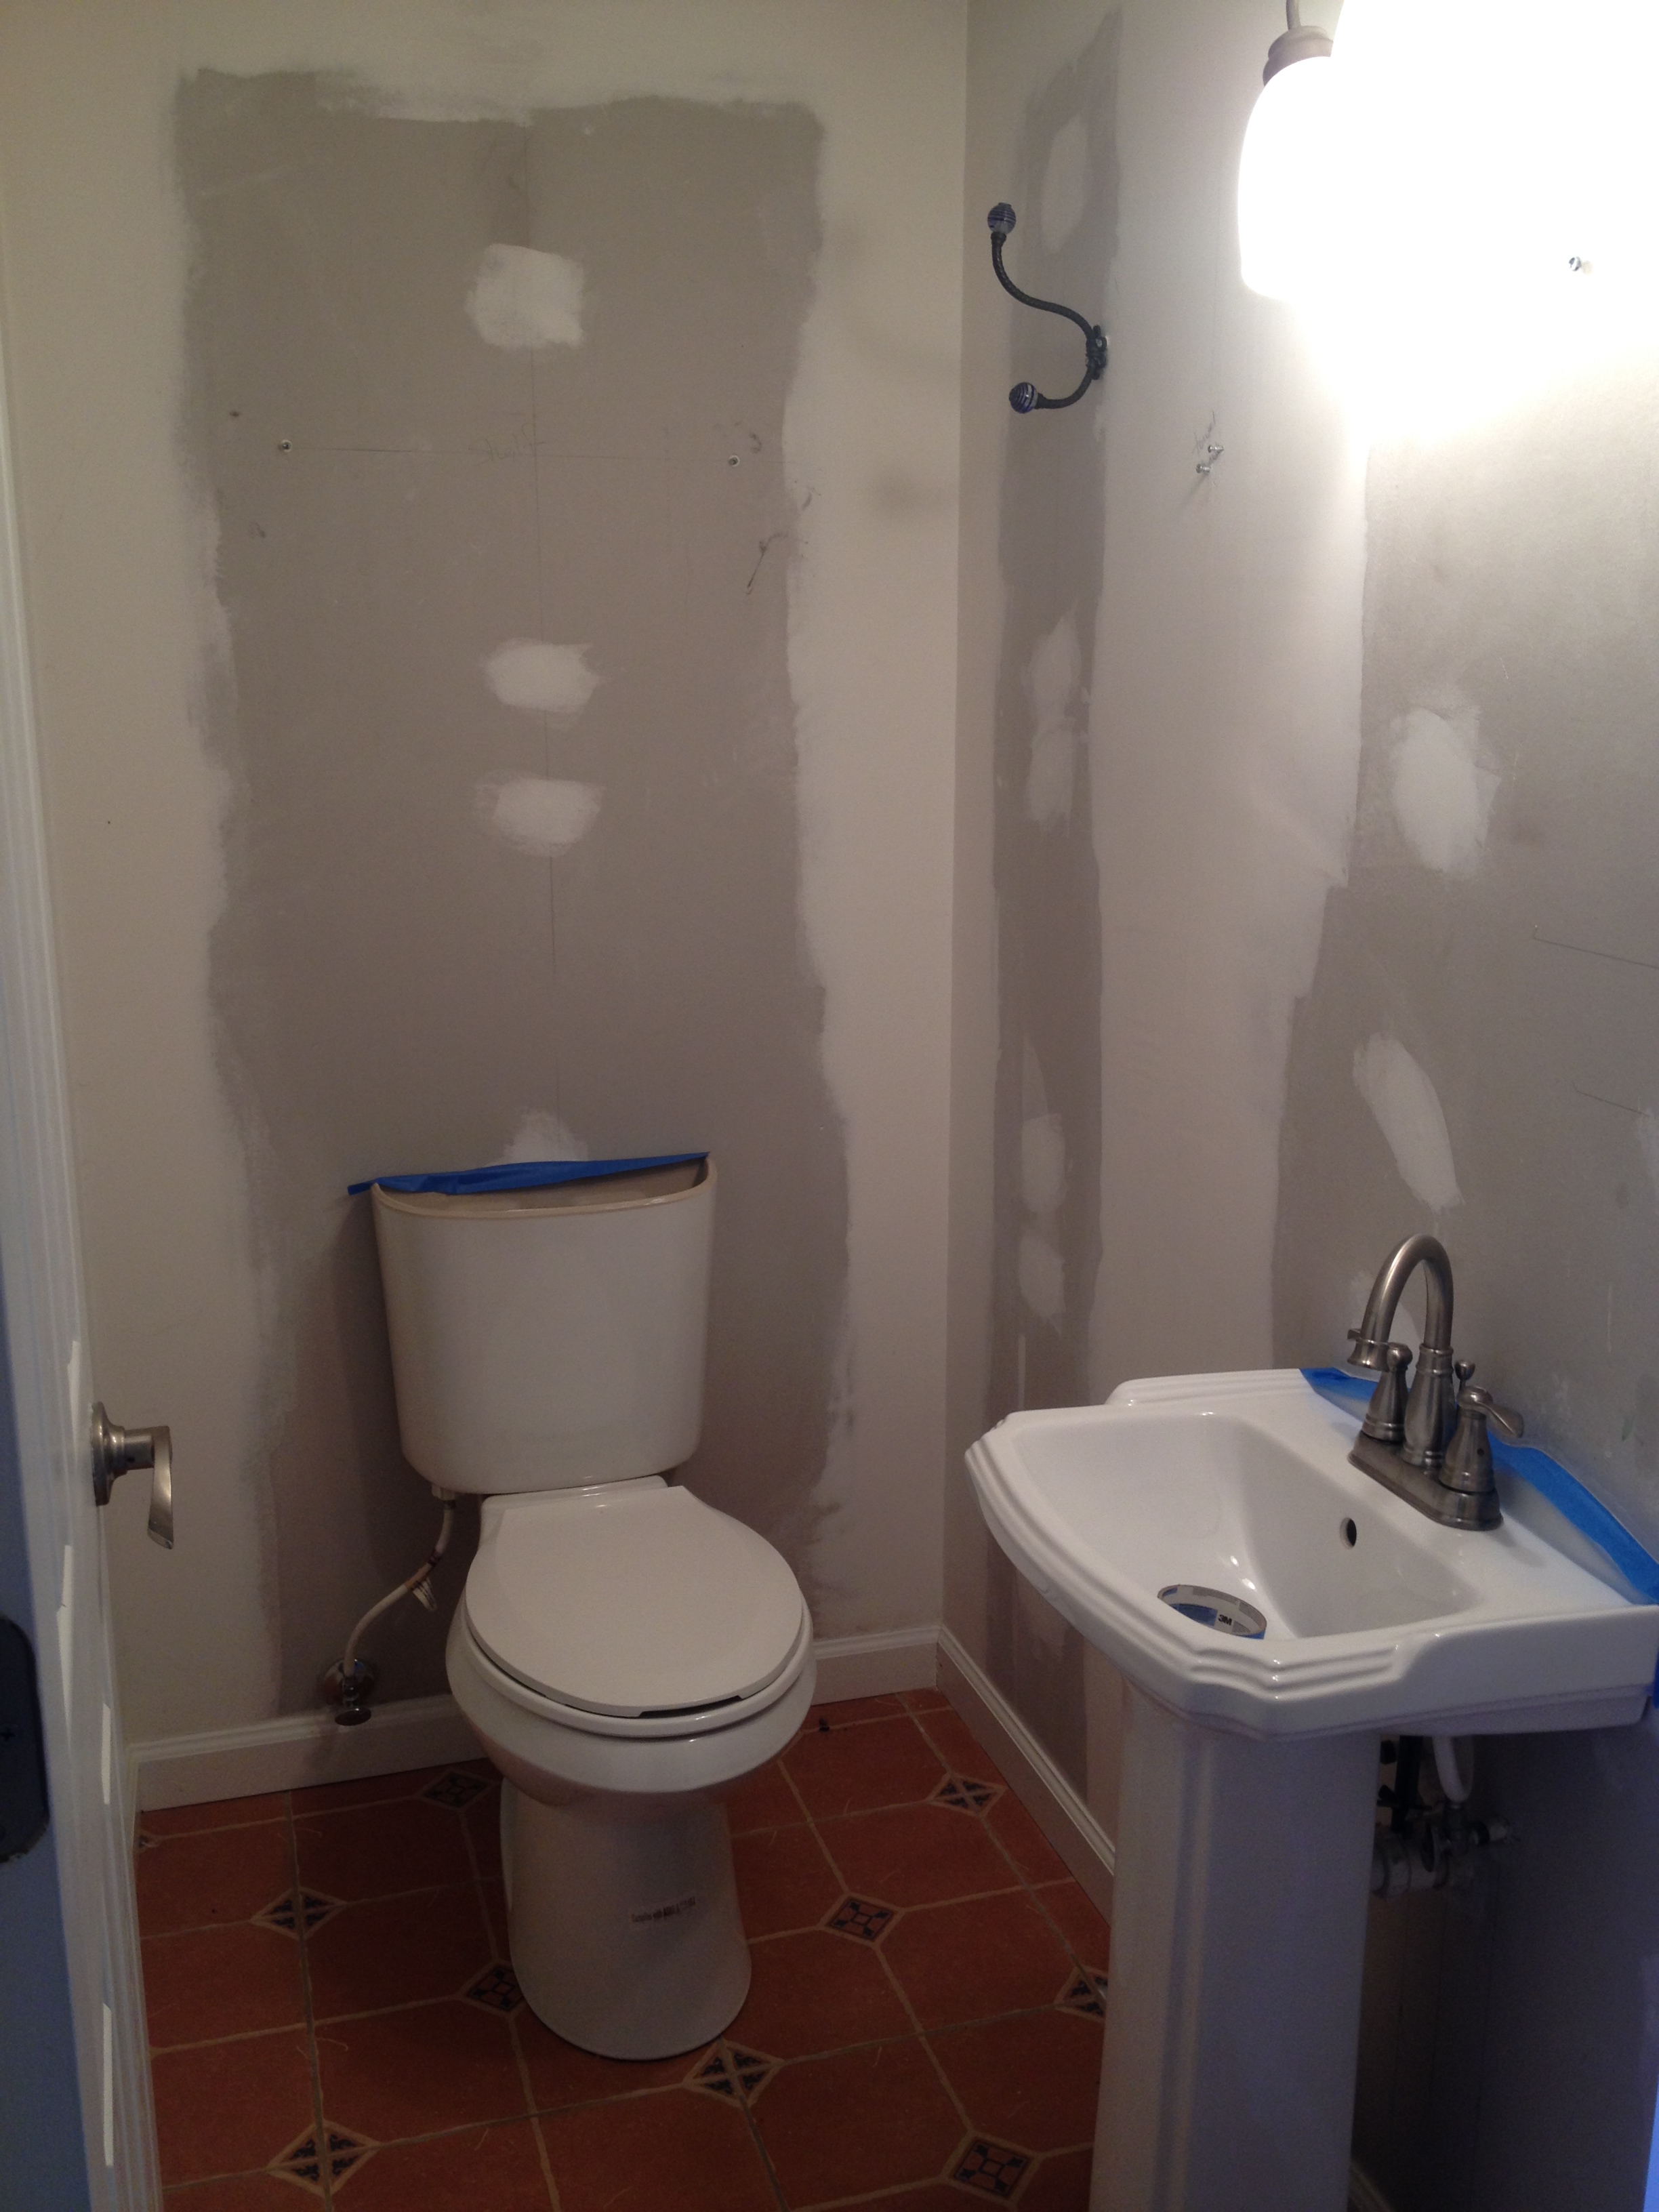
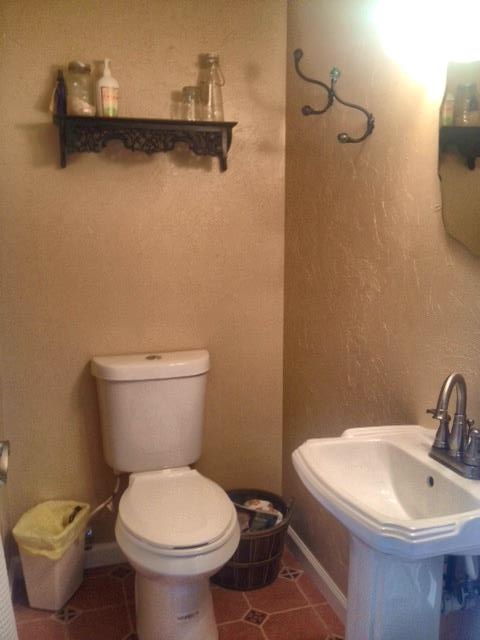
Before
I used a little less than 30 sheets of 20″x20″ tissue paper.
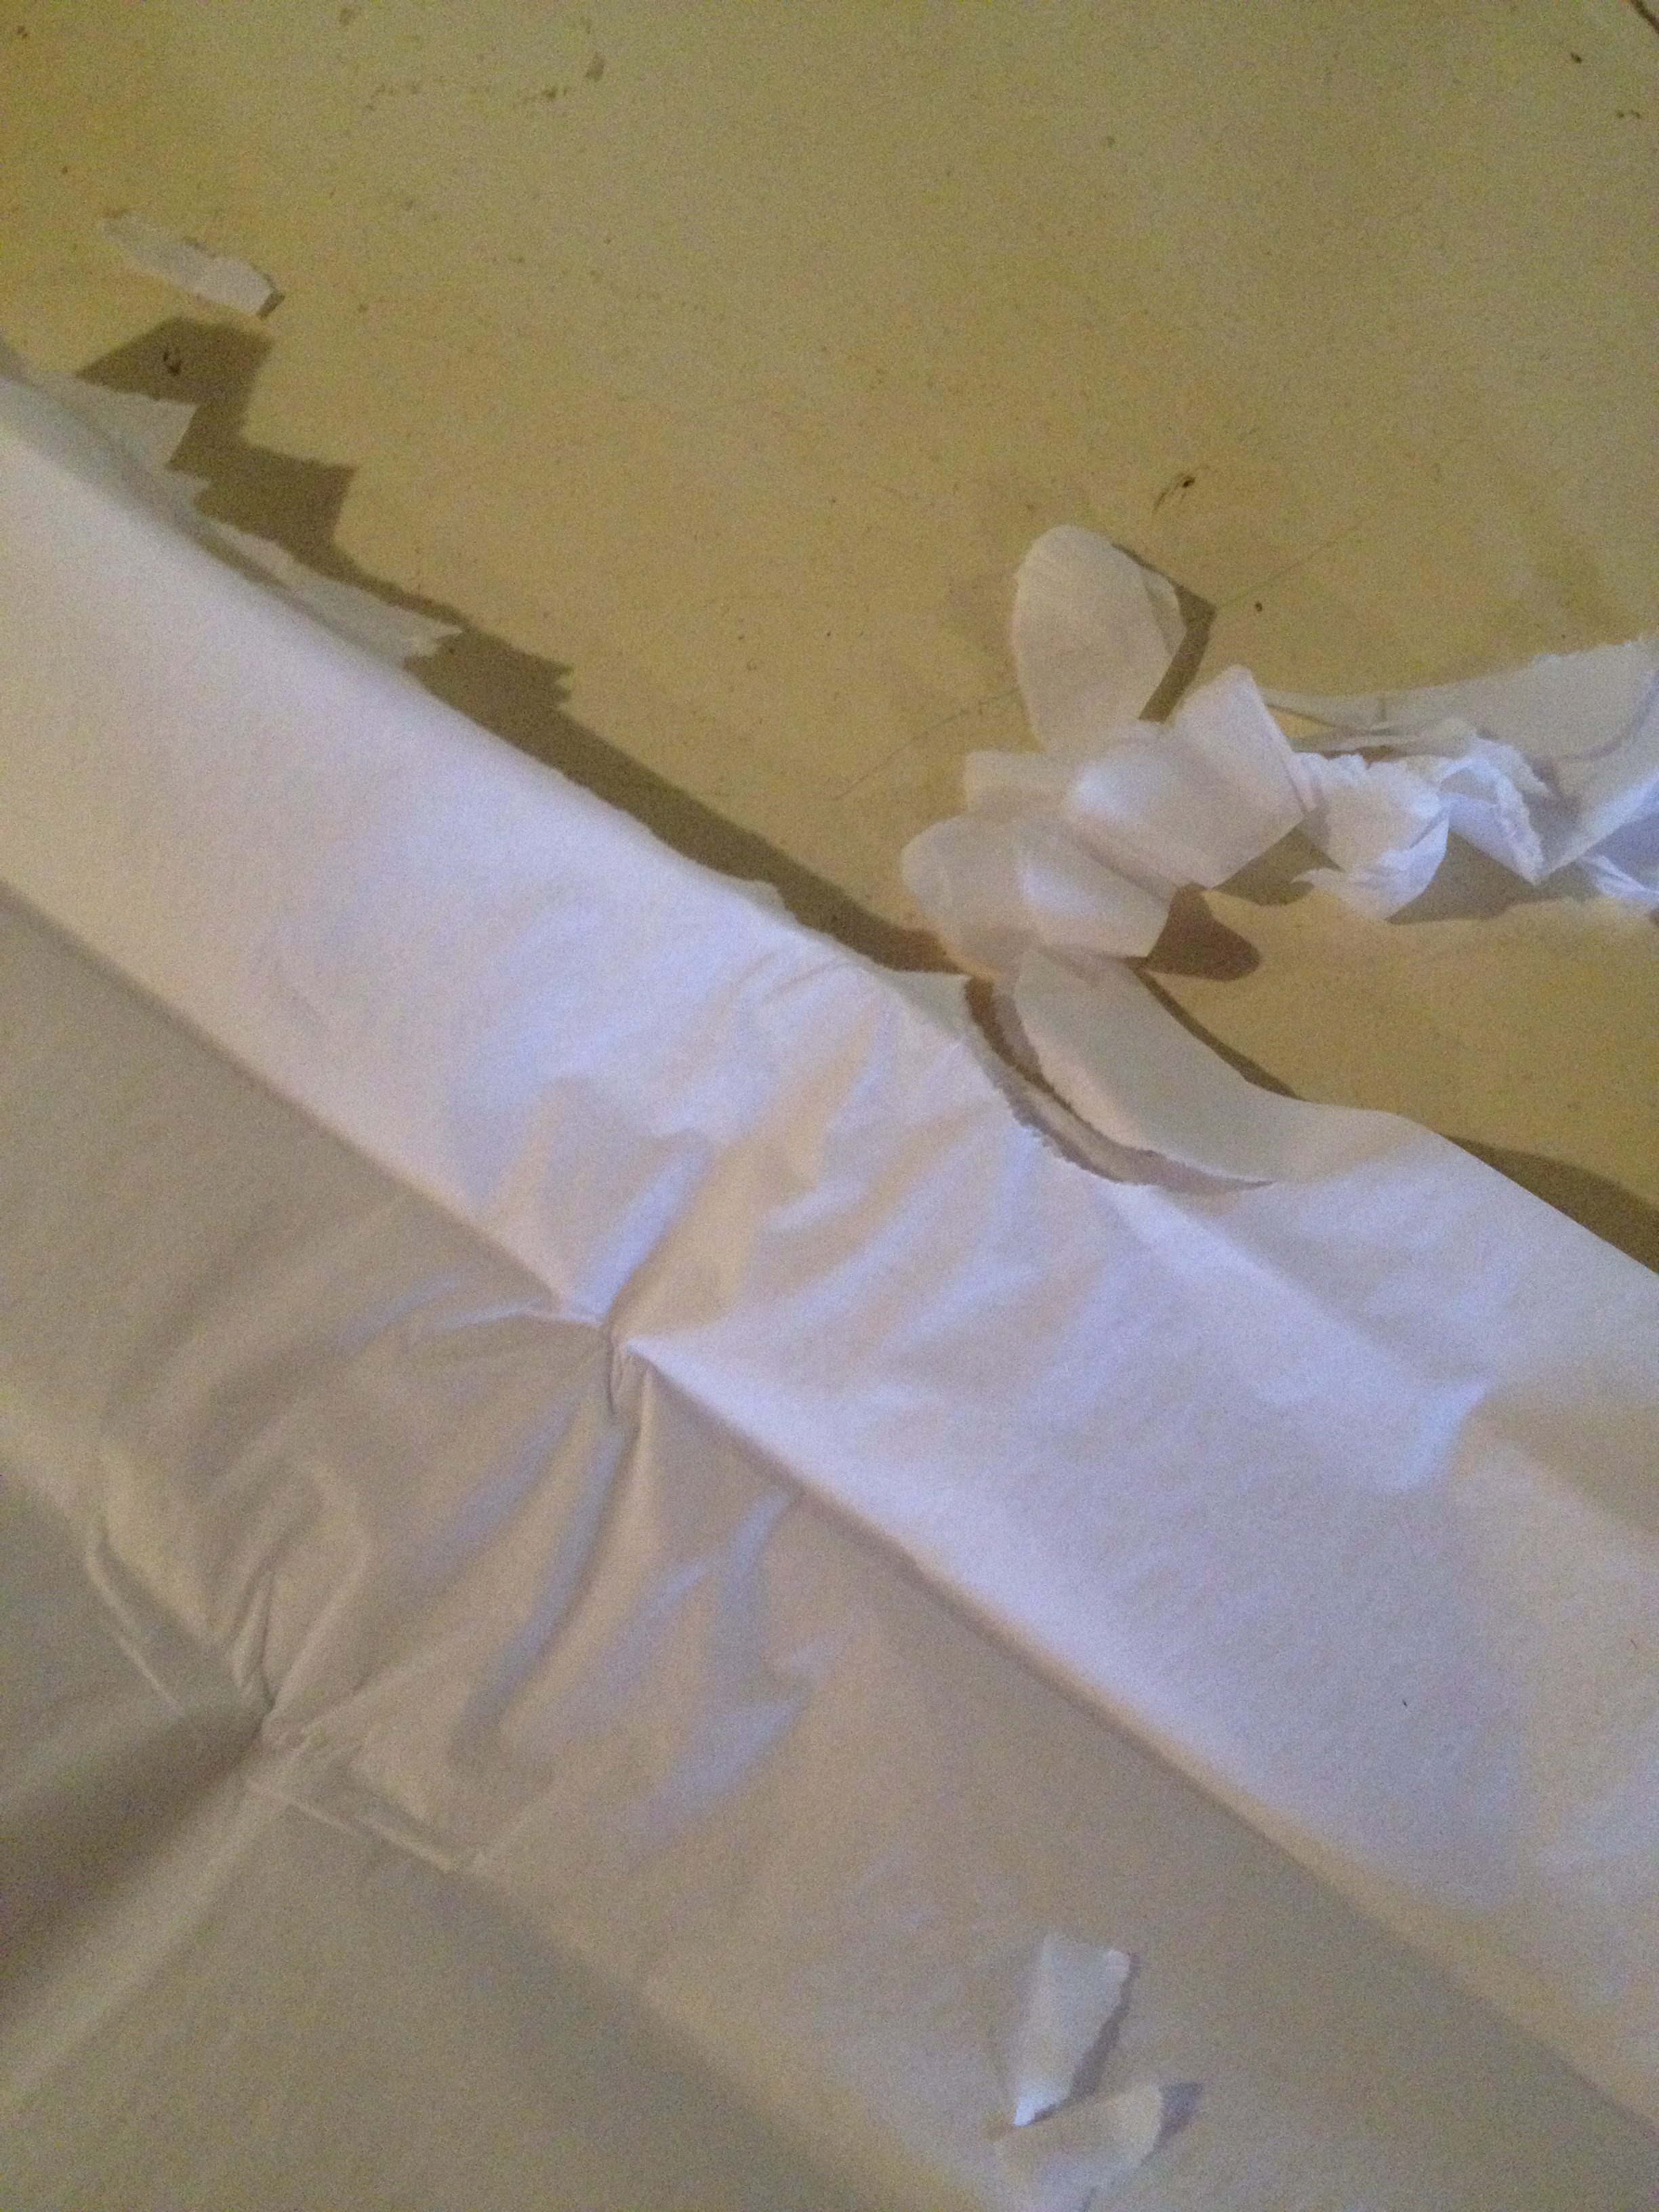
1. Prep your tissue paper:
* Tear the edges of each sheet
* Crumple the paper up and then flatten
* Tear the tissue paper into some large and some small pieces

2. Tape any edges you need to, take items off the walls, put a paint cloth down.

3. I used a paint brush for the whole bathroom. I had thought about using a roller, but found that the paint brush work really well. Paint 1 small section of your wall.
4. Press the tissue paper on to the wet paint.

5. Paint over the tissue paper, being careful not to tear the paper. You want to get all the air bubbles out.
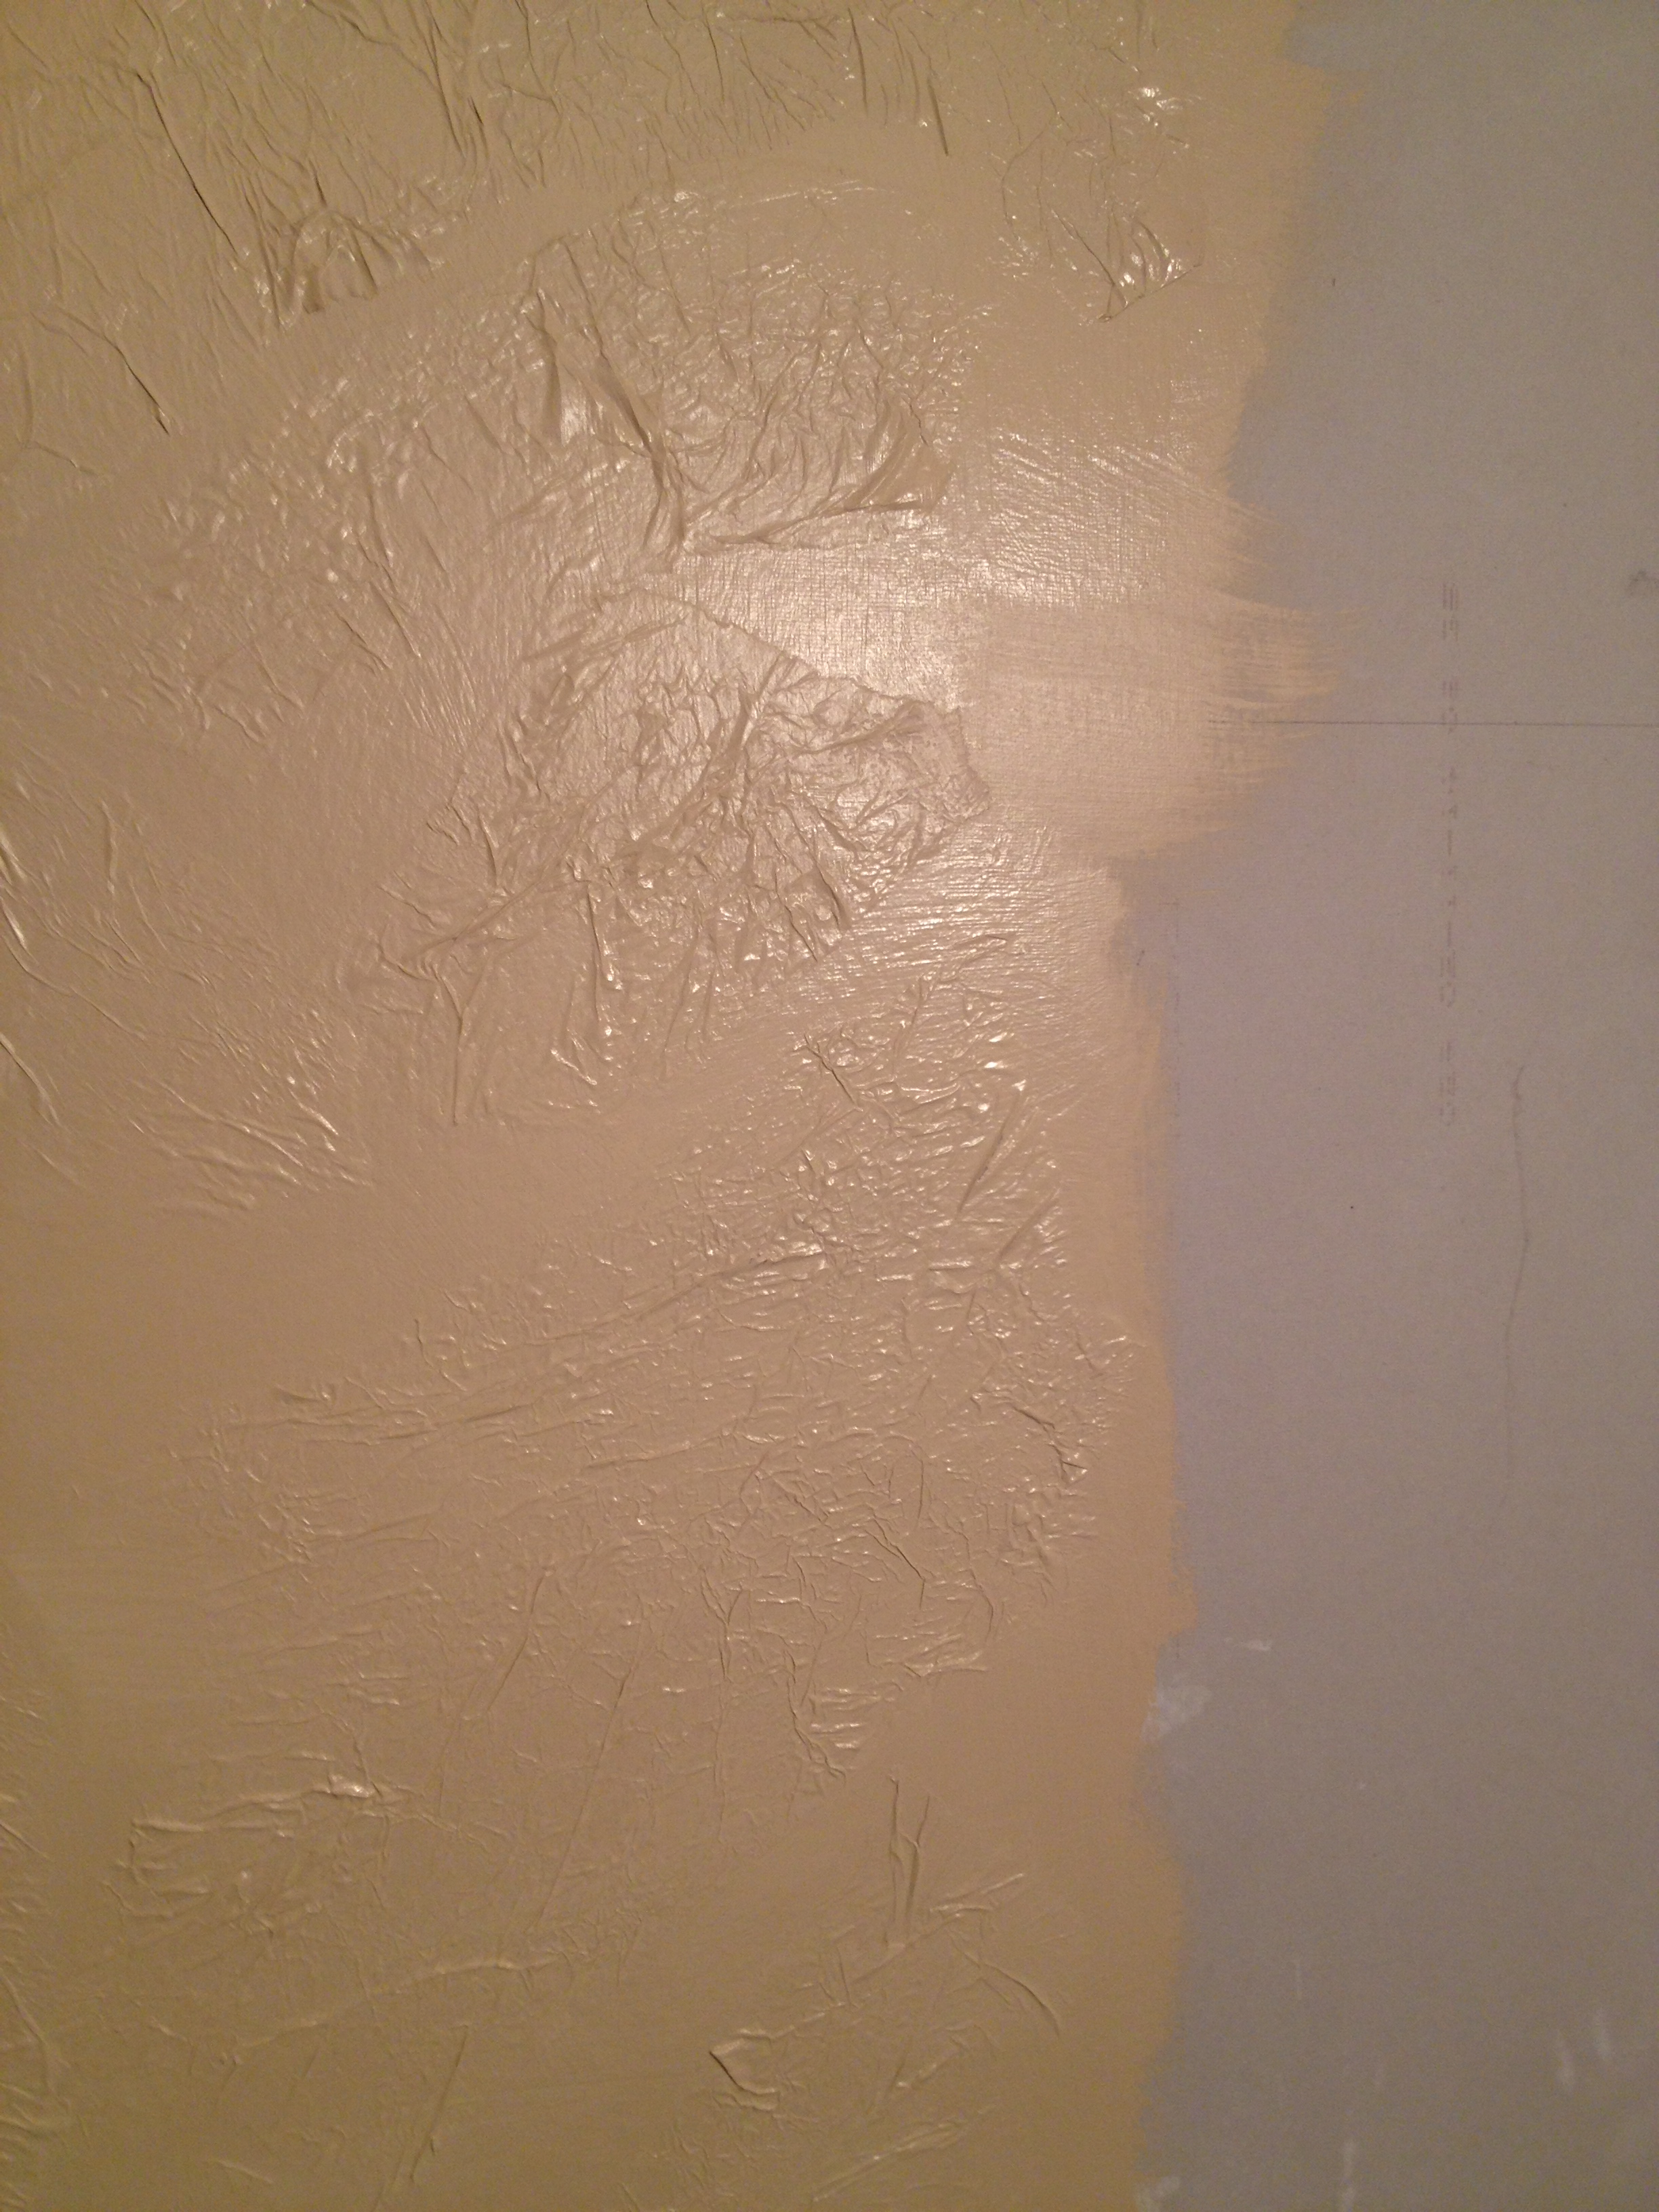
6. Repeat steps 3 – 5, until you have completed your room.
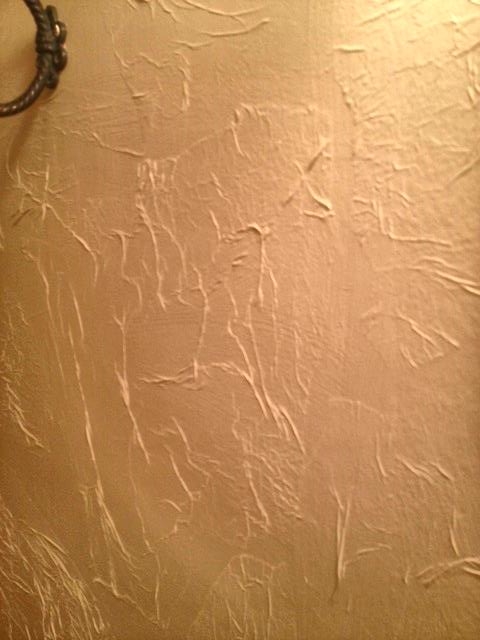
It is that simple and you get a really nice texture on the walls. Many of the tutorials say to overlap the tissue paper so you have no flat spots on your wall – I want some flat parts on my wall, but it is your preference.
 Copyright secured by Digiprove © 2015


Looks great Pamela!! That Stella is a lucky girl to have her own bathroom. You did a fabulous job.
Looks great!
How wonderful!