Cleaning Makeup Off Your American Girl Doll

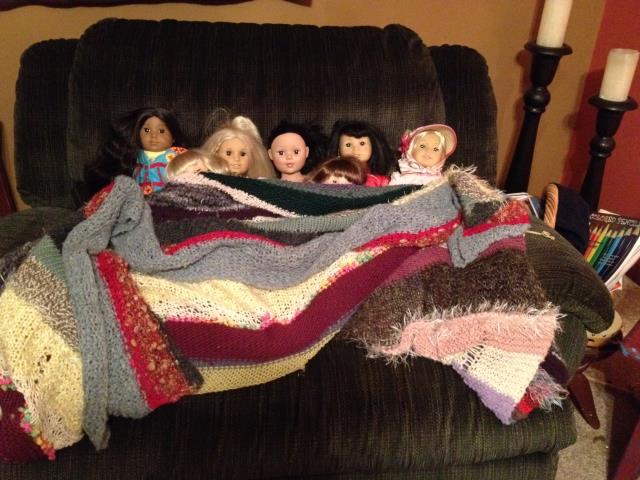
If you are the parent of a young girl you probably have some experience with American Girl Dolls.  Stella got her first American Girl Doll on her first birthday – she named her Big Baby.  Big Baby has been through a lot and she is still a favorite among Stella’s dolls.  Then came Julie – a gift from Grandma Jo.  Then she came Ivy – a shared purchase with her Great Grandma Fran.  Then the twins, Kaya, then another baby and finally Caroline – which have all been purchased by Stella!  I am not sure why she needs to have so many of them, but she does.  The girls go away for awhile and then without warning I will walked into the living you and they are all sitting on the couch or spread out around the living room sitting at makeshift desks hard at work at their school work.

American girl the girlsOne of Stella’s friends thought it would be a good idea for Ivy and Julie to wear some makeup – a HUGE mistake!!  Stella has been upset about this ever since it happened.  The other day I was talking with a friend and I overheard Stella talking to Caroline (the doll), saying she had a financial situation.  Believe me that made my head turn.  I turned to her and said what financial situation do you have.  Her response: Well I need to figure out how to raise money so that I can send Julie and Ivy to the American Girl Hospital to get the makeup off their faces.

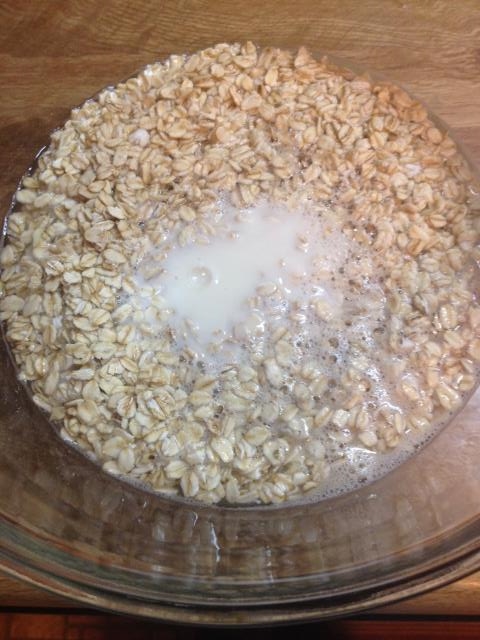
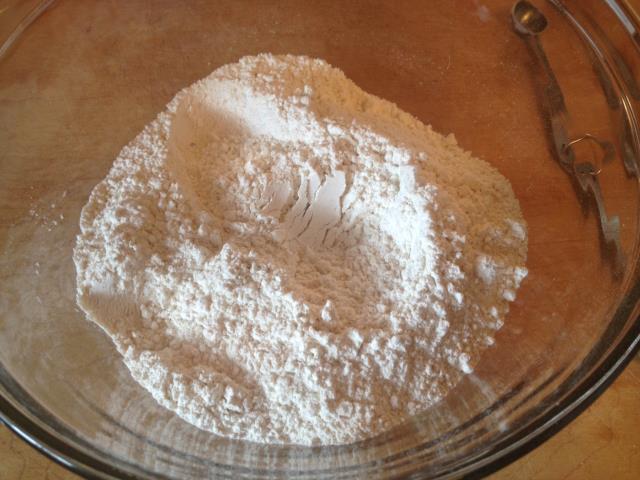
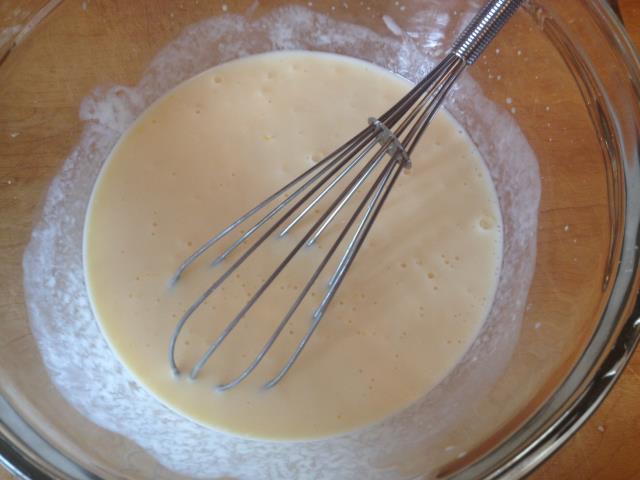
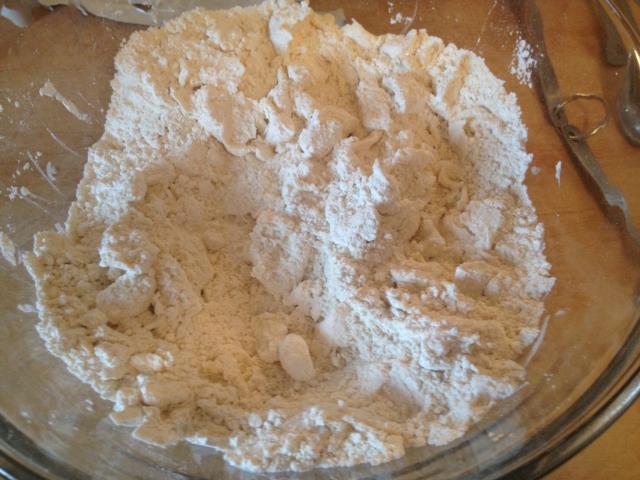
I had my iPhone with me and told her that maybe she should do some research and see if there was a way that we could try and get the makeup off them.  That is exactly what she did.  After reading many pages on line – she came to me and asked if she could have some money to buy make up remover cloths that did not contain alcohol – that is what she said would work.  She went into the health food store and bought a pack for $8.  I thought this was little much since she was only going to use a couple of them.  I decided to do my own research and found that baking soda and water may just do the job!

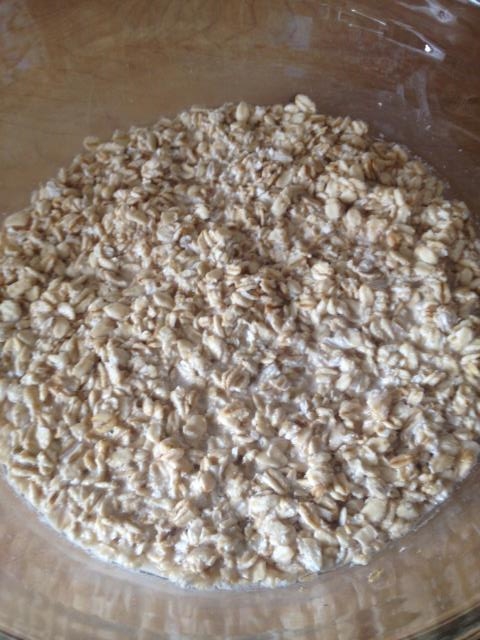
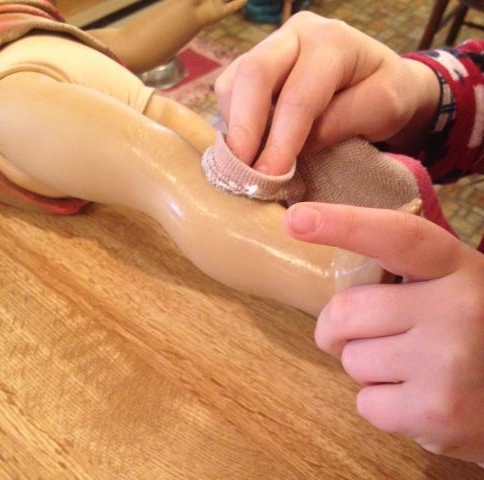
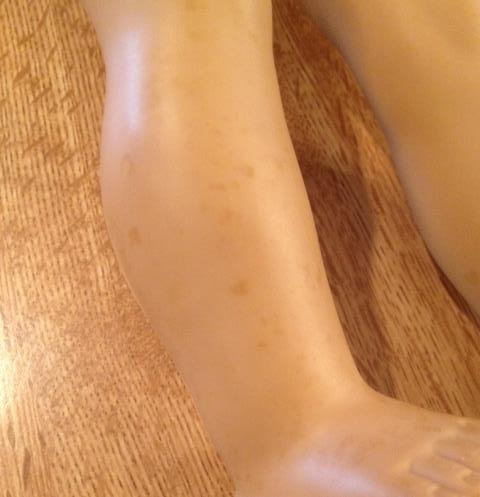
The next night we undressed the dolls, pulled their hair back and went to work.  First it was the legs on Ivy- as a trial.  Hope you can see the difference, hard to have it show up in a photo.

American Girl dirty legAmerican Girl cleaning leg1American Girl cleaning leg2American Girl dirty leg

Then it was on to the faces.  First Ivy and then Julie.  Stella was so happy with the results!

American Girl faceAmerican Girl cleaning faceAmerican Girl Face clean
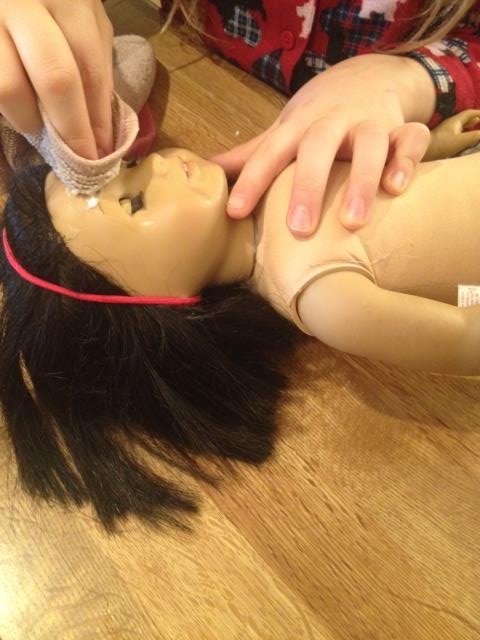
We had to scrub and repeat a couple of times – but success was had!!!  So much better than sending them of the the hospital!  Next is to figure out a way to get some pen off Ivy’s legs – some more research needs to be done.

American Girl Stella

Digiprove sealCopyright secured by Digiprove © 2014
Posted in Cleaning, Life | Tagged , | 2 Comments

Game Night – Start One Today

A couple of months ago we joined with two other families and started a once a month game night.  I think we all look forward to our monthly game night and wondering what games are we going to play.  Our group consists of 6 adults and 3 kids and I think the kids love seeing us adults make fools out of ourselves – what kid wouldn’t!?

I have to be honest for a moment and let you know that I was so wrapped up in the good food, good company and fun that I did not take as many photos as I should have.

This is how it works for us, each month the game night changes to a new home.  The person hosting is the one that makes the main course of the meal with one family making a side dish and the other making the dessert.  This past game night we had pulled pork, vegetable stew, corn bread, salad and a peach and blueberry coffee cake for dessert.  Dinner is spent catching up with each other and discussing what games are going to be played.  Then the real fun begins!

The first game up was Head Bands Charade.  Each person gets a head band to wear and places a card in the head band.  One person is the guesser, with the other players acting out clues/hints of what is on the card – no words can be said.  For example:  my card said bagel, so we went around the room with people acting out clues in order for me to guess the thing on my card.  We went all the way around the room before I was able to guess bagel!

After our first game we usually take a break have dessert and then choose the second game to play.

Stella was given several games for Christmas, since we play a lot of games in our house, Game night 5but 2 of the games needed 3 or more players – we decided to bring them with us to game night.  Others were interested so we played one of them: 100 Wacky Things To Do.  This game had us all laughing.  There are props that get passed around when someone does something stated on the prop card and then each player picks a card when it is their turn – these cards are either and Always Card or a Whenever Card.  The Always Cards need to be Game night 4done every time it is that person’s turn and the Whenever Cards are done whenever another person does something stated on the card. My Always Cards were: Ask the exact time, sing happy birthday to myself and blow out the candles and to stand up beat my chest and make a gorilla noise.  My Whenever Cards were:  If someone talks to me I had to say Bingo and if someone said Twinkle I had to sing Twinkle Twinkle Little Star.  This was a great game and I think we would all highly recommend it!

Game night 1Game night 2Game night 3

Fun was had by all and we all got our dose of medicine in the form of laughter!  This is a great thing to do and just have a good time!

Digiprove sealCopyright secured by Digiprove © 2014
Posted in Life | Tagged , , | 4 Comments

Homemade Soaked Granola

I love granola, but in the past couple of years have stayed away from it – mainly because of all the processing of the ingredients.  I used to make my own granola, but life became busier and busier and I just stopped making it.  I was with some family and my cousin had made some wonderful homemade granola – that was all it took for me to want to start making my own again.  My cousin shared her recipe and some of her tweaks to the recipe and I was off.  As the oats were soaking I was thinking of how to get the fruit to not become rock hard as had been a problem for my cousin.

Homemade Soaked Granola

Granola done

Ingredients

3 cups oats (preferably organic)
3 cups warm filtered water
6 Tbl spoons whey, yogurt, kefir or buttermilk (if allergic to milk use lemon juice or vinegar)
1 1/4 cup unsweetened, shredded coconut
1 cup dried fruit (I used raisins, apricots, cherries and blueberries)
1 – 2 cups of soaked and dried nuts and seeds (I used almonds, pumpkin and sesame)
1/2 cup wheat or spelt flour (I used spelt)
1/2 cup coconut oil
1/3 cup rapadura or maple sugar
1/4 cup honey
1 1/2 Tbl cinnamon
1 tsp sea salt

1. Place the oats in a large bowl add the water and the buttermilk, whey or kefir.  Cover and allow to soak on the counter overnight or up to 24 hours.

Granola oatsGranola oats soaking

Soaked

Soaked

2. The next morning, place your dried fruit in a glass bowl and pour boiling water over the fruit.  Let sit for 30 minutes.

Granola fruit soaking

3. In a sauce pan combine the coconut oil, sugar, honey and salt.  Allow to melt on low heat.

Granola sugars

4. Add the flour, shredded coconut, cinnamon, nuts and seeds to the soaked oats – mix well, using a wooden spoon.

Granola dryGranola oats mixed with dry

5. Add the coconut oil, sugar mixture to the soaked oats – mix well.

Granola sugars added

6. Drain the dried fruit and add to the oats mixture – mix well.

Granola fruit added

7. You can use either your oven or a dehydrator to dry your granola.  Which ever one you use – the temperature needs to be around 150 degrees no hotter.  It will need to dry anywhere from 24 – 48 hours.  I used a dehydrator and I lined some trays with parchment paper and the other trays I used the liners that come with the dehydrator.  Spread the granola mixture not too thick.

Granola on dehydrator

8. About half way thru I flipped the granola over on the trays.

10. Once done – break the granola up and store in an airtight container.

This is great as a snack all by itself,  with yogurt or just add milk.

Digiprove sealCopyright secured by Digiprove © 2013
Posted in Breakfast, Recipes, Snacks | Tagged , , , | 1 Comment

A Busy Holiday Break

Life January SantaAfter Stella’s two weeks off from school for her Christmas break, life is getting back to normal. Nothing new to share with you (well I did share a few new things the past 2 weeks) – but for the most part, no new recipes, no new craft projects, no new homesteading project – but that does not mean that I have not been busy.  During the 2 week break I accomplished the following:


Knitted 4 kids finger less gloves, both girls and boys and they were a BIG hit!

I have almost completed 4 more pairs of the women’s patterned finger less gloves.

Wrote all my holiday thank you’s – yeah!

Baked and made soups; oatmeal cake, cookies, stuffed biscuits, kale soup, chili, bread and of course for New Year’s Day black eyed peas, greens and rice – want to start the New Year off right!

Worked in the garden, one day when the temperature was above 40 – it was still hard work Life January mulchsince the mulch pile was mostly frozen.

Stacked 2 cords of wood.

Worked my outside the home jobs, cleaned, laundry, grocery shopped.

Knitted a pair of slippers for Stella, since she had outgrown the last pair that I made her.

Started a fresh batch of vanilla.

Started knitting a rug using the same method as the knitted trivet.

Visited with family and friends.

Life January xmas eve

Helped on a couple of knitting projects with my aunt.

Went for a hike.

Hiding from the camera

Hiding from the camera

But, the best part of the 2 week break was spending time with Stella: playing games, watching movies, baking together, going out for her first New Year’s Eve (we even cheered with sparkling cider and watched the ball drop in Time’s Square – thank you internet) and just having a lot of FUN!

New Year's Eve entertainment

New Year’s Eve entertainment

Hope your break was productive, fun, rejuvenating and that you were able to spend some or all of it with the people that make your life special.  Hope 2014 is your best year yet!!

Digiprove sealCopyright secured by Digiprove © 2014
Posted in Homesteading, Life | Tagged , , | 6 Comments

Stuffed Biscuits For Breakfast

When I come across a recipe that says it can be made ahead of time – it always peaks my interest.  I love having something fresh out of the oven when people are staying with us, but I don’t want to spend my time in the kitchen I would rather be visiting with them.  When I find a new recipe, I also tend to follow the recipe pretty close so I know what it is suppose to look and be like before I start making changes – which is pretty much what I did with this recipe.  It was a hit in our house both warm out of the oven and cold.

Stuffed Biscuits for Breakfast (original recipe: http://news.yahoo.com/ahead-breakfast-bake-while-celebrate-160907471.html )

Stuffed biscuit served

Ingredients

3 cups flour (I used organic white, but next time will mix with spelt)
1 Tbl baking powder
1 tsp baking soda
1 tsp sea or kosher salt
2 Tbl organic sugar or rapadura
1 cup buttermilk (preferably from raw milk)
1/3 cup heavy cream (whole and again preferably from raw milk)
2 eggs
3/4 cup (1 1/2 sticks) cold unsalted organic butter, cut into small cubes
1 cup or enough to cover jam (I used fig jam)
1/4 – 1/2 cup Dried figs, cut up into bite size pieces
4 ounces full fat cream cheese, room temperature
2 Tbl turbinado sugar

If cooking immediately, heat the oven to 400 F.

1. Coat a 9-by-13-inch baking pan with olive oil or butter.

2. In a medium bowl, whisk together the flour, baking powder, baking soda, salt and sugar.

Stuffed biscuit dry

3. In another bowl, whisk together the buttermilk, cream and eggs.

Stuffed biscuit wet

4. Stir the butter cubes into the flour, flattening them and breaking them up slightly. Use either a pastry cutter or I use my hands.

Stuffed biscuit butterStuffed biscuits butter crumbs

5. Gently stir the buttermilk mixture into the flour and butter. It should make a shaggy dough with clumps of butter clearly visible.

Stuffed biscuit batter

6. Dollop half of the mixture into the prepared pan, patting it with slightly dampened hands to cover the bottom of the pan.  You will need to dip your fingers into water several times.

Stuffed biscuit dollopsStuffed biscuit spread

7. Spread the jam over the surface, coming to just a 1/2 inch from the edge.

Stuffed biscuit jam

8.Spread your cut up dried fruit over the jam.

Stuffed biscuit figs

9. Dot small dollops of cream cheese over the jam.

Stuffed biscuit cream cheese

10.Dollop the remaining biscuit dough over the top, then sprinkle with turbinado sugar.

Stuffed biscuit sugar on top

11. Place the pan in the freezer for 10 minutes. (If not cooking immediately, cover tightly with plastic wrap and place in refrigerator or freeze. I made it a day ahead and left in the refrigerator.)

12. Bake for 15 to 20 minutes, or until golden brown and cooked through. Serve warm.

Stuffed biscuit baked

This is good to make for a brunch or a gathering with many people.  I really liked that it was not a sweet breakfast entree!

Digiprove sealCopyright secured by Digiprove © 2014
Posted in Breakfast, Recipes | Tagged , , | 1 Comment

Knitted Trivet

I like to keep my hands busy, especially when I am watching a movie.  Knitting seems the perfect thing to do, but when I watching a movie that I need to really pay attention to I need something simple to knit – one where I don’t have to keep referring back to a pattern or watching all my stitches.  After knitting the cotton wash clothes that I do – there is always a little bit of yarn left, what to do with it?  With other projects I collect the yarn and then make a mis-matched knitted blanket – but the cotton yarn doesn’t work that well for that.  I decided to try knitting a trivet with some of the leftover cotton a yarn.

Knitted Trivet

Trivet in use

Items Needed

Cotton yarn
Size 6 double pointed needles
Darning needle

1. Cast on 4 stitches.

trivet cast on

2. Knit the 4 stitches for 1 row.

3. Slide the stitches on the needle so that the yarn tail is on the left.

4. Knit the first stitch by bringing the yarn tail from the left over the needle.  Knit the rest of the row.  You will knitting an I-cord.

Trivet start of icord

5. Continue stitching the I-cord until you are almost out of yarn – you will need enough to stitch the cord together or you have reached the length you want. Here is a video to show how to knit an I-cord http://www.youtube.com/watch?v=iJ0s_2TBwCQ

Trivet cordTrivet up close cord

6. Cast off leaving a long tail. My I-cord was 73″ long and I left a tail of 60″, which was just enough.

7. Coil your I-cord and using a whip stitch, stitch the I-cord together.

Trivet sewingWeave in all ends.

Trivet done

Digiprove sealCopyright secured by Digiprove © 2014
Posted in Crafts, Knitting | Tagged , , , , | 1 Comment

A New Year

We have a book of Earth Prayers on our dining room table. Each evening before we begin our meal, we open to a random page and read the prayer.  We are not religious and we do not go to church, but we do give thanks and blessings on what we have and wish well for others.  We value our Earth and are stewards of our land and our community – doing what we can and what feels “right” to us. We recently read this prayer and it made me think about the new year coming and I wanted to share. Blessing to all that 2014 is your most wonderful year yet, that wrongs are forgiven, that we are accepting of others, that love abounds and that the Earth is valued above profits and greed.

Sunrise

For the marvelous grace of Your Creation-
We pour out our thanks to You, our God,
for sun and moon and stars,
for rain and dew and winds,
for winter cold and summer heat.

We pour forth our praise to You
for mountains and hills,
for springs and valleys,
for rivers and seas.

We praise You, O Lord,
for plants growing in earth and water,
for life inhabiting lakes and seas,
for life creeping in soils and land,
for creatures living in wetlands and waters,
for life flying above earth and sea,
for beasts dwelling in woods and fields.

How many and wonderful are Your works, our God!
In wisdom you have made them all!

But we confess, dear Lord,
as creatures privileged with the care and keeping of Your Creation
that we have abused your Creation gifts
through arrogance, ignorance, and greed.

We confess risking permanent damage to Your handiwork,
we confess impoverishing Creation’s ability to bring You praise.

Yet, we confess that Your handiwork displays Your glory,
leaving all of us without excuse
but to know You
We confess that Your handiwork
provides the context of our living,
it is our home,
it is the realm in which we live the life of Your kingdom:
Your kingdom that is now in our midst and coming yet more fully.
We confess, Lord, that we often are unaware
of how deeply we have hurt Your good earth
and its marvelous gifts.
We confess that we often are unaware
of how our abuse of Creation has also been an abuse of ourselves.

O Lord, how long will it take before we awaken to what we have
done?
How many waters must we pollute?
How many woodlots must we destroy?
How many forests must we despoil?
How much soil must we erode and poison, O Lord?

How much of Earth’s atmosphere must we contaminate?
How many species must we abuse and extinguish?
How many people must we degrade and kill with toxic
wastes
before we learn to love and respect your Creation,
before we learn to love and respect our home?

For our wrongs, Lord, we ask forgiveness.

In sorrow for what we have done
we offer our repentance.
We pray that our actions toward You and Your Creation
are worthy of our repentance;
that we will so act here on earth that heaven will not be a shock to us.

We promise to reverence Your Creation as a gracious gift
entrusted to us by You, our God.
We promise anew to be stewards
and not pillagers
of what You have entrusted to us.

Creator God,
You have given us every reason to learn and promote this wisdom of lives lived in harmony
with Creation.

May we, your servants, increasingly serve.

May we, your servants, increasingly come to love Your Creations
as we increasingly come to love You,

through Christ Jesus,
our Lord.

Amen

~ North American Conference on Christianity and Ecology

Posted in Life | Tagged , , | 3 Comments

Oatmeal Cake With Cream Cheese Frosting

As we get ready to say goodbye to the old year and hello to the New Year – many will be going to parties and family gatherings.  This is the perfect cake to bring along or to just make for you and your family.  It is so easy, so moist and so good!

Oatmeal Cake With Cream Cheese Frosting

Oat cake served

Cake Ingredients

1 1/4 cup boiling water
1 cup oatmeal (not instant)
1 stick butter
1 cup brown sugar
2 eggs
1 tsp baking soda
1 1/4 cup flour
1 tsp cinnamon

Frosting Ingredients

8 oz. full fat cream cheese
2 1/2 – 3 cups confectioners sugar
1 tsp vanilla
Enough milk to blend ingredients together (use whole milk)

To Make the Cake (can be done in a 9×13 pan or 2 8″ cake pans)

1. In a bowl combine the oats, butter and boiling water – let stand for 20 minutes.

Oat cake oatsOat cake hot water

2. Preheat oven to 350 degrees.

3. Add all other cake ingredients to the oat mixture – mix well.

Oat cake batter

4. Grease and flour you pans.  Pour batter into pans.

Oat cake in pans

5. Bake for 30 minutes.

6. Allow to cool completely before frosting.

To Make Frosting

1. Combine the cream cheese, confectioners sugar, vanilla and milk in a bowl.  Add a little bit of milk at a time until you get the consistency you desire.

Oat cake frosting ingredientsOat cake frosting

2. Frost the cake and if you want to make it a little more festive, sprinkle with colored sugar or drizzle with primal fudge.

Oat cake frosted

I kept it in the fridge and took out about 30 minutes before serving.

Digiprove sealCopyright secured by Digiprove © 2013
Posted in Dessert, Recipes | Tagged , , , | 3 Comments

Christmas Cookies: Ginger Snaps

I love ginger and I love molasses – so anything with the 2 of them in it – wonderful.  I have a Ginger Molasses cookie recipe that I make on a occasion, but I wanted to make a ginger cookie with fresh ginger and decided on this recipe.  I usually like a soft cookie, but for some reason I could not get this cookie to stay soft – no matter when I took it out of the oven – when it cooled it hardened.  So instead of a ginger molasses cookie I ended up with a ginger snap cookie – I was not disappointed at all – the flavor zings in your mouth and the smell so gingery!

Ginger Snaps

Ginger served

Ingredients

2 1/4 cup flour
1 tsp baking soda
1/2 tsp sea salt
2 Tbl grated, fresh ginger
3/4 cup butter, room temperature
2 cups sugar
1/4 molasses
1 egg

1. In a large bowl, combine the flours, baking soda and salt – set aside.

2. In another large bowl, beat the ginger, butter and 1 cup of sugar until creamy.

Ginger first ingredientsGinger creamed

3. Add the molasses and egg to the butter mixture and combine well.

Ginger molasses

4. Fold the flour into the butter mixture until just combined.

5. Chill for 1 hour.

Ginger out of fridge

6. Preheat the oven to 350 degrees.

7. Roll the dough into 1 1/2 inch balls and roll them in the remaining 1 cup of sugar.  Place then 2 inches apart on an ungreased cookie sheet.

Ginger rollingGinger ready for oven

8. Bake for about 12 minutes – centers will still be soft.

9.  Let the cookies stay on the cookie sheet for about 1 minute before removing to a rack to cool completely.

Your kitchen will smell SO good!  Stella even commented on how good it smelled when these were baking.

Digiprove sealCopyright secured by Digiprove © 2013
Posted in Cookies, Recipes | Tagged , , , | 2 Comments

Christmas Cookies: Scottish Shortbread

Stella loves when we do the cut out sugar cookies with icing and decorating. Me, not so much – it is a lot of work.  Sugar cookies only happen every other year and this year was an off year.  Instead of sugar cookies I decided on Scottish shortbread.  It is so easy to make and the buttery, crunch of biting into a piece of shortbread – absolutely divine! Dunked into tea – WOW!

Scottish Shortbread

Short served

Ingredients

1 pound of butter, room temperature (preferably organic)
1 cup of sugar (preferably organic)
4 cups of flour (I used a combination of organic white and organic spelt)

1. Preheat oven to 350 degrees.

2. Cut the butter and place in a glass bowl. With a mixer, whip until creamy.

Short butter creamed

3. Add the sugar to the butter and combine until well blended.

Short sugar added

4. Add the flour to the butter mixture, 1 cup at a time.  By the 3rd cup you may have to mix with a wooden spoon and possibly by the 4th cup you may have to mix with your hands.

Short flour added

5. Scoop the dough into a 9×13 glass baking or ceramic baking dish.

Short in pan

6. Spread out evenly in the pan.  With a fork go around the edges of the dough and “scallop”.  With the tines of the fork prick all over the dough, these are the vent holes.

Short ready for oven

7. Bake for 45 – 60 minutes.  You want the shortbread to be a golden brown color.

Short out of oven

8. Take out of oven and cut immediately into 2′ pieces (or larger), but then allow to cool completely in the baking dish.

Store in an airtight container in the refrigerator.  The coldness enhances the flavor of the shortbread.

Indulge and have a piece or two!

Digiprove sealCopyright secured by Digiprove © 2013
Posted in Cookies, Recipes | Tagged , , , | 2 Comments