Follow
Usually we do not do a different dinner each night of the week. I might make a big pot of soup on Sunday along with a pot of rice, a pot of beans and one or two other things. From these we put together our dinners for the week. So to go to two choices for dinner was not that big of a stretch for us. Our choices were Bean Burritos and Squash Raviolis with Broccoli.
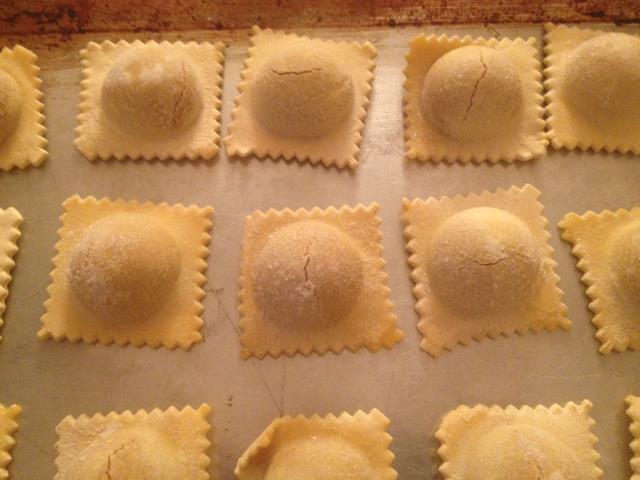
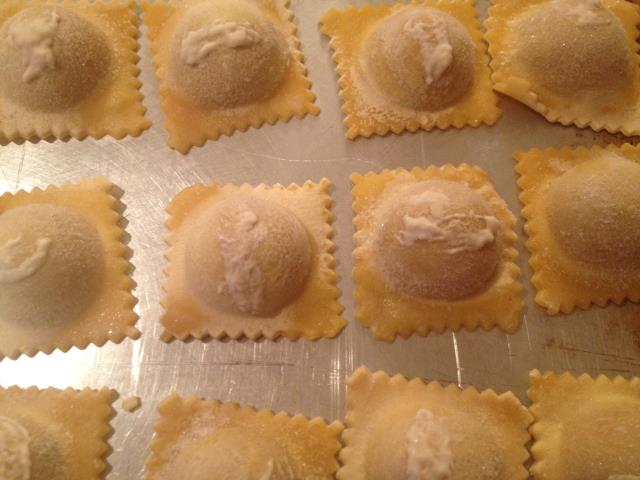
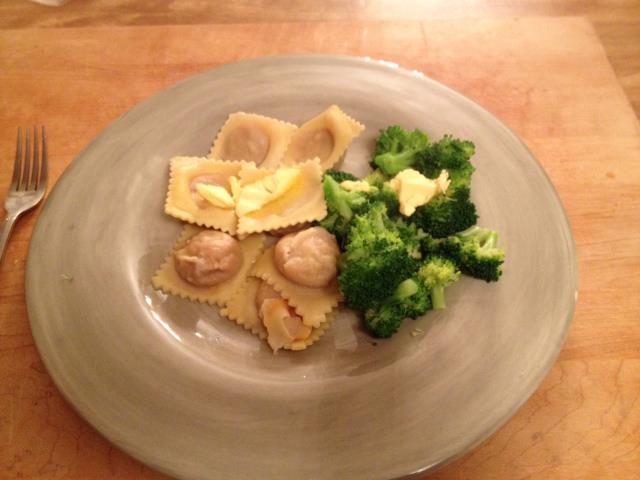
We have a local ravioli maker here in Floyd and they are called Floydioli’s. These are some of Stella’s favorite raviolis ever! I was talking to owner and she said I have splits (where the pasta is split) and I can’t sell them would you be interested in some? Of course I said yes. She knows how much Stella loves them and at $7.99 per package (2 servings) these are not on our regular dinner menu. I took them out of the freezer, made a paste with flour and water, sealed the splits and stuck them back in the freezer. I then cook them up and steam some broccoli with butter on both – delicious. There are no preservatives and as many of the ingredients as possible are from local growers/suppliers.

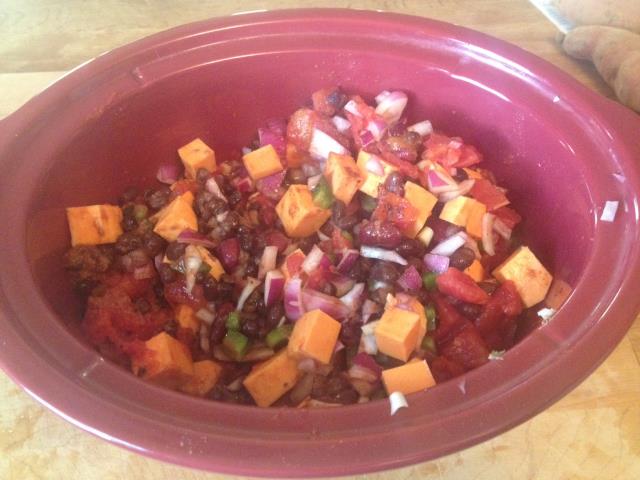
Our other dinner was bean burritos.
Bean Burritos
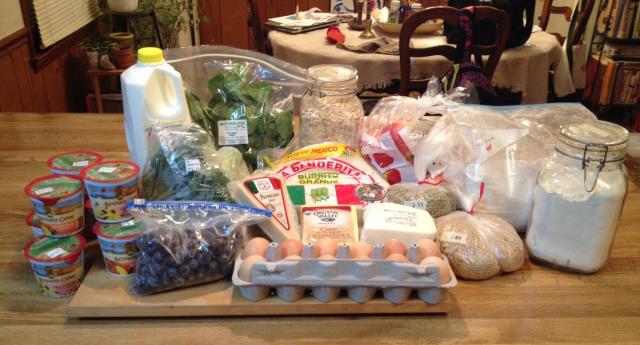
Ingredients
2 cups lentils (soaked in water with some buttermilk) $3.12
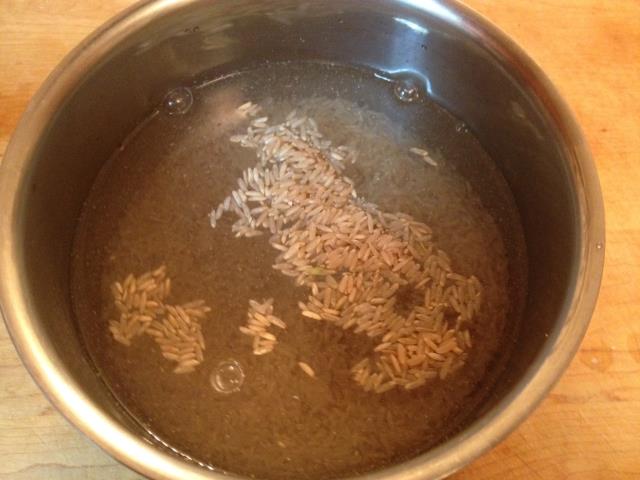
2 cups brown rice (soaked in water with some buttermilk) $0.76
1 package fresh spinach $3.53
4 0z. raw milk cheddar, grated $1.65
4 0z. mozzarella cheese, grated $1.99
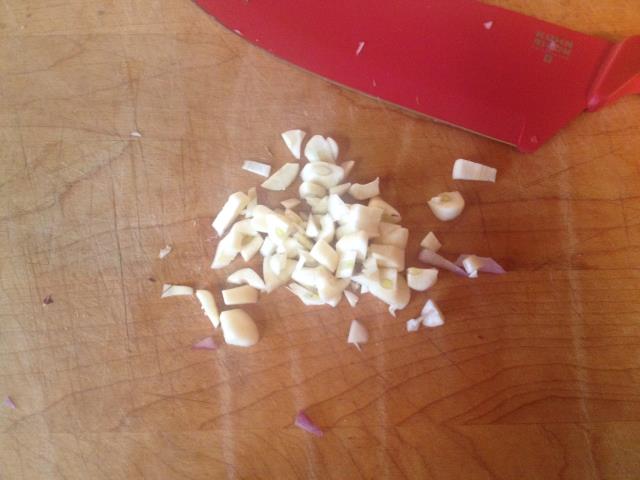
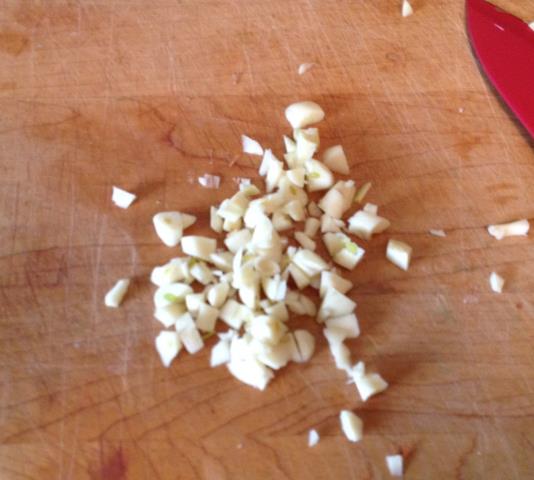
5 – 7 gloves garlic, chopped
8 Tbl soy sauce
1 sheet Kombu (seaweed) $0.38
10 tortilla wraps $2.04
Total cost = $14.47 (I added a dollar to the costs listed above for the other items)
Per serving cost = $1.45 (with enough beans and rice to make 10 more burritos)
1. Place your beans in a glass bowl and cover with water, adding 2 Tbl buttermilk, whey or lemon juice. Cover and let sit for at least 7 hours.
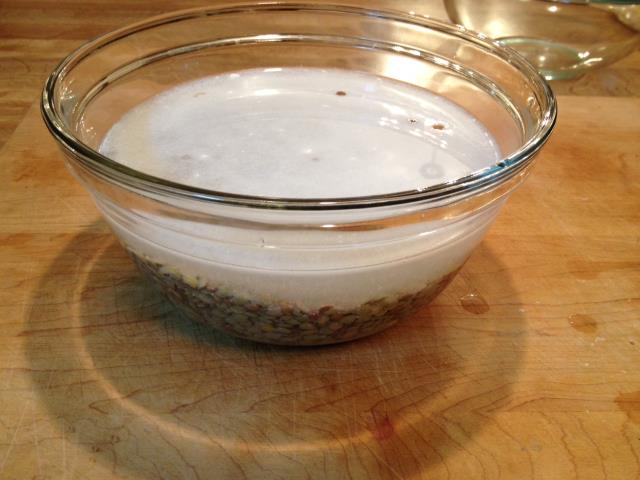
2. Place the rice in a glass bowl with 4 cups warm water and 4 Tbl buttermilk, whey or yogurt. Cover and let sit in a warm place for at least 7 hours.
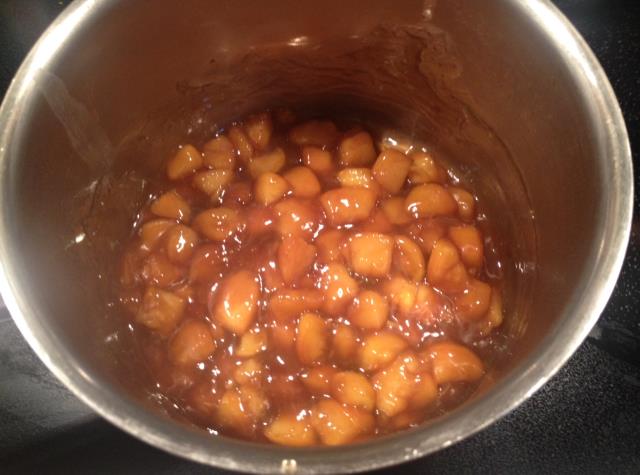
3. When ready to make the rice and beans, boil 8 cups of water in a large soup pot.
4. Chopped your garlic.
5. Rinse both the rice and beans.
6. When the water is boiling add the rice, beans, garlic and soy sauce. Cover and simmer for about 45 minutes.
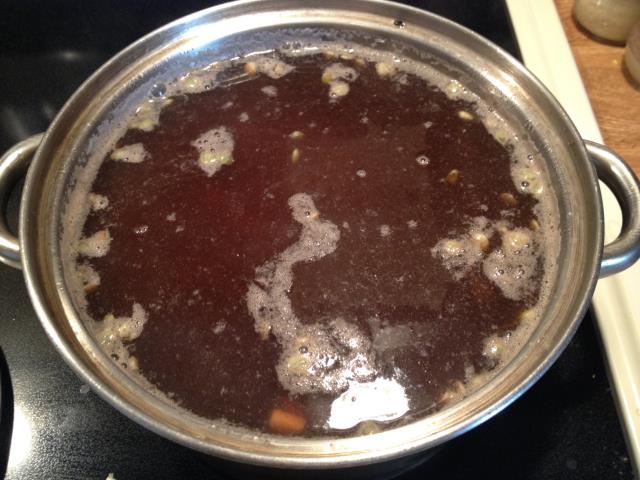
7. Remove the cover, add the Kombu and simmer for an additional 15 minutes. Stir to make sure the bottom is not burning. If there is still water after 15 minutes you can take of the heat and allow the rest of the water to be absorbed.

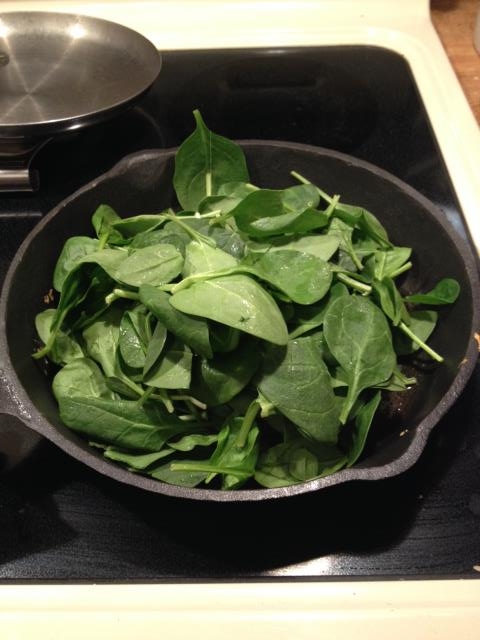
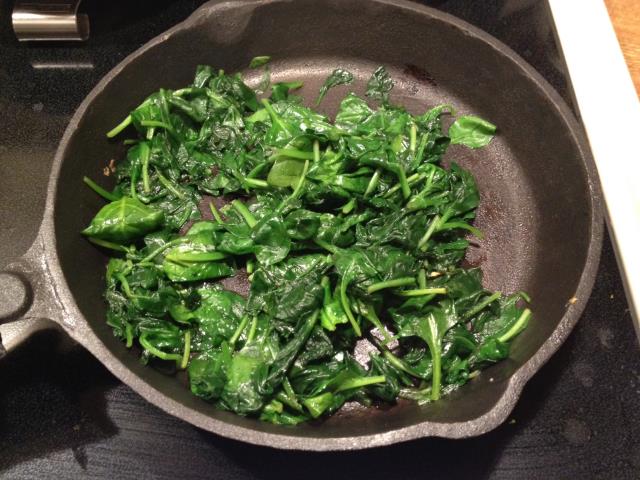
8. Saute the spinach in lard, tallow, coconut oil, butter or olive olive.
9. Remove the Kombu from the rice and beans.
10. Grate your cheese.
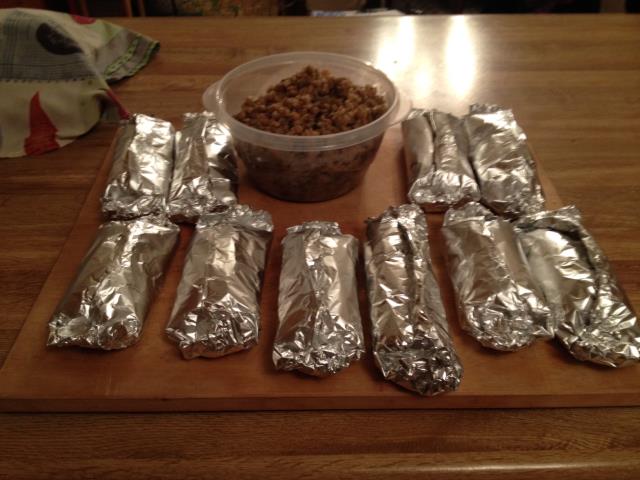
11. Set up your work area and cut 10 pieces of tin foil to wrap your burritos in.
12. On a dry pan, warm your tortillas before adding ingredients.
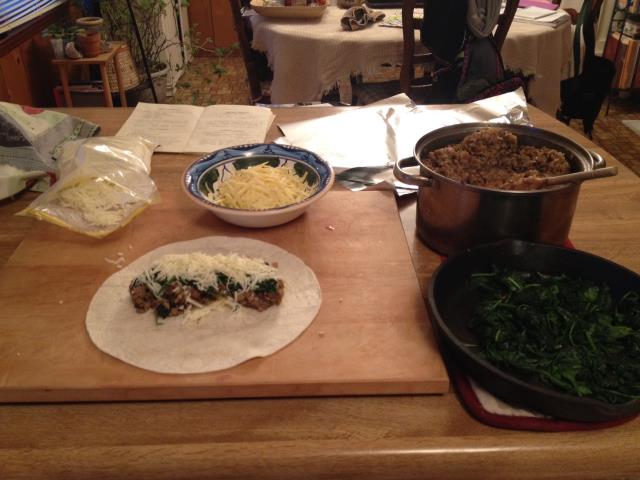
13. To make: I placed some cheddar cheese in the center of the wrap, added rice and beans, spinach and then mozzarella – roll up and the wrap in tin foil.
This made enough for 5 dinners – I placed some in the refrigerator and the others in the freezer. When cooking the ones in the refrigerator – I place on my toaster oven baking sheet and bake for about 20 minutes at 300 degrees – this heats them and melts the cheese. If using the ones in the freezer – I take them out the morning of – let them defrost and then cook the same as above.
 Copyright secured by Digiprove © 2014