Christmas Cookies: Crispy Pecan Balls

It wasn’t until a couple of years ago that I started liking pecan balls.  I was never a real fan of pecans – but these were nice bite size little treats.  This year I changed the recipe up a little – I decided to make crispy pecans and add those to the recipe.

I have posted about crispy nuts before, but in case you missed those postings here is why I soak my nuts first.  Nuts can be hard on our digestive system.  I have mentioned this before, but one of my favorite cookbooks in Nourishing Traditions by Sally Fallon.  This cookbook highlights traditional preparation of our foods.  If one looks at or back to traditional peoples, they knew how to prepare foods for the most nourishment.  Nuts are best eaten after they have been soaked.  The soaking process makes nuts easier to digest and their nutrients more readily able to be absorb.  Soaking them in salt water (brine) activates enzymes that neutralize the enzyme inhibitors.

Crispy Pecan Balls

Pecan served

Ingredients

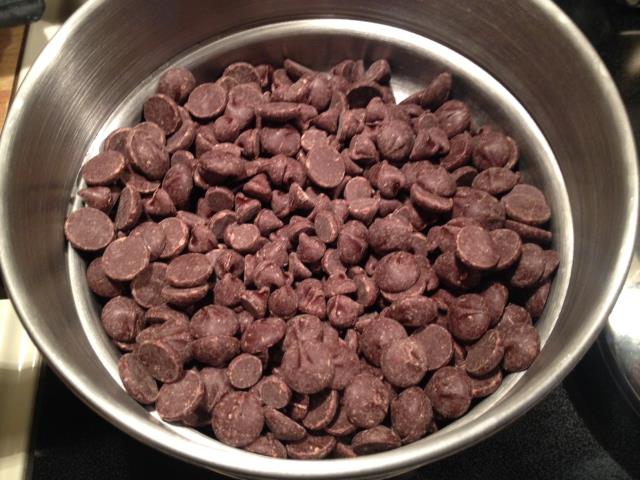
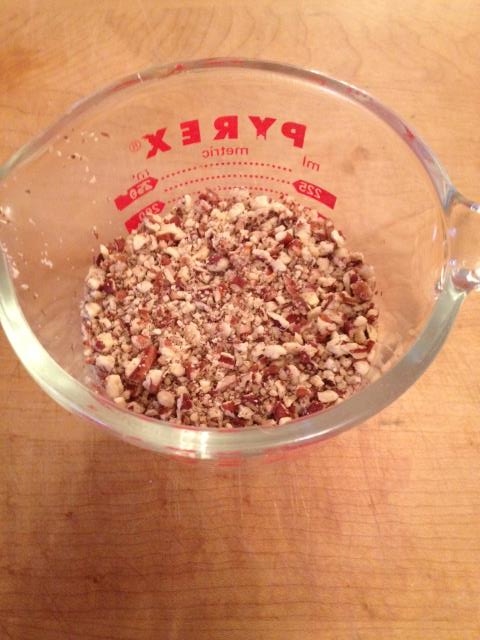
1 cup Crispy Pecans, crushed or chopped
1 cup butter, room temperature
2 cups powdered sugar
2 tsp vanilla
2 cups flour
1/4 tsp baking powder

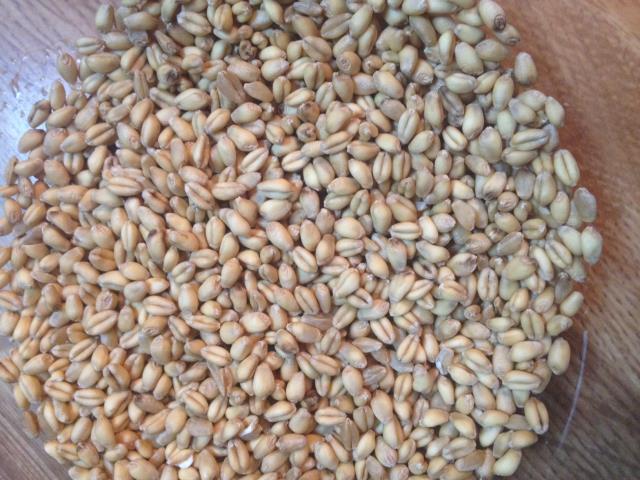
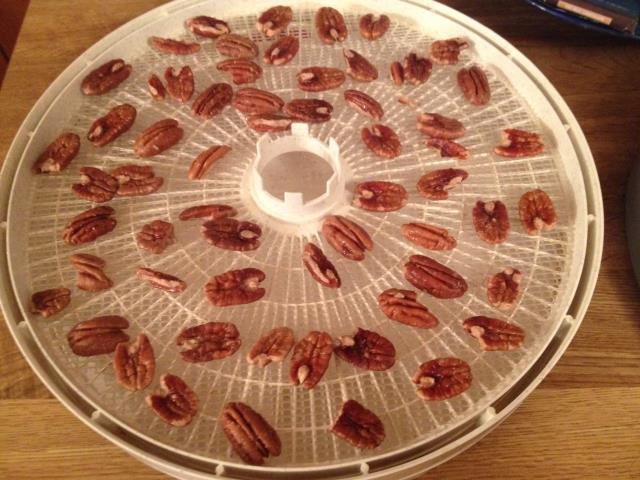
1. The day before (in the morning) soak your pecans.  I did about 2 cups of pecans, 1 Tbl sea salt and enough filtered water to cover.  Let soak for 7 hours.

Pecan soaking

2. Drain the nuts and place in a dehydrator.  Dehydrate for about 12 hours at 150 degrees.

Pecan drying

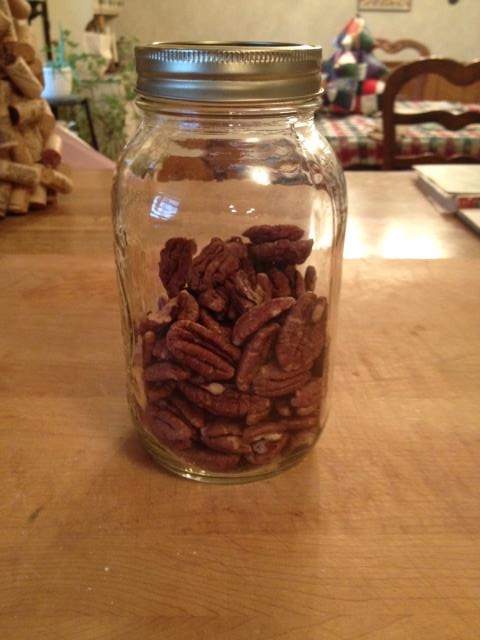
3. When your nuts are completely dry – store in an airtight container.

Pecans dried

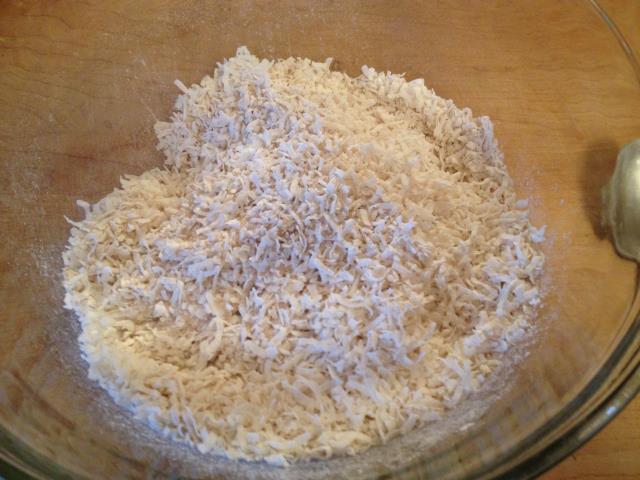
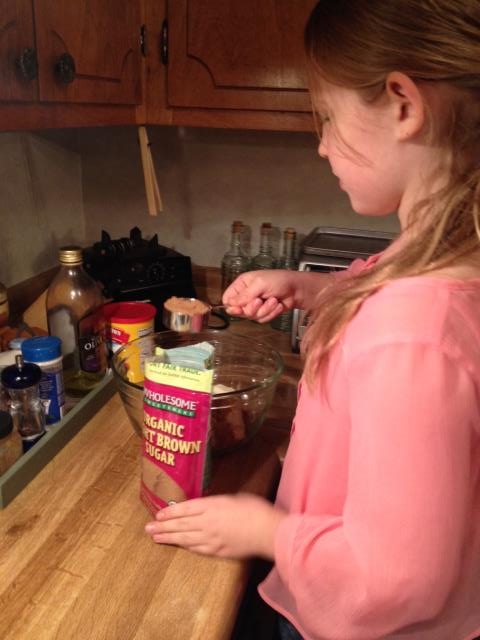
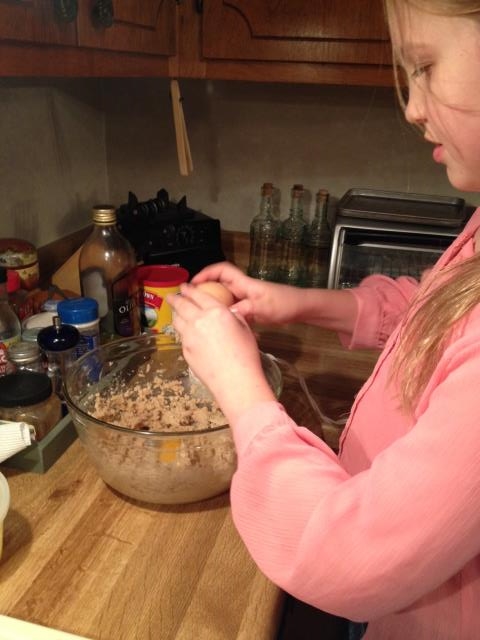
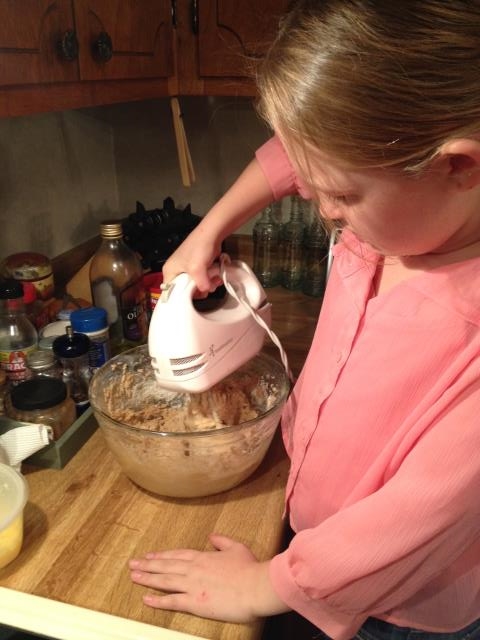
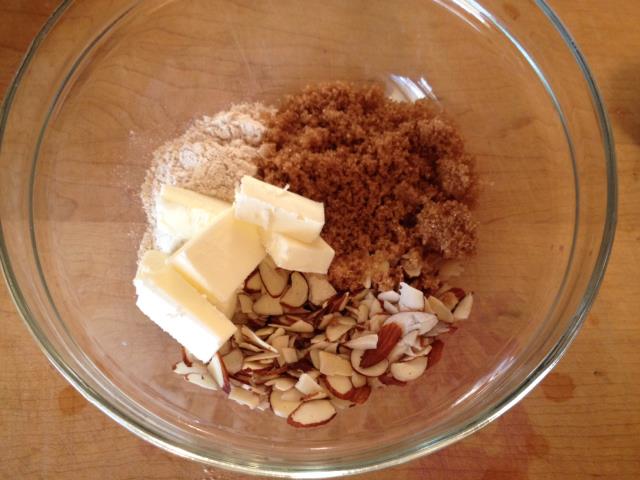
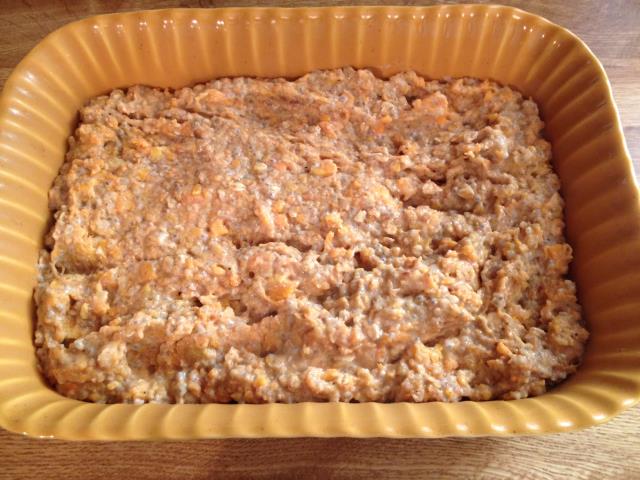
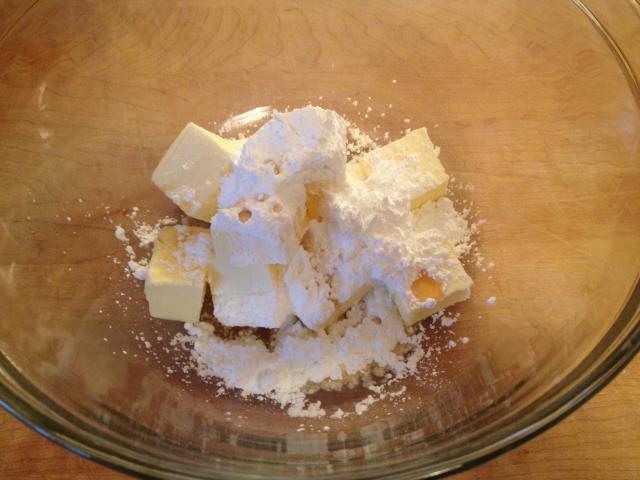
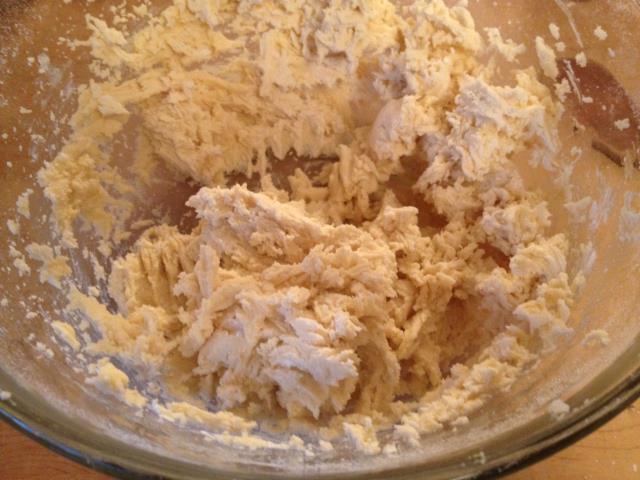
4.  In a large bowl, beat the butter, 1/2 cup powdered sugar and vanilla until smooth and creamy looking.

Pecan butter sugarPecan creamed

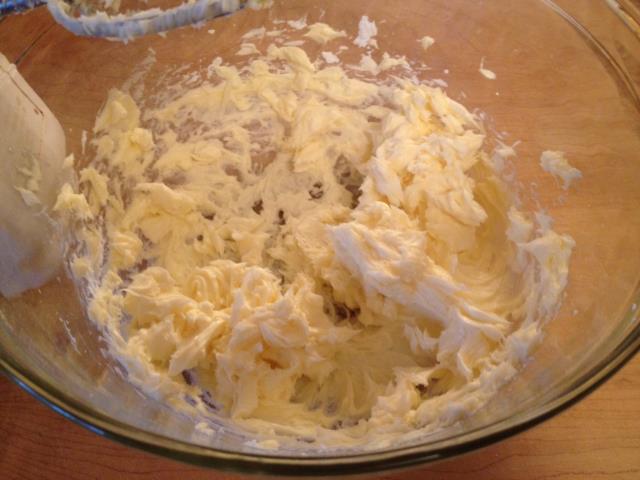
5. Add the flour and baking powder to the butter mixture.  Beat until well blended.

Pecan dry

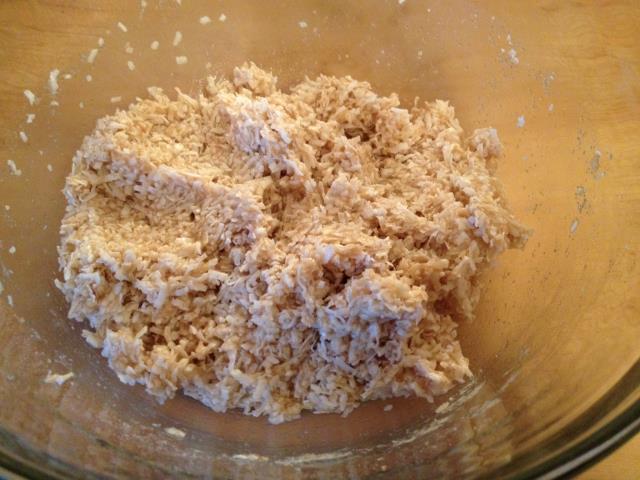
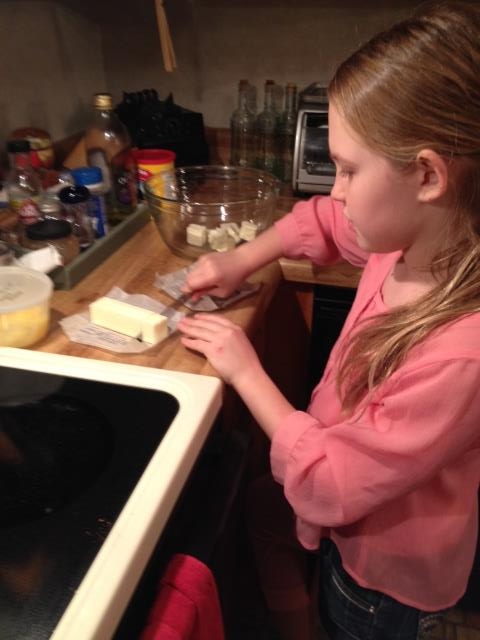
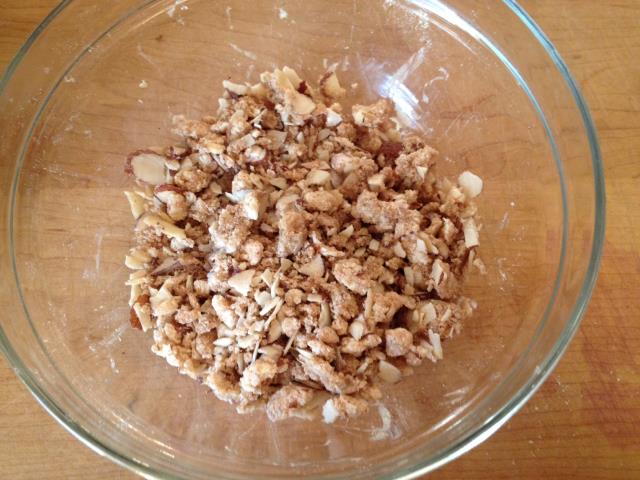
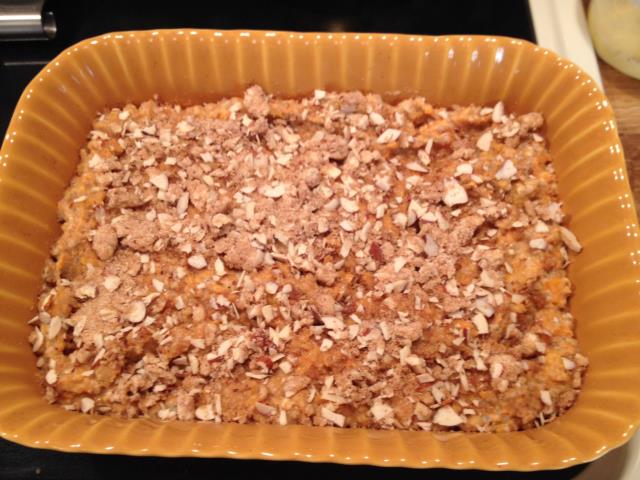
6. Place your pecans in a plastic zip lock bag and with a rolling pin – crush your pecans.

Pecan crushingPecan crushed

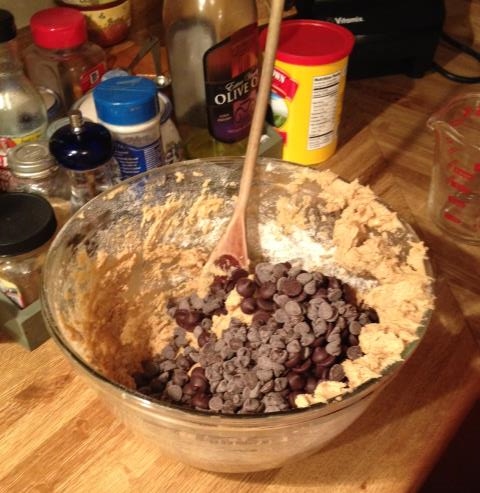
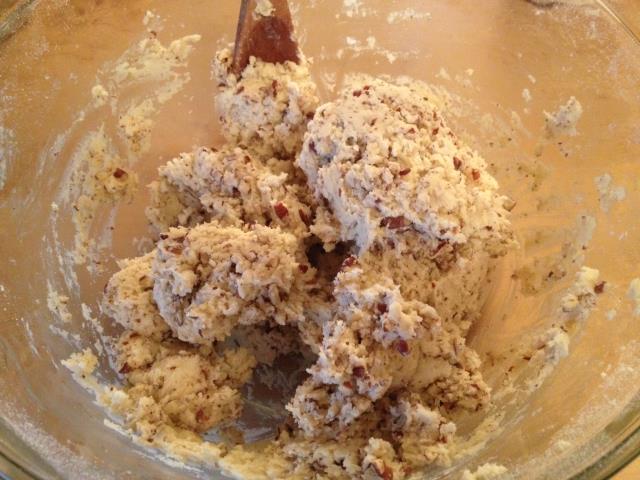
7. Add the pecans to the the butter/flour mixture and stir with a wooden spoon until well blended.

Pecan addedPecan dough

8. Preheat the oven to 300 degrees.

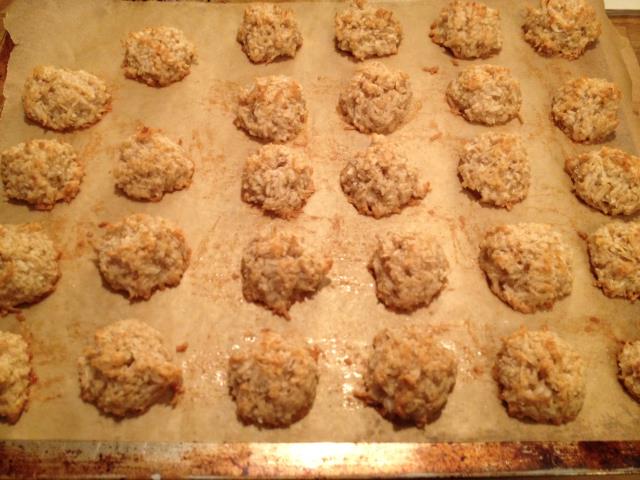
9. Shape the dough into 1 inch balls and place on a buttered baking sheet about 1 inch apart.

Pecan ready for oven

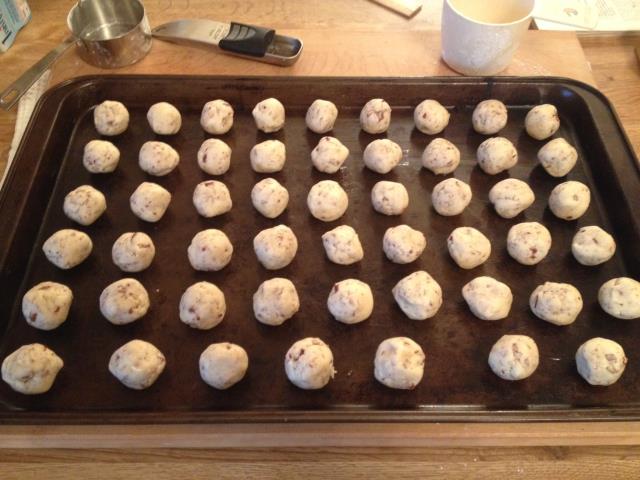
10. Bake for about 25 minutes or until they are a pale brown.

11. Let cookies stand on cookie sheet until they are cool enough to handle.

12. Place the remaining 1 1/2 cup powdered sugar in a shallow bowl and roll the warm cookies in the powdered sugar.  Set the rolled cookies on a rack and allow to cool completely.

Pecan rollingPecan powdered

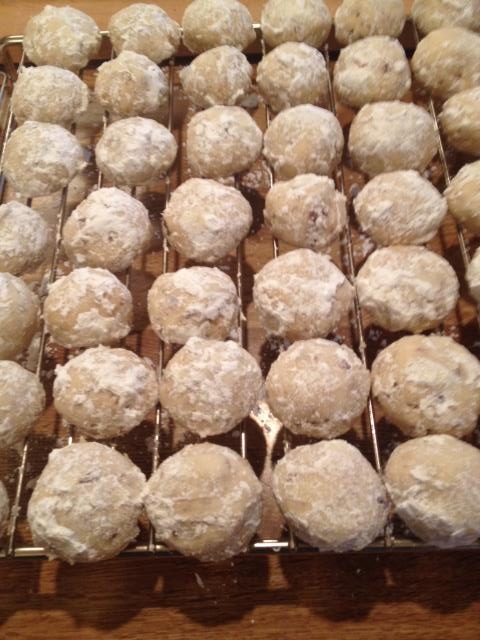
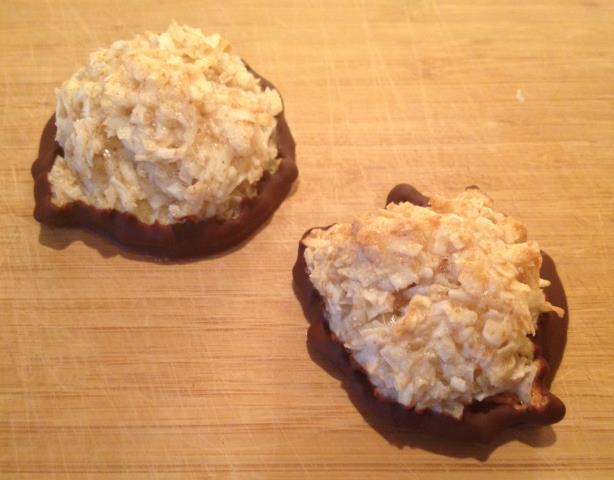
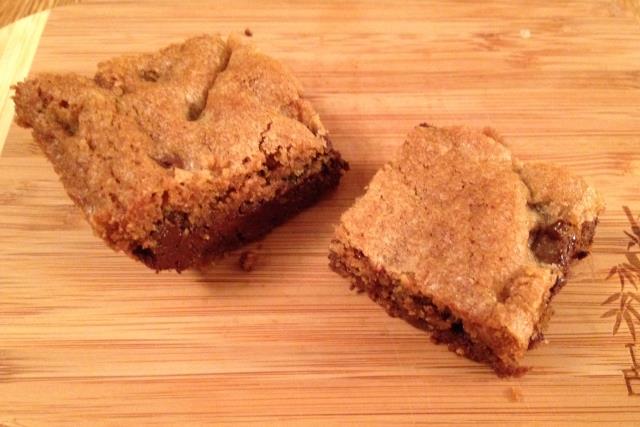
These are crunchy and creamy all at once.  The crispy pecans really add to the flavor.  I find that crispy nuts are more flavorful and the nuts have almost a buttery taste to them.  Enjoy!

Digiprove sealCopyright secured by Digiprove © 2013
Posted in Cookies, Recipes | Tagged , , , | 5 Comments

Christmas Cookies: Chocolate Dipped Macaroons

We started a tradition a few years back of making many different cookies and giving them as gifts during the holidays.  Each year the only time I make my peanut butter bons bons is Christmas – so that is a given on the list.  The other cookies that I make change each year – so that the recipients don’t get tired of the same cookies year after year.  This year I changed it up – not that I had to since all here will be first time recipients, but for myself – so that I don’t get burned out on the same cookies.

So for the next several posts you will be bombarded with Holiday cookie recipes……  Wishing you happy baking!!

Chocolate Dipped Macaroons

Choc macaroons done

Ingredients

2 2/3 cups unsweetened coconut flakes
2/3 cup organic sugar
4 Tbl flour (I used sprouted flour)
1/4 tsp sea salt
4 egg whites (save the yolks and add them to your next batch of scrambled eggs – yummy!)
1 tsp vanilla
1 cup semi sweet chocolate chips
1 cup dark chocolate chips

1. Preheat your oven to 325 degrees.

2. In a bowl combine the coconut, sugar, flour and salt.

Choc macaroons coconut sugar

3. Stir in the egg whites and vanilla – mix well.

Choc macaroons egg whites

4. Line a cookie sheet with parchment paper.

5. Drop by the spoon onto the line cookie sheet.

6. Bake for about 18 t0 20 minutes – they will get a golden brown.

Choc macaroon baked

9. Cool on a wire rack.

10. In a double boiler, place about 1 cup semi sweet chocolate chips and 1 cup dark chocolate chips.  Melt.

Choc macaroons chipsChoc macaroons melted

11. Taking a macaroon, dip in the melted chocolate to cover the bottom and a little bit of the sides.  If there is too much chocolate on the bottom of the cookie, use a spatula to scrape some off.

Choc macaroons dippingChoc macaroons dipped

12. Place the dipped macaroons back onto the parchment lined baking sheet.  When they are all dipped, place in the refrigerator so that the chocolate hardens.

Choc macaroons all dipped

13. Store in an airtight container in the refrigerator until you are ready to place in a tin or to eat.

Digiprove sealCopyright secured by Digiprove © 2013
Posted in Cookies, Recipes | Tagged , , , | 2 Comments

Kids Crafting: Teacher Presents

Stella is really settling into her new home and one of the best things is that she has made a BFFE (best friend for eternity)!  I was worried that she would not make another BFFE here, but she did and in no time at all.  Her best bud spends entire weekends with us, coming home on the bus Friday after school and then I bring her home Sunday afternoon.  It is wonderful to hear them laughing and playing.  This past weekend with our nasty weather they spent hours on their rainbow looms – trying new creations, did karaoke, dance party and spent about 5 hours making holiday gifts for their teachers.

Kids Craft TeachersI went through my craft items and found 2 wooden candle holders, 2 wooden candle sticks and some wooden center pieces Kids Craft Teachers 1(1 angel and 1 tree).  Next I took out glitter, glue, embellishments, felt and paint.  They covered the table with newspaper and then started creating, many hours later they were done, cleaned up and were off to their next activity.  None of us could believe how long they spent on their gift making!

Kids Craft Teachers 2Kids Craft Teachers 3Kids Craft Teachers 4


They weren’t sure how or if their teachers would like the gifts – but I told them that they were made from their heart and of course they would love them!  They couldn’t wait to give them, so I drove Stella to school 2 weeks before the holiday break.  Oh, did I mention- it was also a pajama day!

Kids Craft Teachers done 1Kids Craft Teachers done

Digiprove sealCopyright secured by Digiprove © 2013
Posted in Kids Crafts | Tagged , | 2 Comments

Patterned Women’s Fingerless Gloves

Well it seems I am on a fingerless glove frenzy.  I just love them and they are so easy and fast to knit!  When the weather is cold, but not cold enough to bundle up these are great for taking a walk, running your errands and even for using in a cold office!  They are fast to knit and can usually be done in an afternoon or over a couple of evenings.  I started making these for a teenager, but after I was about half way through with the first one – decided I wanted them for one of the adults on my list.  One can never tell what a teenager is going to like or not like!

Pattern Women’s Fingerless Gloves( original design by Nancy Ricci http://gettingpurlywithit.com/blog/free-pattern-lana-gloves )

Pattern fingerless done on

Items Needed

Worsted weight yarn (about 1/2 a skein)
Size US 7 straight needles
Darning needle

Note:  These fit a petite hand.  If wanting to make larger I would add on in 2 stitch increments and keep pattern the same, but add to the underside of the glove.  For example in Step 1 (right) I would knit 28 and then K1, P1 pattern to end or in Step 2 (right) I would follow design pattern and then knit 14.

Abbreviations:

Kfb – knit front and back of stitch
K2tog – Knit 2 together
SSK – slip stitch knit wise, slip stitch knit wise and knit the 2 slipped stitches together

For Right Glove

Cast on 38 stitches leaving a 10″ tail

Step 1
Row 1: Knit 26, (K1,P1) to end
Row 2: (K1,P1) 6x, knit 25, P1
Row 3: Repeat row 1
Row 4: Repeat row 2

Pattern fingerless start right

Step 2
Row 5: K2, (kfb) 4x, (ssk) 4x, (k2tog) 4x, (kfb) 4x, knit 12
Row 6: Purl
Row 7: Knit
Row 8: Purl

Repeat row 5 to row 8, 6 more times

Pattern fingerless step 2 right

Step 3 (First increase)
Row 9: K2, (kfb) 4x, (ssk) 4x, (k2tog) 4x, (kfb) 4x knit 12
Row 10: Purl
Row 11: K2, kfb, k to last 3 stitches, kfb, k2
Row 12: Purl

Pattern fingerless first increase right

Step 4
Row 13: K3, (kfb) 4x, (ssk) 4x, (k2tog) 4x, (kfb) 4x, knit 13
Row 14: Purl
Row 15: Knit
Row 16: Purl

Pattern fingerless step 4 right

Step 5 (Second increase)
Row 17: k3, (kfb) 4x, (ssk) 4x, (k2tog) 4x, (kfb) 4x, knit 13
Row 18: Purl
Row 19: K2, kfb, k to 3 last stitches, kfb, k2
Row 20; Purl

Pattern fingerless second increase right

Step 6
Row 21: K4, (kfb) 4x, (ssk) 4x, (k2tog) 4x, (kfb) 4x, knit 14
Row 22: Purl
Row 23: Knit
Row 24: Purl

Repeat row 21 to row 24, 3 more times

Pattern fingerless step 6 right

Step 7
Row 25: K4, (kfb) 4x, (ssk) 4x, (k2tog) 4x, (kfb) 4x, knit 14
Row 26: Purl
Row 27: (k1, p1) to end of row

Repeat row 27, 7 more times.

Bind off loosely, leaving a 20” tail.

Pattern fingerless done right

You can block your glove prior to seaming. Seam your glove, leaving an opening for the thumb.

For Left Glove

Cast on 38 stitches leaving a 10″ tail

Step 1
Row 1: (K1, P1) 6x, k26
Row 2: P1, k25, (K1, P1) 6x
Row 3: Repeat row 1
Row 4: Repeat row 2

Pattern fingerless step 1 left

Step 2
Row 5: K12, (kfb) 4x, (ssk) 4x, (k2tog) 4x, (kfb) 4x, knit 2
Row 6: Purl
Row 7: Knit
Row 8: Purl

Repeat row 5 to row 8, 6 more times

Pattern fingerless step 2 left

Step 3 (First increase)
Row 9: K12, (kfb) 4x, (ssk) 4x, (k2tog) 4x, (kfb) 4x, knit 2
Row 10: Purl
Row 11: K2, kfb, k to last 3 stitches, kfb, k2
Row 12: Purl

Pattern fingerless first increase left

Step 4
Row 13: K13, (kfb) 4x, (ssk) 4x, (k2tog) 4x, (kfb) 4x, k3
Row 14: Purl
Row 15: Knit
Row 16: Purl

Pattern fingerless step 4 left

Step 5 (Second increase)
Row 17: k13, (kfb) 4x, (ssk) 4x, (k2tog) 4x, (kfb) 4x, k3
Row 18: Purl
Row 19: K2, kfb, k to 3 last stitches, kfb, k2
Row 20; Purl

Pattern fingerless second increase left

Step 6
Row 21: K14, (kfb) 4x, (ssk) 4x, (k2tog) 4x, (kfb) 4x, knit 4
Row 22: Purl
Row 23: Knit
Row 24: Purl

Repeat row 21 to row 24, 3 more times

Pattern fingerless step 6

Step 7
Row 25: K14, (kfb) 4x, (ssk) 4x, (k2tog) 4x, (kfb) 4x, knit 4
Row 26: Purl
Row 27: (k1, p1) to end of row

Repeat row 27, 7 more times.

Bind off loosely, leaving a 20” tail.

Pattern fingerless done left

You can block your glove prior to seaming. Seam your glove, leaving an opening for the thumb.

Pattern fingerless sewingPattern fingerless done

Not really sure why they look like different colors, but they are not! I will be making another pair of these for myself come January – have to finish up all the Christmas gifts first! Maybe I will knit a pair and put them under the tree for me from Santa!!

Digiprove sealCopyright secured by Digiprove © 2013
Posted in Crafts, Knitting | Tagged , , | 3 Comments

Kale And Sweet Potato Soup

The forecast called for an ice storm this past Sunday and in the storm warning they said we could loose power.  Since we have an electric stove I made a pot of soup that I could heat up on the wood burning stove.  I was in the mood for something with kale, had sweet potatoes, onions, carrots and of course garlic on hand, the brain wheels were turning.  I went to work creating a kale soup.

Kale And Sweet Potato Soup

Kale soup served

Ingredients

1 onion, diced
4 – 5 cloves of garlic, minced
1 carrot cut up
1 sweet potato, peeled and cut into bite sized pieces
2 tsp thyme, dried
4 – 5 cups of broth (your choice)
1/2 cup wheat berries
3 – 4 tsp olive oil, coconut oil or lard
1 bunch of kale, chopped up

1. The evening before soak the wheat berries in cold water. You want about an inch of water above the wheat berries.

wheat berries

wheat berries

2. As you are cutting your ingredients, heat the broth.

Kale soup veggies

3. In a large pot heat the oil – I used lard.

4. Add the onion and saute for about 10 minutes or until starting to brown and translucent.

Kale soup onion

5. Add the carrots and saute for about 5 minutes.

Kale soup carrot

6. Add the sweet potato and saute for about 5 minutes.

Kale soup sweet potato added

7. Add the garlic and saute for another 5 minutes or so. Your kitchen should be smelling really good by now.

Kale soup garlic added8. Add the thyme (crush it up in your palm before adding) – saute for about 2 minutes.

Kale soup thyme

9. Drain the wheat berries and add to the pot along with 2 cups of stock.  Bring to a boil and then turn down to medium and simmer for 10 – 15 minutes.

Kale soup broth added

10. Add another 2 – 3 cups of broth and the kale – simmer for 10 – 15 minutes.

Kale soup kaleKale soup kale cutKale soup kale added

Serve. I have to say this is one of the best soups I have ever made.  It tasted so buttery and sweet – like I had added sugar.  I couldn’t stop talking about the soup and made Stella try it and she loved it and her friend that was here I made try the broth – she thought it was really good. I really think what made the flavor so divine was the lard and the length of sauteing the ingredients – it really brought out the full flavor of all the ingredients.

Digiprove sealCopyright secured by Digiprove © 2013
Posted in Recipes, Soup | Tagged , , , | 2 Comments

Kids Can Cook: Chocolate Chips Bars

Stella has asked me to start to teach her how to cook this winter. She bakes and she helps me cook and prepare meals – but I think she is a little afraid of the oven/stove.  I think this started when we were in NY since our stove there was gas, she was afraid of the fire. Now that we have an electric stove (ugh!) she is still a little tentative.  She has a list of items that she wants to learn how to make herself – top on the list is grilled cheese.  For the past couple of days she has been asking me if she could make cookies.  I said yes and then was dreading those words “mama, can I make the cookies now?”  Not because I didn’t want her baking, but because cookies take sooooo looooong and she usually gets bored and I end up doing the last couple of sheets of cookies.  I was able to convince her to make chocolate chips bars instead, thanks to my cousin (she had made some the week before and Stella loved them!)

Chocolate Chip Bars

Choc chip bar served

Ingredients

2 sticks butter, room temperature (don’t throw out the stick wrappers)
3/4 cups sugar or rapadura
3/4 cups brown sugar, packed
1 tsp vanilla
2 eggs
2 1/4 cup flour (we used spelt)
1 tsp baking soda
1/2 tsp sea salt
2 cups chocolate chips (we did a combo of semi-sweet and dark)

1. Preheat the oven to 375 degrees.

2. Cream the butter, sugars and vanilla together.

Choc chip bars adding the butterChoc chip bars adding the brown sugarChoc chip bars creaming the butter

3. Add eggs, beat well.

Choc chip bars adding eggs

4. In a separate bowl combine the flour, baking soda and salt.

5.  Gradually add the flour mixture to the butter mixture – make sure it is well blended, scraping the sides and the bottom.

Choc chip bars mixing in flour

6. Add the chocolate chips and stir well.

Choc chip bars adding the chips

7. Grease a jelly pan or glass 9×13 baking dish.  Use the butter stick wrappers to grease – 2 wrappers greased the bottom and the sides of the baking dish.

8. Spread the batter evenly in the baking dish and bake for 20 – 30 minutes or until golden brown.  The toothpick test will not work on this – it will come out wet.  We baked for 30 minutes and it was a lovely golden color.

Choc chip bars putting in the panChoc chip bars in the pan

9. Allow to cool (don’t have to wait until completely) before cutting.

Don't forget to lick the beaters - the best part!

Don’t forget to lick the beaters – the best part!

Enjoy!! I know that we did. These will definitely curb your sweet tooth – they are very rich, so a small bar is enough!

Digiprove sealCopyright secured by Digiprove © 2013
Posted in Dessert, Kids Cooking, Recipes | Tagged , , , | 1 Comment

Sweet Potato Oats and Chia Seeds Casserole

I made this recipe a couple of years ago, but this time I had chia seeds and wanted to make it again.  I omitted the coconut but think it is better with it.  I also would double the topping to cover the whole casserole base.

We were the lucky recipients of a beautiful Christmas tree and had been keeping it outside in a bucket, but the weather has turned cold here and each morning I was having to break the ice and fill back up with water.  Well, I had had enough of that and decided it was time to bring the tree inside and decorate.  I have never put our tree up this early, but figured why not.  My mom usually puts the tree up the weekend after Thanksgiving and takes it down New Year’s Day – looks like we will be doing the same this year.

I wanted to have something yummy for breakfast and while we were decorating and have a bunch of sweet potatoes – so decided to try this recipe again.

Sweet Potato, Oats and Chia Seed Casserole

Swt pot served

Ingredients

3/4 cup regular oats
1/2 cup buttermilk (preferably from raw milk, not pasteurized)
1 1/2 cups milk (preferably whole, raw)
1 small sweet potato, peeled and chopped (about 2 cups)
1 ripe large banana
1 Tbl chia seeds
1 – 2 tsp vanilla
1 tsp cinnamon
1/8 tsp nutmeg
1/4 tsp salt (sea)
2 Tbl pure maple syrup

Ingredients – Topping

1/3 cup crispy almonds
2 Tbl butter
2 Tbl flour (I used spelt)
1/4 cup brown sugar

1. Place the oats in a glass bowl and mix with 1/2 cup buttermilk.  Cover and let sit overnight.

Swt pot oats and buttermilk

Soaking

Soaking

Soaked

Soaked

2. Bring a pot of water to a boil, while the water is heating peel and chop the sweet potato.  When the water is boiling add the sweet potato, cook over medium heat until fork tender about 5 – 1o minutes. Drain and set aside.

Swt pot potatoes

3. Rinse the pot and add milk, chia seeds and the soaked oats, mix well and bring to a boil.  Reduce the heat cook for about 5 – 7 minutes, stirring frequently until most of the liquid is absorbed.

Swt pot chia mixSwt pot chia cooked

4. Preheat the oven to 350 degrees.

5. While the chia mixture is cooking make the topping.  Add all the ingredients into a glass bowl and them mix with a fork or your hands until it is crumbly.

Swt pot topping ingredientsSwt pot topping mixed

6. Add the sweet potato and banana, mash with a potato masher.  Add the spices, salt and maple syrup. Cook on low for a few minutes.

Swt pot spices

7. Place the sweet potato mixture into a baking dish and spread out evenly.  I used one that holds about 4 cups.

Swt pot in pan

8. Sprinkle the topping on top.

Swt pot ready for oven

9.Place in the oven and cook for about 20 minutes.  Turn the oven to broil and broil for about 3 – 4 minutes -watching to make sure it does not burn.

Swt pot baked

10. Take out and serve – delicious!!

Stella loved it – having 3 helpings!!

Digiprove sealCopyright secured by Digiprove © 2013
Posted in Breakfast, Recipes | Tagged , , | Leave a comment

Ruffle Children’s Fingerless Gloves

After making the ruffled leg warmers I wanted to make a matching pair of ruffle fingerless gloves.  Using the leg warmer pattern as my base – I was able to make a pattern.  I decided to add some fun fur to the gloves and am so glad that I did.  I really like these and think I need to readjust the pattern for an adult size!

Ruffle Children’s Fingerless Gloves

Ruffle gloves done

Items Needed

1 skein medium weight yarn (I used the leftover skein from the leg warmers and still had yarn left)
Fun fur
Size 7 straight needlesDarning needle

I used a blue hue fun fur yarn – so one glove is lighter blue fun fur and the other a darker hue of blue – both Stella and I thought it made them look cool.

1. Cast on 32 stitches.

2. Work in ribbing (K2, P2) for 4 rows.

Ruffle gloves first ribbing

3. Work in stockinette (knit one row, purl one row) for 3 1/2″ End with a purl row.

Ruffle gloves stockinette

4. RS (right side): *K6, K2tog (knit 2 together) repeat from * to end of row.

5. Purl row

6. *K5, K2tog, repeat from * to end of row.

7. Purl row

Ruffle gloves decrease

8. Adding your fun fur (knitting with a strand of yarn and a strand of fun fur) work in ribbing (K2, P2) for 5 rows.

Ruffle gloves fun fur

9. Cut your fun fur yarn.

10. Purl row

11. Kfb (knit front and back of each stitch) in every stitch across the row.

12. Purl row.

13. Kfb in every stitch across the row.

14. Purl row

15. Knit row

16. Bind off.

Ruffle gloves need to sew

17. With right sides together sew up the seam, starting at the ruffle end.  Sew seam for 4 1/4″. Leave a 1 inch space, weaving the yarn into the gloves and then sew the rest of the seam.  The opening is for the thumb.

Ruffle gloves sewing seam

18. Weave in all ends using a darning needle.

Ruffle gloves pair

I had Stella model these and she asked if they were really a gift – I think that was a hint that she would like a pair!

Digiprove sealCopyright secured by Digiprove © 2013
Posted in Crafts, Knitting | Tagged , , , | 3 Comments

Ruffled Kids Leg Warmers

I am getting a little frantic in my mind about where I am with my gift making, but I do this every year!  On top of Christmas there are 5 birthdays coming up, yikes!  I am making a resolution with myself that I am going to get a head start on gift making, starting this winter – I say this every year too, but this year I am going to do it!!  I  think some of the frantic feeling comes with the fact that most of the gifts need to be mailed and therefore I need to get them done earlier.  I haven’t even figured out what I am going to make Stella this year – nothing has really come to me, but I know it will – I can feel is fostering in my brain.

I love tights, long socks, leggings and I remember leg warmers from days gone by and think I will eventually make myself a pair (another winter project). I have made a couple of kids leg warmers and wanted to make another pair for a present and when this pattern presented itself – the light went on.  The original pattern called for it to be knitted on double pointed needles, which I will avoid at almost all cost – so I re-did this pattern to be knitted on straight needles.

Ruffled Kids Leg Warmers

K leg warmer done

Items Needed

1 skein medium weight yarn (you will not use the whole skein)
Size 7 needles
Darning needles

Gauge: 5 stitches and 7 rows per inch stockinette stitch.

Size: 6 – 12 months (12-18 months, 18-24 months, 2 – 4 years, 4-6 years, 6-8 years, 8-10 years)

Calf circumference: 6.5 (7.5, 8,9, 9, 9.5, 9.5) inches

Ankle Circumference: 4 (5, 5.5, 6.5, 6.5, 7, 7) inches

Length: 5 (6, 6.5, 7.5, 8, 8.5, 9) inches

The pair I made was for 6 – 8 years of age

1. Cast on 28 (32, 36, 40, 40, 44, 44) stitches.

2. Work in 2×2 ribbing for 1 inch (K2, P2).

K Leg warmers ribbing

3. Next row increase: *K7 (8, 8, 10, 10, 11, 11), M1.  Repeat from * across row. 32 (36, 40, 44, 44, 48, 48) stitches.

4. Work in stockinette stitch (knit 1 row, purl 1 row) for 1.5 (2.5, 3, 4, 4.5, 5, 5.5) inches.  Start with a purl row and end with a purl row.

K leg warmer stockinette done

5. Next row: *K6 (7, 8, 9, 9, 10, 10), k2tog (knit 2 together). Repeat from * across row. 28 (32, 36, 40, 40, 44, 44) stitches.

6. Purl

7. Next row: *K5 (6, 7, 8, 8, 9,9), K2tog. Repeat from * across row.  24 (28, 32, 36, 36, 40, 40) stitches.

8. Purl

9. Next row: *K4 (5, 6, 7, 7, 8, 8), K2tog. Repeat from * across row. 20 (24, 28, 32, 32, 36, 36) stitches.

10. Purl

K leg warmer decrease

11. Work in 2×2 ribbing for 1/2 inch (K2, P2).

K leg warmer 2nd ribbing

12. Purl

13. Kfb in every stitch across row. 40 (48, 56, 64, 64, 72, 72) stitches.  Here is a great demo on Kfb http://www.youtube.com/watch?v=ILcTB5hc0XM

14. Purl

15. Kfb in every stitch across row. 80 (96, 112, 128, 128, 144, 144) stitches.

16. Purl 1 row.

17. Knit 1 row.

18 Bind off.

K leg warmer need to sew up

19. Sew up the seam and weave in all ends.

K leg warmers seam

And you are done!

Digiprove sealCopyright secured by Digiprove © 2013
Posted in Crafts, Knitting | Tagged , , , | Leave a comment

Stuffed Shells (Veggie or Meat)

After making lasagna for Stella’s birthday party – that seems to be her go to request.  Lasagna is a lot of work, but is a really good make ahead meal for a large group.  Well I found another one, that personally I like better and even though it is pretty much the same ingredients – it seems easier and not as heavy a meal – stuffed shells.

Stuffed Shells (veggie or meat)

Stuffed shells served

Ingredients (makes about 60 stuffed shells, easily will serve 10 with leftovers)

2 boxes of jumbo pasta shells
Olive oil, lard, tallow, coconut oil
4 – 5 cloves of garlic, minced
2 bags fresh spinach (or you can use frozen)
1 pound ground pork sausage (humanely raised – grass fed)
1 1/2 containers  whole milk ricotta (32 oz size containers)
1 cup grated whole milk mozzarella cheese
1 cup grated whole milk cheddar
1 cup grated Parmesan cheese, plus more for serving
3 large egg
2 tbsp fresh basil, finely chopped
Sea salt and pepper for seasoning
1 – 1 1/2 jars tomato sauce

You can make this ahead and keep in the refrigerator up to 2 days – just don’t top off with sauce or you can freeze for later.

1. Cook the shells according to package directions – you want them to be al dente.  Drain, rinse in cold water and set aside.

Stuffed shells shells

2. Saute the spinach and garlic (I forgot to add the garlic so I did separately) in olive oil, lard, tallow or coconut oil. Set aside and allow to drain – the chopped up.

Stuffed shells spinach

3. Cook the pork sausage.  When done – drain the fat (but keep for a later use – I do!).

Stuffed shells pork cooked

4. Grate your cheeses.

5. In a large bowl combine, the cheeses (leave some parmesan for topping when served), the ricotta, eggs, salt and pepper (seasoning), the basil and chopped spinach.  Mix well.

Stuffed shells cheese mixture ingredientsStuffed shells cheese mixture

6. In a 9×9 baking dish, cover the bottom with tomato sauce.

Stuffed shells sauce on bottom

7. Stuff your shells and place in the baking dish.

Stuffed shells veggie stuffed

8. When you are done with your veggie shells add the sausage to the cheese mixture – mix well.  Follow steps 6 & 7.

Stuffed shells pork added to cheeseStuffed shells pork added

9. When you are ready to bake, preheat the oven to 375 degrees.

10. Cover the shells with tomato sauce, cover with tin foil and bake for 25 minutes.

Stuffed shells ready for the oven

11. Take off the tin foil and bake an additional 15 minutes.

Serving size is 4 shells, but if serving with soup, salad or a side dish(s) you may not need 4 per serving.  Top with some grated parmesan cheese and some extra sauce and enjoy!

Digiprove sealCopyright secured by Digiprove © 2013
Posted in Dinner, Pasta, Recipes | Tagged , , , | 2 Comments