Originally Posted March 29, 2012
Easter is coming, Easter is coming. Easter is one of those holidays where the Easter basket and candy has nothing to do with the Christian celebration of Easter, but really from the pagan origins. If you look at many of the Christian holidays they coincide with Pagan celebrations. During the rise of the Christian religion the church coincided many of their celebrations with the pagan celebrations in order to condemn the pagan celebrations and rituals and to change and alter beliefs. I am in no way saying anything against the Christian religion and the celebration of Easter, just giving history.
I found this passage as I was researching the history of Easter and instead of paraphrasing, the following is directly taken from this site: http://rcg.org/books/ttooe.html:
Does the following sound familiar?—Spring is in the air! Flowers and bunnies decorate the home. Father helps the children paint beautiful designs on eggs dyed in various colors. These eggs, which will later be hidden and searched for, are placed into lovely, seasonal baskets. The wonderful aroma of the hot cross buns mother is baking in the oven waft through the house. Forty days of abstaining from special foods will finally end the next day. The whole family picks out their Sunday best to wear to the next morning’s sunrise worship service to celebrate the savior’s resurrection and the renewal of life. Everyone looks forward to a succulent ham with all the trimmings. It will be a thrilling day. After all, it is one of the most important religious holidays of the year.
Easter, right? No! This is a description of an ancient Babylonian family—2,000 years before Christ—honoring the resurrection of their god, Tammuz, who was brought back from the underworld by his mother/wife, Ishtar (after whom the festival was named). As Ishtar was actually pronounced “Easter” in most Semitic dialects, it could be said that the event portrayed here is, in a sense, Easter. Of course, the occasion could easily have been a Phrygian family honoring Attis and Cybele, or perhaps a Phoenician family worshiping Adonis and Astarte. Also fitting the description well would be a heretic Israelite family honoring the Canaanite Baal and Ashtoreth. Or this depiction could just as easily represent any number of other immoral, pagan fertility celebrations of death and resurrection—including the modern Easter celebration as it has come to us through the Anglo-Saxon fertility rites of the goddess Eostre or Ostara. These are all the same festivals, separated only by time and culture.
“On this greatest of Christian festivals, several survivals occur of ancient heathen ceremonies. To begin with, the name itself is not Christian but pagan. Ostara was the Anglo-Saxon Goddess of Spring” (Ethel L. Urlin, Festival, Holy Days, and Saints Days, p. 73).
“Easter—the name Easter comes to us from Ostera or Eostre, the Anglo-Saxon goddess of spring, for whom a spring festival was held annually, as it is from this pagan festival that some of our Easter customs have come” (Hazeltine, p. 53).
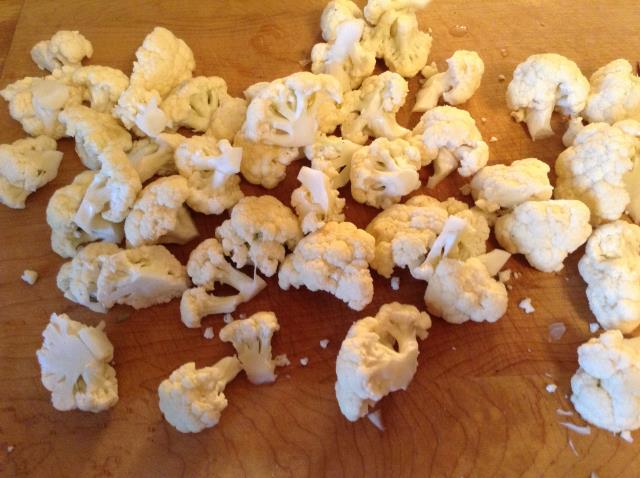
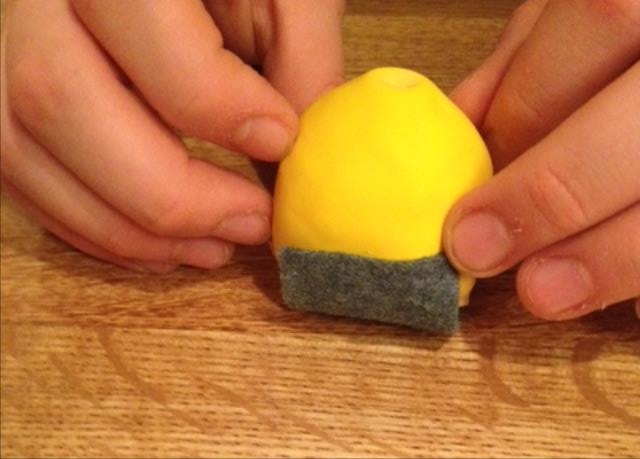
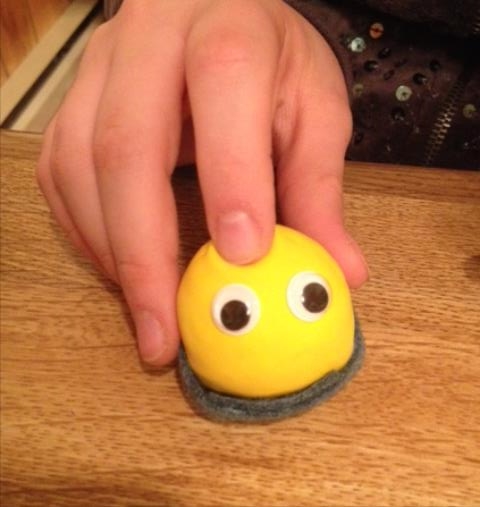
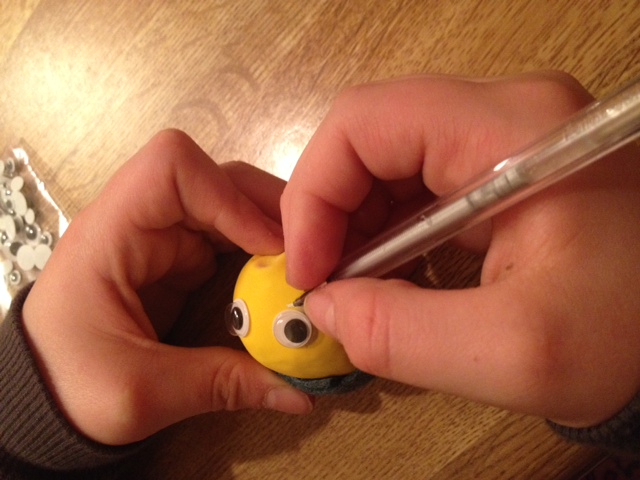
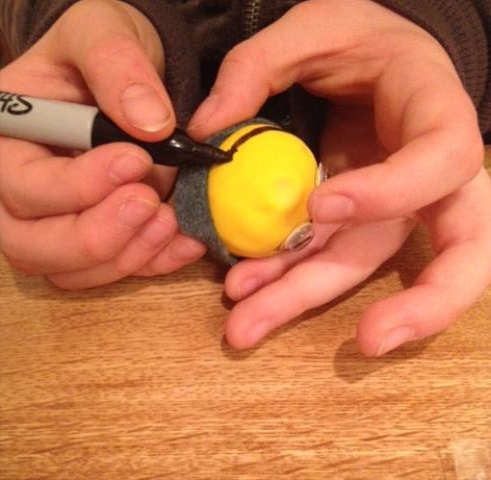
So what to do with all those eggs, which symbolize fertility, new life and resurrection, on Easter – put them in an Easter basket of course!

Braided Easter Basket
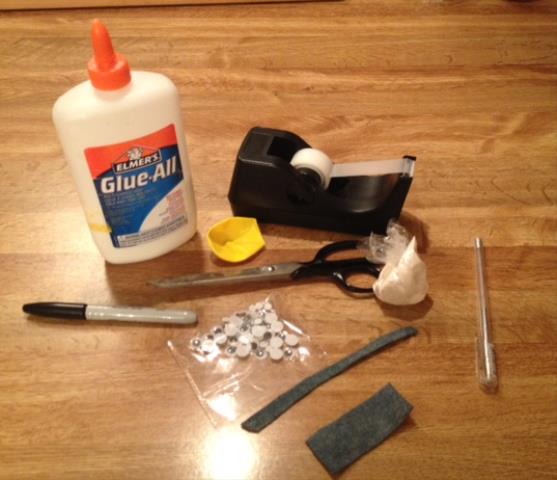
Items needed
3/4 yards of a cotton spring pattern
11 yards of 3/8″ cotton filler cord (I doubled the cord, so if you can find a larger size, get that)
Thread to match
Large safety pin
Masking or scotch tape
Rubber bands
Large sturdy needle

Fabric
1. From the fabric, cut 9 (1 7/8″ x 44″) strips for the basket and 6 ( 1 1/2″ x 19 1/2″ ) for the handle.
2. For the basket: Sew 3 pieces together to make 1 long strip. Repeat and make 2 more strips.

3. For the basket: With right sides facing and raw edges aligned, fold 1 strip in half lengthwise and sew along each long edge. Repeat with other 2 strips. Trim folded edge.
 For the handle: With right sides together and raw edges aligned, sew along each long edge. Repeat with other 2 strips.

4. Using a safety pin turn strips right side out. Fasten a safety pin to one end of the fabric and place inside the tube, slowly inch your way up the tube pulling the fabric down and you go.


 5. Take the filler cord and wrap the ends with masking or scotch tape. For the basket: Match up the two ends and put the safety pin through both ends. Thread the safety pin into one strip and pull the safety pin through the the other side. Trim the cord 3/4″ shorter than the fabric and stitch cords to fabric. For the handle: Thread the safety pin through one piece of cord and pull the safety pin through the fabric tube. Trim the cord 1/2″ shorter than the fabric tubes and sew cord to fabric.


You will inch you way along, make sure to firmly hold the safety pin while pulling the fabric down the cord.
6. For both: Repeat steps 4 & 5 with the other two fabric strips.
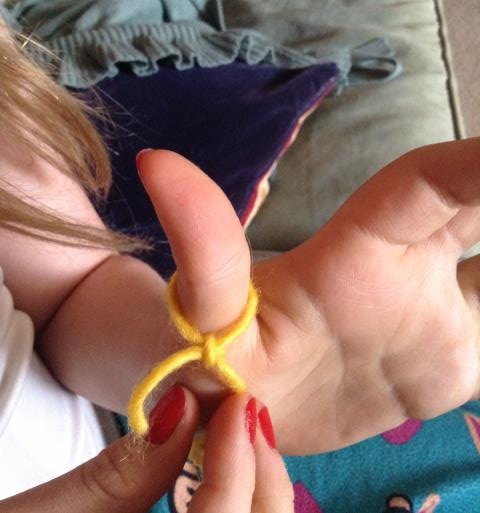
7. For the basket: Align the 3 strips (tubes) at 1 end and stitch together. For the handle: Align the 3 strips and rubber band together.

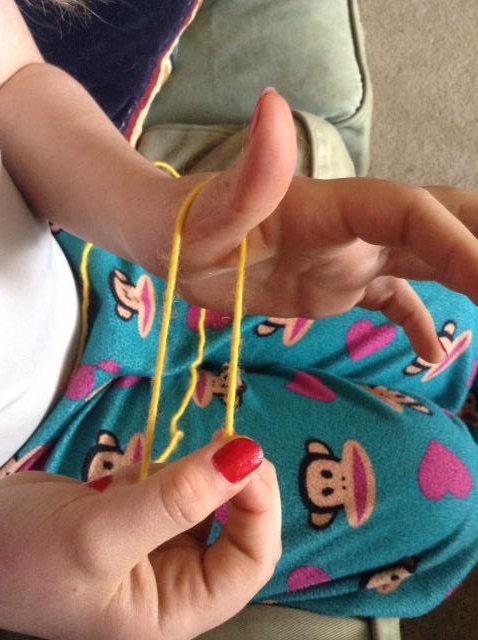
8. For both: Taking your safety pin, thread all 3 tubes onto the safety pin and pin to a surface. Braid the tubes, making sure to keep flat and not to twist tubes. When you get to the end of braid, rubber band the ends together.


9. To make the basket, lay the stitch end of the braid flat on your work surface. The first 6 1/2″ of the braid will be the base of the basket. Coil and make a flat oval, slip-stitching the edges of the braid as you go to keep it together.
10. Once the oval base is completed, start stacking the braid to form the sides, slip-stitching as you go. When you get to the end, remove the rubber band, tucks the raw edges of the fabric tubes inside coils and stitch to inside of basket.

11. To attach the handle, remove the rubber bands, pin handle to basket, tuck each cut end under coils inside of basket and stitch securely.
This makes a nice center piece for your table or to put with your Easter decorations. Tomorrow we will make eggs to put in the basket!
 Copyright secured by Digiprove © 2012-2014

 Follow