I am always looking for ways to make bath & beauty items I use at home with non-toxic and non-harmful ingredients. I did make the switch several years ago to a paraben and aluminum free deodorant, but I still was not sure of some of the ingredients used and how they truly effect my body.
Here is just a brief overview of the ingredients found in most deodorants and why you would want to avoid them:
Aluminum mostly found in antiperspirants and is used to completely stop perspiration. Aluminum has been linked to a number of health issues – seizures, breast cancer, Alzheimer’s, kidney problems.
Parabens are used in many beauty products as a preservative. They mimic estrogen in the body and can cause hormone imbalances or other hormonal problems.
Propylene Glycol is used to increase absorption, so really to help keep substances from drying out. It is a neurotoxin and skin irritant and can cause damage to the nervous system, heart and liver.
Phthalates are used in many beauty products and help with consistency of the product. Phthalates increase the likelihood of cell mutation and disrupt hormone receptors, which can increase the risk of birth defects.
Triclosan is antimicrobial and it kills bacteria, fungus, and other microbes. Triclosans are classified as a pesticide by the FDA and a probable carcinogen by the EPA – need I say more?!
Read your labels closely, even if it says “natural” these products could still be in the list of ingredients.
Making your own deodorant is really quite easy and does not take long at all. There are many recipes out there to choose from – this one works well for me. I chose to make mine without baking soda because my skin is sensitive, but it might work for you and if you want to add it, cut the amount of arrowroot used (don’t exclude it and you will want more arrowroot than baking soda) and in place use baking soda.
Homemade Deodorant
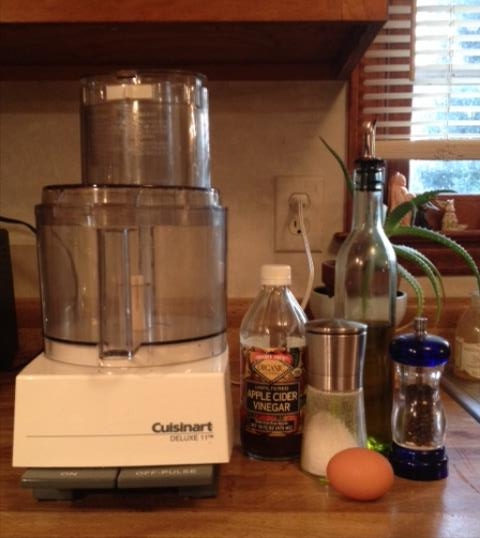
Items Needed
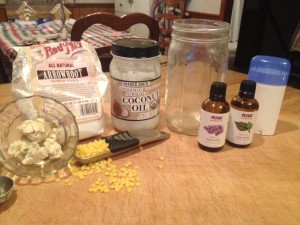
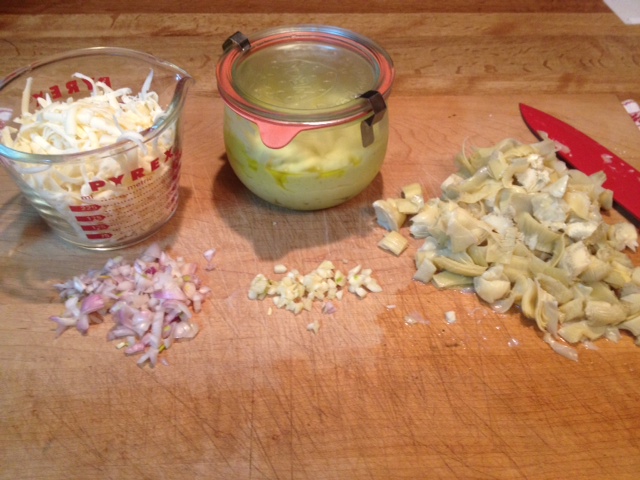
1/2 cup arrowroot (where to buy)
2 Tbl beeswax pastilles (where to buy)
2 heaping Tbl coconut oil (where to buy)
2 Tbl shea butter (where to buy)
10 drops Tea Tree Oil (where to buy)
10 drops Lavender Oil (where to buy)
Mason jar
Old deodorant case or glass jar (washed)
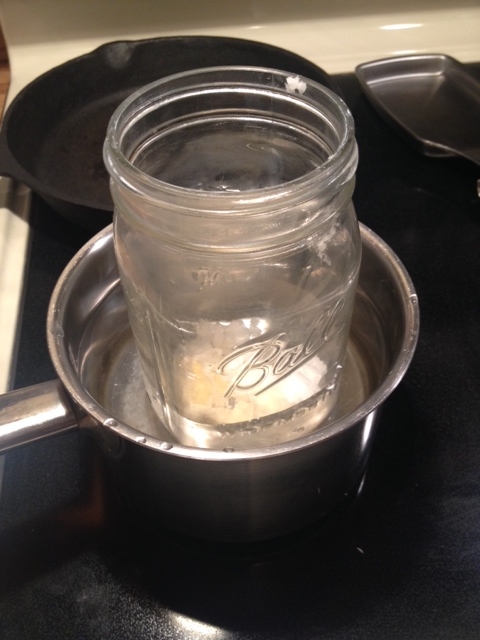
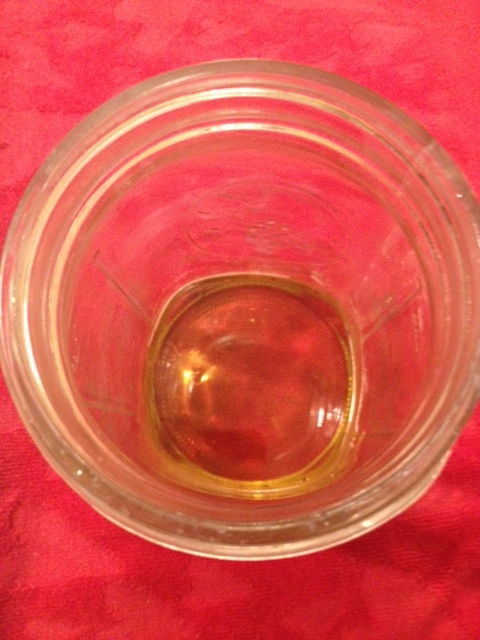
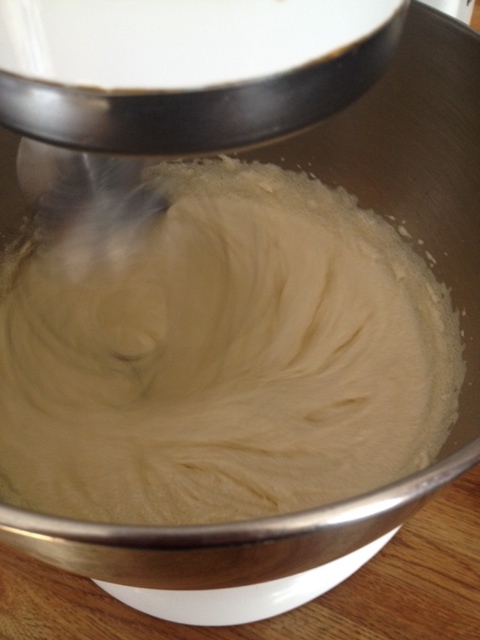
1. Fill a saucepan about half way with water, turn on medium heat. In a glass mason jar place the beeswax, coconut oil and shea butter in and put in the pot of water.
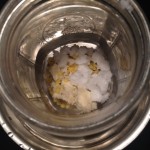
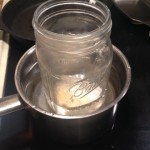
2. The beeswax will take the longest to melt, stir the ingredients as they melt.
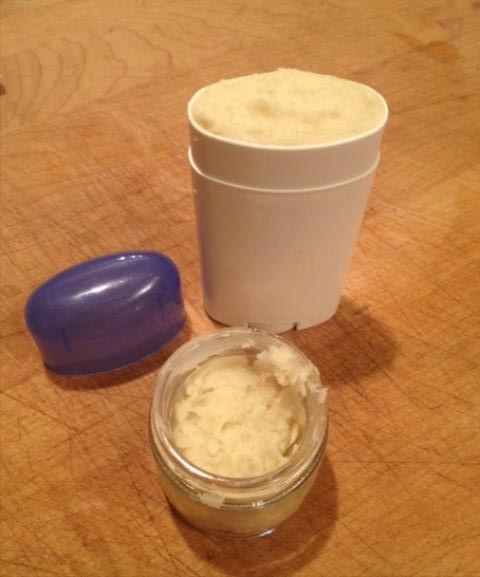
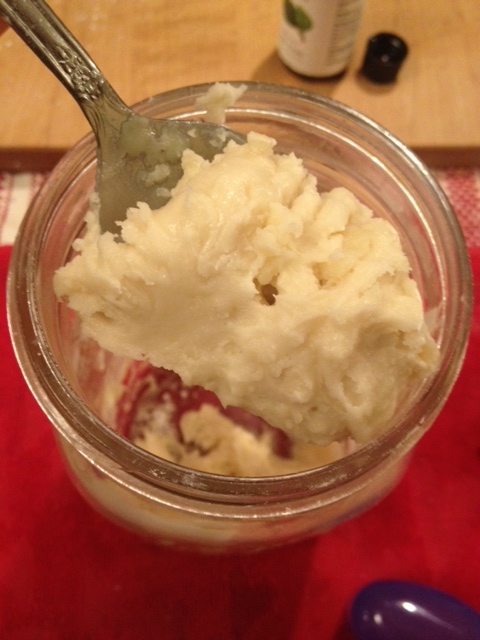
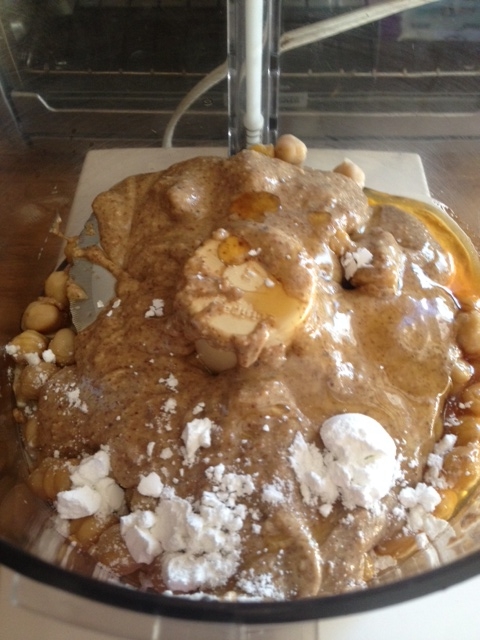
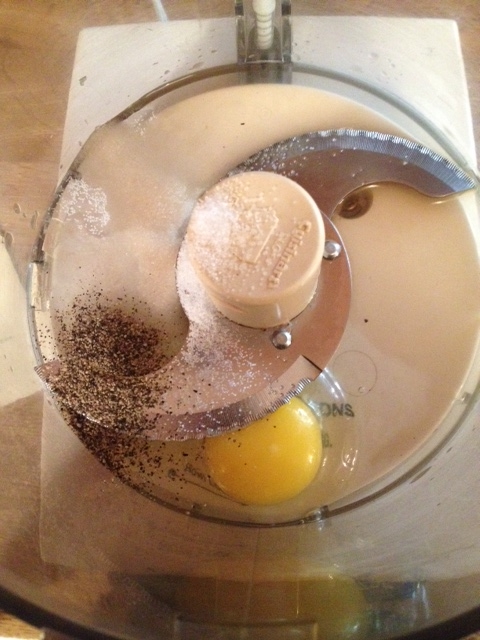
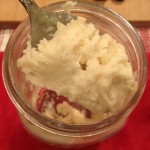
3. When the ingredients are completely melted, take the jar out of the water. Mix in the arrowroot – it will be thick. Add the essential oils and mix well. The mixture will be a thick paste.

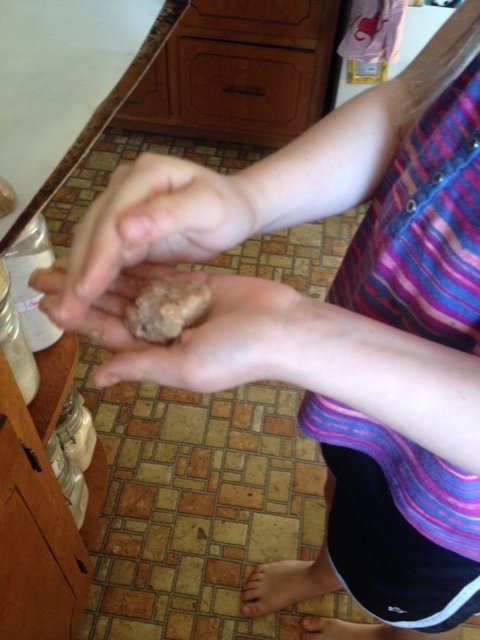
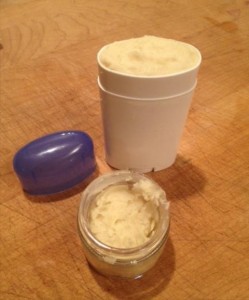
4. Scoop the paste out and fill your deodorant case or jar or both. Really pack it into the deodorant case. Allow to set and firm up – you can place in the fridge to speed this up.
When using do not push a lot up – this is not as firm as store bought deodorant and will break off. The oil can stain clothes – so put on and allow to “dry” for a couple of minutes before putting your shirt on. At first this may not work as well as your store bought, but give it time and you will love it!
STANDARD FTC DISCLOSURE: In order for me to support my blogging activities, I may receive monetary compensation or other types of remuneration for my endorsement, recommendation, testimonial and/or link to any products or services from this blog.
 Copyright secured by Digiprove © 2014

 Follow