Stella loves pickles – I mean she really LOVES them. She could easily eat a whole jar in one sitting! While she was away I decided I would try my hand at making some bread and butter pickles for her – and if those turned out well – make some dill pickles, which she also loves. We used to go to a restaurant in NY and order extra pickles instead of the cole slaw – she would eat them all. I will forewarn you, if you are ever eating with Stella and you have a pickle on your plate – eat it fast – or the next thing you know it will be gone! You will look over at her and she will just give you a little giggle.
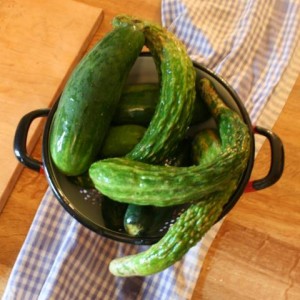
Cucumbers are very abundant the moment here where we are – Each week I am getting so many from the CSA – it is wonderful and finding new ways to enjoy them, is even more wonderful.
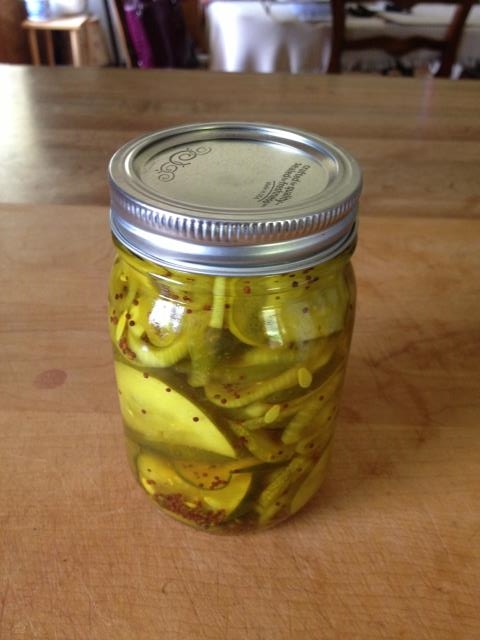
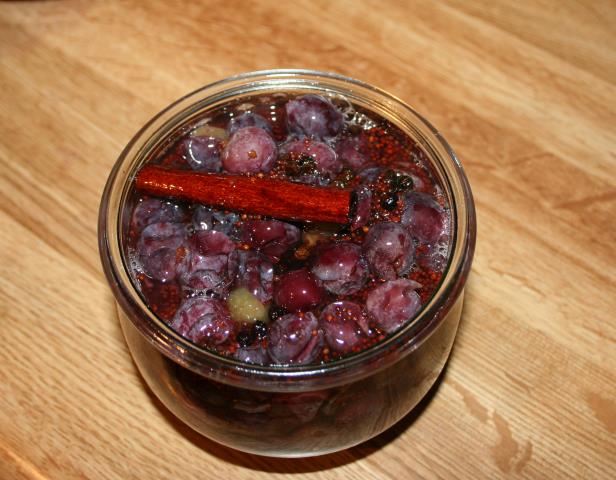
Bread & Butter Pickles

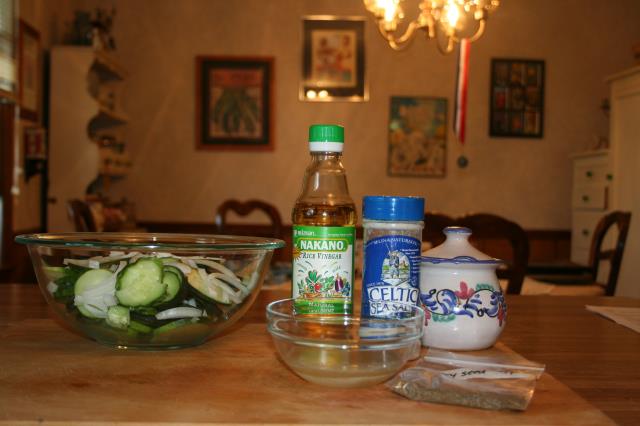
Items Needed
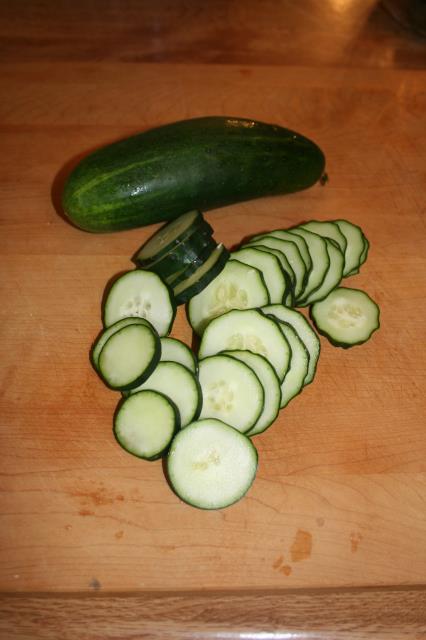
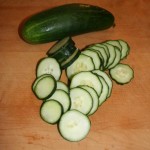
4 pounds Cucumbers
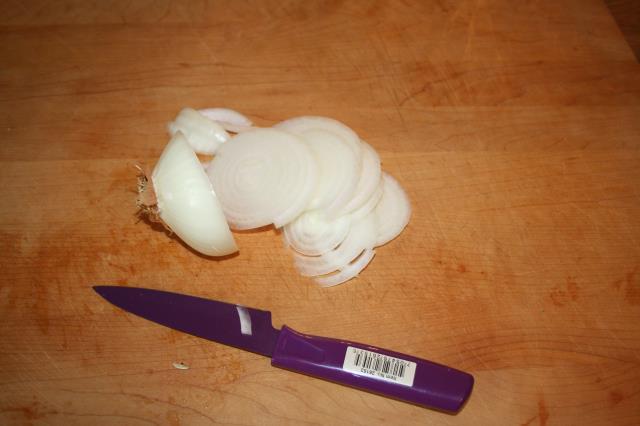
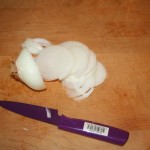
4 medium sized onions (I used Vidalia)
Vinegar
Sugar
Mustard Seeds
Pickling salt
Water
Pint sized canning jars with lids
Canning pot
Soup pot
Jar grabber
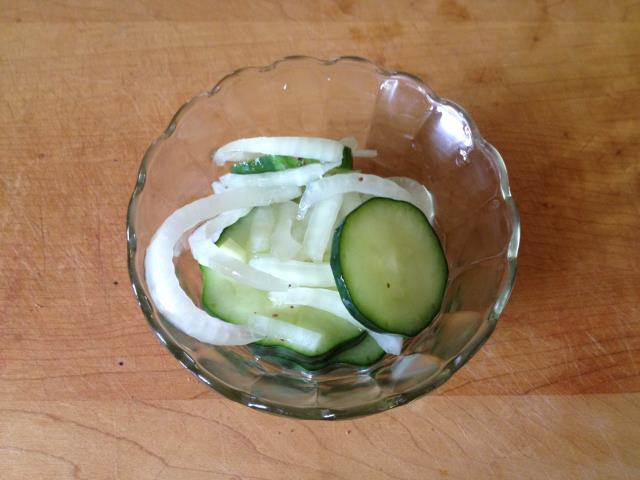
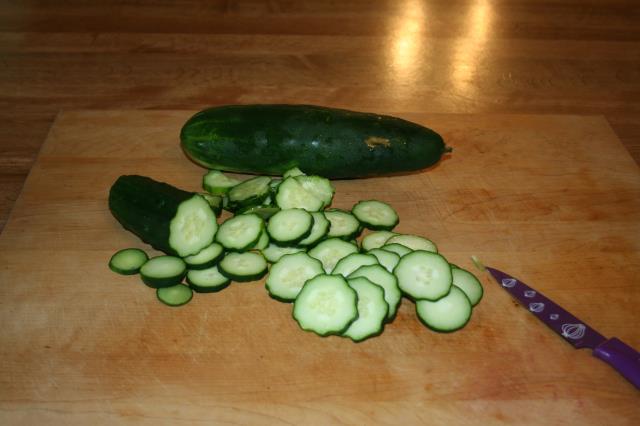
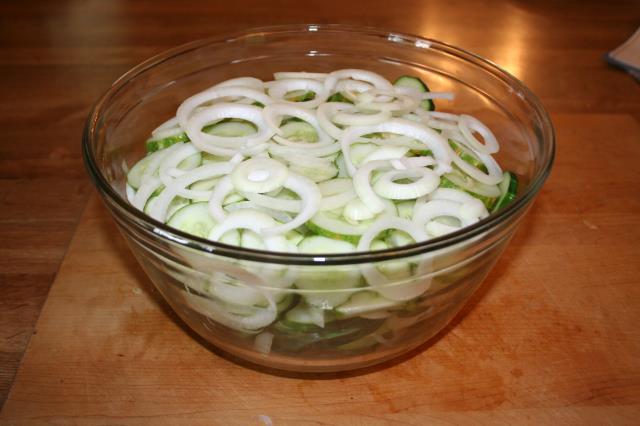
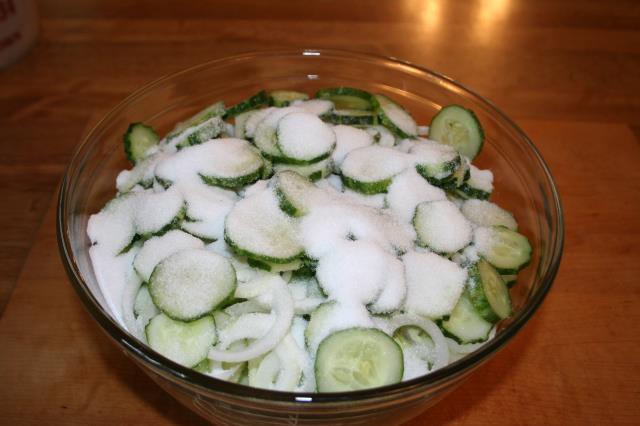
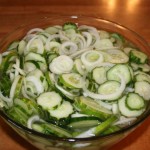
1. Slice the cucumbers and onions, layering them in a bowl.
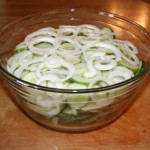
2. Pour the pickling salt over the top.
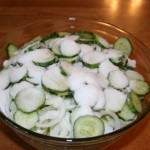
3. Cover with cold water, mix and let sit on the counter for 3 hours.
4. Sterilize your jars – either in a hot bath or in the dishwasher.
5. Get your water bath water going – you want this be boiling when you are done jarring the cucumbers.
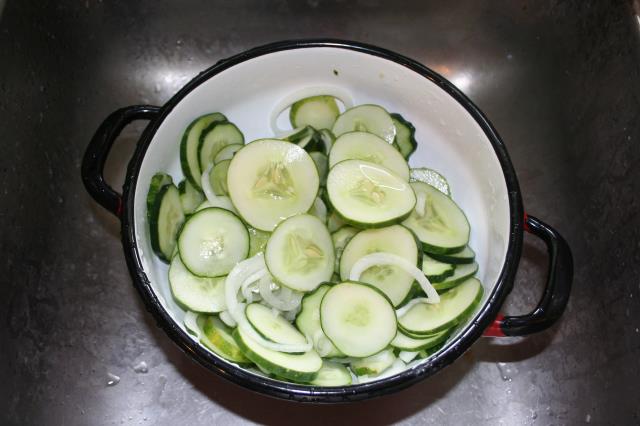
6. Drain and rinse the cucumbers and then rinse again.
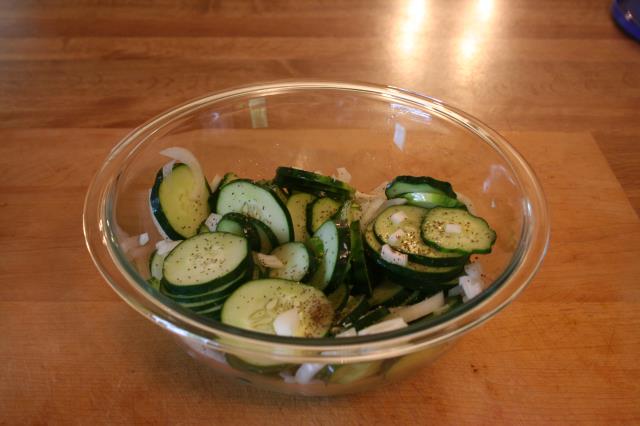
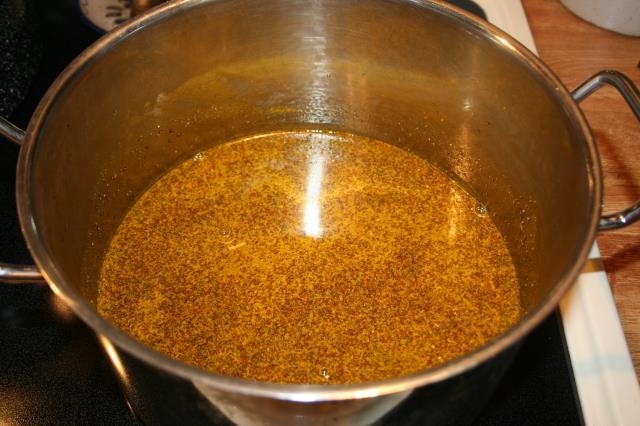
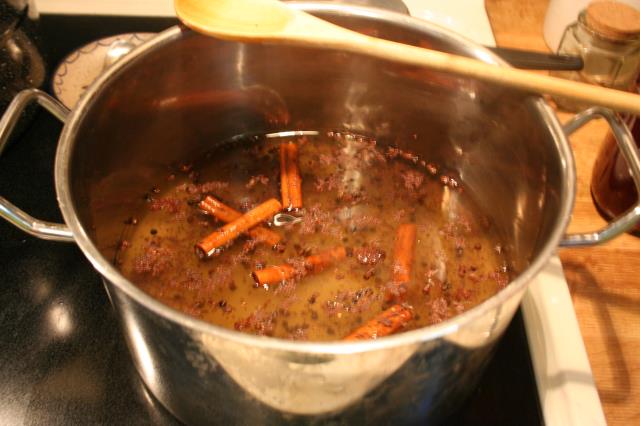
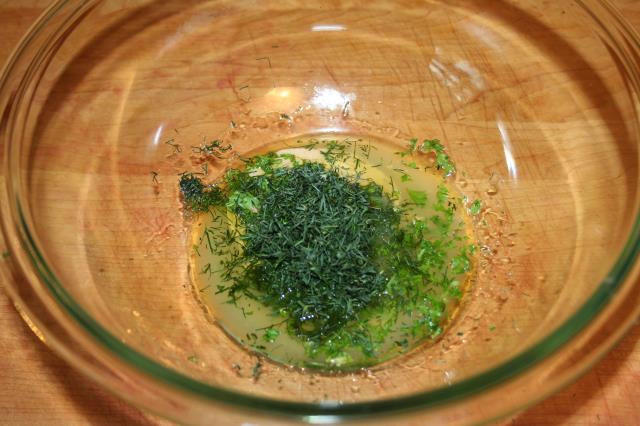
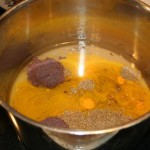
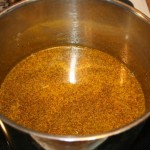
7. In the soup pot mix together the vinegar, sugar, mustard seeds, turmeric and bring to a boil.
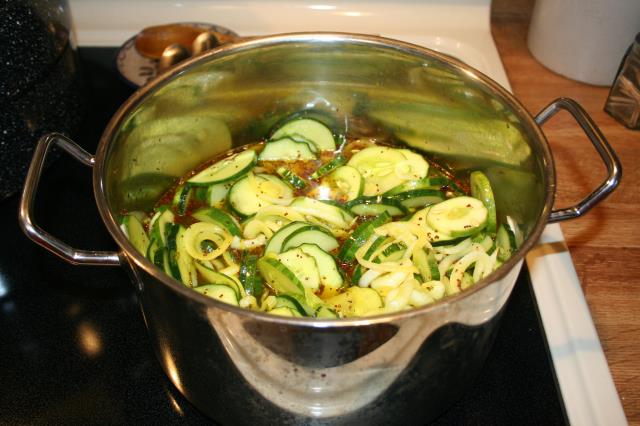
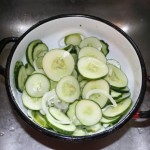
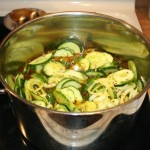
8. Once boiling add the cucumbers, mix well and bring back to a boil.
9. Place your lids into a small saucepan, fill with water and heat to almost boiling. This is to sterilize the lids and make the rubber sticky.
10. Fill the jars with the cucumbers and onions and then add the hot liquid, leaving 1/2″ head-space.
11. Wipe the tops of the jars clean, place the lid on and then tighten with the rings.
12. Using a jar grabber, place the jars into the water bath, once the water has come back to a boil, process for 15 minutes.
Processing times may vary depending on your altitude – the time listed above is for altitudes of 1,000 feet or less. For altitudes up to 3,000 feet, add 5 minutes; 6,000 feet, add 10 minutes; 8,000 feet, add 15 minutes; 10,000 feet, add 20 minutes.
13. Take the jars out, using the jar grabber, and place on the counter (I always put a dishcloth down) and then listen for the pop – this is the jar sealing. If the jar does not seal, turn it upside down for about 20 minutes – turn upright and it should be sealed. If a jar does not seal, eat that once first.
Enjoy! They were a hit here!
 Copyright secured by Digiprove © 2013

 Follow