I love playing backgammon! My dad taught me one summer while camping, I think I was about 8 or 9. I have recently started teaching Stella how to play and she is catching on very quickly!
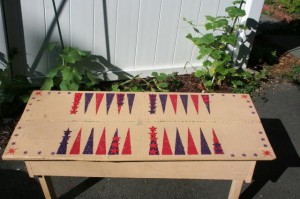
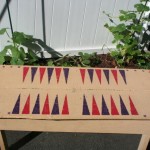
Thursday here is garbage day, but it is also the day that people can put household items out to be picked up. I don’t even know how many times I have been on a run or walk and had to stop and carry something home or run home the shortest distance to get the car and pick the item up. One of those items was a coffee table. I have had this table for about 2 years and all that I have done to it is paint it and stencil the corners. At first, I thought that I would make it a fun, festive table – so I called my friends in New Orleans and asked if they could send me a box of mardi gras beads – I thought I would wrap the legs – but after trying that I decided that wasn’t what I wanted for the table. I then thought that I would paint a favorite quote on the top of the table – so traded a book for a quote book and read through the book – found many quotes that I marked, but nothing that called to me to paint on the table – so the table has sat and I have waited for inspiration. That inspiration came this past weekend – I was looking through a craft book and they showed a backgammon board – the light bulb went off!!
The rain stopped and Saturday afternoon I took the table out to the driveway.
Backgammon Board
Items needed
Table or wooden piece to paint the board on
2 different colored paint
Paint brushes
Stencil (I used a manila folder to cut mine)
Exacto knife
Candle
Steel wool
Ruler
Tape
Backgammon pieces (I had enough wooden starts to make pieces for the table, but I could have used pieces from another backgammon board)
Dice
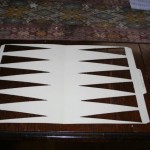
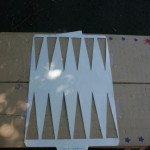
1. You will need to make a stencil. You can use cardboard, a folder or the plastic used for quilting pieces. I used a folder. The great thing about using the folder was that I was able to make half the game board in one stencil. You can also just make one stencil of a triangle.
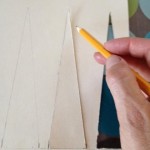
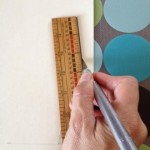
2. Mark a straight line across the folder. Depending on how big your board is going to be will determine the spacing and size of your triangles. In case you are not familiar there are four sections to a backgammon board, with each section having 6 triangles. Draw your triangles and then cut out with either scissors or an exacto knife. I cut out the first triangle and then used that cut out to draw the other triangles. I also used a ruler when cutting with the exacto knife – helps to keep the line straight.
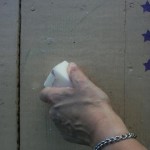
4. With a candle, rub the table with wax. I wanted my board to have an old look to it – the wax will allow the paint to be rubbed off with steel wool. You don’t have to do this step, if you do not want a worn look to your board.
5. Tape the stencil on to the table. You don’t want the stencil moving when you are painting.
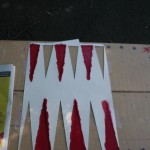
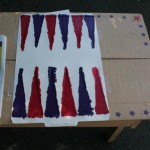
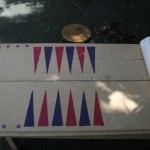
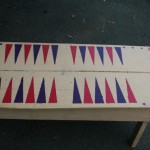
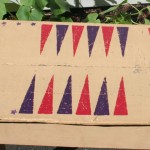
6. Paint every other triangle with one color of paint and then paint the others with the other color paint. Carefully lift the stencil off. Do the same thing for the other half of the board.
7. While the table is drying – paint your game pieces. You will need 15 pieces for each color.
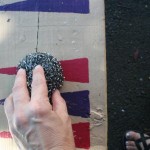
8. When the paint is completely dry, take the steel wool and rub over the triangles.
Your table is now done – go play a game of backgammon – hope you win!! I know you will have fun either way!
 Copyright secured by Digiprove © 2012
 Follow



Very awesome!! I love backgammon too and with a table sitting out like this I am sure you and Stella will be playing it a lot. Great project.
I don’t know how to play. I’ll put it on the list. Table looks fab.