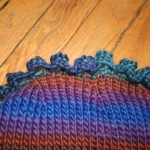
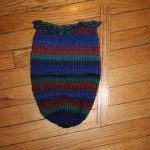
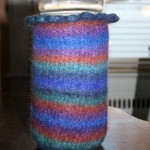
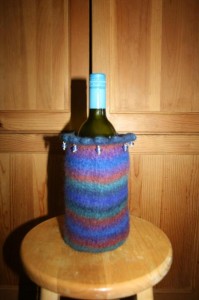
I loved the knitted felted bowl (http://simplyrurban.com/?p=2074) I made and wanted to try expanding on that pattern to make a wine cooler. So taking the original pattern, I made a few adjustments and started knitting away. The bowl fitted snugly onto a wine bottle so I figured that amount of stitches was correct, but after felting there is some room around the wine bottle, which I think is ok, but I will make some further adjustments and try this again. I did use a different type of wool yarn and that probably made the difference – I also have not decided whether or not I will throw it back into the washer and felt it some more, I am afraid that is will get shorter and now it is the perfect height.
Knitted Felted Wine Cooler
Materials Needed
1 skein wool yarn (super bulky – which I did not have, so I used another size yarn)
1 pair #13 circular needles (16″)
1 pair double pointed #13 needles
Darning needle
Gauge: 11 stitches = 4″ in stockinette stitch
Size before felting: Approximately
Size after felting: Approximately
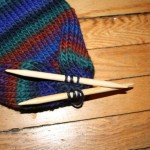
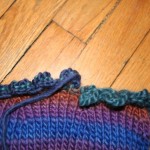
Knitting the Rim
1. Using the circular needles, cast on 108 stitches
2. K1, *bind off 4, K1; repeat to last 4 stitches, bind off 4. You should now have 36 stitches
Knitting the Body
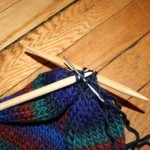
1. Join into a round, being careful not to twist the stitches.
Rounds 1 – 6: Knit
Round 7: *K6, M1 (with the left needle, insert tip underneath the strand of yarn between the two needles and place the lifted strand on the left needle, knit the lifted strand, twisting it to avoid leaving a hole); repeat from * (42 stitches)
Round 8 & 9: Knit
Round 10: *K7, M1; repeat from * (48 stitches)
Round 13: *K8, M1; repeat from * (54 stitches)
Rounds 14 – 55: Knit
Start Decreasing
Round 56: *K7, K2tog (knit 2 together); repeat from * (48 stitches)
Round 57: *K6, K2tog; repeat from * (42 stitches)
Round 58: *K5, K2tog; repeat from * (36 stitches)
Rounds 59 – 62: Continue in this manner, knitting 1 fewer stitch between decreases, until you have 12 stitches remaining
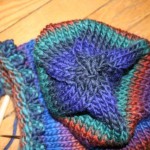
Round 63: *k2tog; repeat from * (6 stitches)
Cut the yarn, leaving at least a 10″ tail. Thread your darning needle and draw through the remaining stitches, twice. Pull up snug and fasten off on the inside. Weave in ends.
Sew the top together, where it was not joined and then weave
in ends.
Bowl before felting
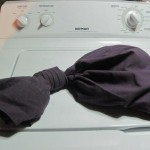
1. Place the wine cooler inside a pillowcase and tie closed.
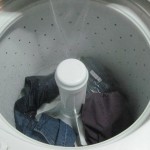
2. Set the washing machine for the lowest water level, longest washing cycle and the hottest water temperature.
3. Place the pillow case, a pair of jeans and a tiny amount of liquid soap. Start the washer.
4. Check the felting process frequently. You may have to do the wash again. Once the item is felted to my liking, I turn the washing machine dial to rinse and spin – then I don’t have to do it – if not follow the step below.
5. When the wine cooler gets to the desired size and felting, remove, rinse in cold water and blot dry with a towel.
6. Shape the wine cooler and allow to dry. I placed the felted piece on a glass storage container I had.
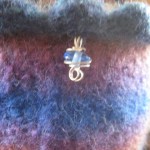
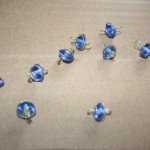 I then decided to embellish the cooler with silver wrapped beads – I thought it added a little something extra! I sewed a bead on every other bobble on the top.
 Copyright secured by Digiprove © 2012
 Follow
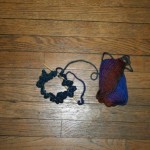
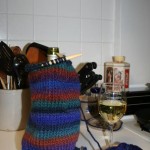


It’s pretty and fanciful. : ) Very festive. Would make nice gifts!