I had a quilt on my bed, not old, but handmade and over the course of the last year, Bernie (our dog) had pretty much destroyed it. Bernie likes to climb into my bed, collect all the blankets into a ball/bed. With him doing this over and over again – there are rips that go all the way through the quilt along with tears in many other places – he has also ripped three sets of sheets in doing this. My bed is now off limits to him!
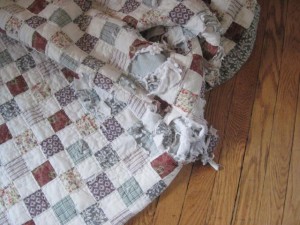 I took the quilt off my bed, was tired of picking up pieces of it off the floor, and looked at it for over a week. I could not bring myself to just through it away. I washed it and then looked at it for another week trying to decide what to use it for and then an idea came to me. I am a knitter and my knitting roll is starting to come apart and there are holes in it – so I decided why not try and make a knitting needle roll.
Because I was re-using a quilt I did not have to do an outside and inside fabric for the frame of the roll.
Items Needed
Material (will give dimensions below)
Button and tie
Single folded bias tape
Thread to match
Fleece lining or quilt batting – if not re-using a quilt
Directions for Making a Knitting Roll
1. Cut one piece of quilt, dimension 15 inches x 15 inches. If you are not re-using a quilt you will need to cut 2 pieces of fabric in the dimensions listed, along with a piece of fleece or batting – you can use the same fabric but contrasting fabrics will make it look nicer.
2. Cut the following pieces:
one piece of fabric 8 1/2 inches high and 15 inches wide. (big pocket)
one piece of fabric 5 inches high and 15 inches wide. (small pocket)
one piece of fabric 2 /2 inches high and 15 inches wide (upper needle guard)
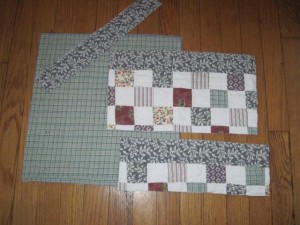 3. Pin the pieces together and then trim, making sure that all sides match up.
4. Stitch the needle pockets – these are normally 1 – 1 1/2 inches wide, but I followed the quilt squares on mine, which were 2 inches wide. This worked well – since I can now fit more than one set of needles in each pocket. So if I have a set of 6 straight needles and 6 circular they can go in the same pocket.
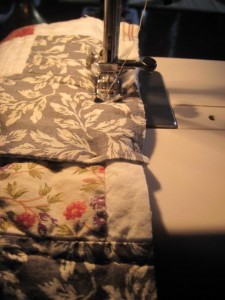 5. Taking the bias tape sew around the knitting roll. I am not good at the corners when using bias tape so I did the bottom and top and then the sides.
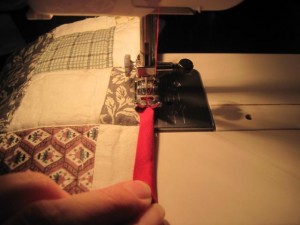 6. Fill with your needles and fold over so you can set where the button will go.
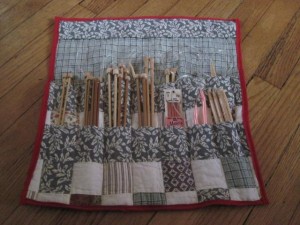 7. I keep a button jar and I found a wooden button in there that had a stretching string with it – so I use that for my tie. Sew in place.
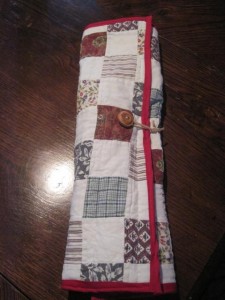 Voila! Your own knitting needle roll/holder! This project took me about an hour, that did not include the time it took me to find a replacement needle for the sewing machine! I broke the needle and of course could not remember the “safe” place that I had put my extra needles. That is thing about “safe” places – they always seem logical when you are putting something there, but when you need to find the place – it is not always easy to remember.
Since this was a queen sized quilt – others project will be made from the remaining fabric – have to put my thinking cap on!
 Copyright secured by Digiprove © 2011
 Follow


Fabulous idea and such an attractive way to store knitting needles!! I LOVE this blog. : )