On our recent trip to Asheville – we went into a great craft store. This was not a Michael’s but a true hand crafts – craft store. As we were walking down the aisles – we came to the needle felting section. Stella picked up a felting needle and asked if I would buy it for her, I told her we already had a felting needle. So great of children to always have a come back – her’s: what if I want to needle felt the same time you do, we only have one needle. What could I say to that?! So we purchased a felting needle, felting pad and some wool roving for her. Who am I to squelch her creativity – she so has my number!!
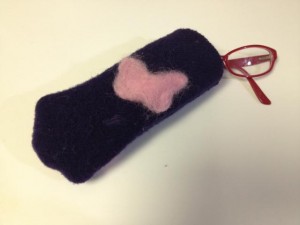
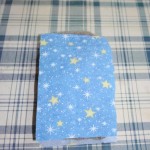
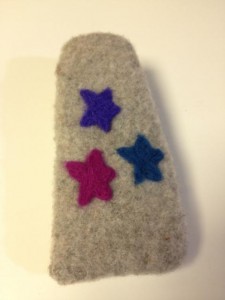
Last year we made felted eye glass cases. Stella was so proud of hers that she took it into to school to show her art teacher. I noticed that she began using her old eye glass case and when I asked her why she said that her art teacher had lost her case! What kind of teacher does that?! So this was a great project to make again, using her new needle felting supplies.
Needle Felted Eye Glass Case
Items Needed
Felt material (we used felted sweater scraps)
Template (we used an eye glass case we already had)
Felting needle
Felting pad
Wool roving
Stencils
Swing machine or needle and thread
Cotton fabric for liner
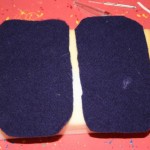
1. Cut out your felt pieces – you will have two.
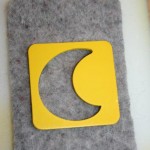
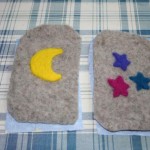
2. Decide what design you want to do. Both Stella and I used wooden stencils.
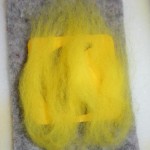
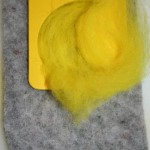
3. Pull some wool roving and fill the stencil center. With you needle felt around the edges of the stencil and then the inside of the design. Keep doing this, folding over the wool roving. When the roving is secured and the design is solid, remove the stencil. You may still have to clean up the edges with your felting needle. The needles are sharp and we have both gotten ourselves good with the needles. You can always use a chop stick to hold the stencil or roving instead of your fingers.
Keeping doing this until you have completed your design.
4. Cut two pieces of cotton fabric for the liner.
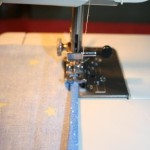
5. Either using the sewing machine or with needle and thread, fold over the top of the cotton lining twice and sew. Do this to the other piece.
6. Place 1 piece of the cotton lining down (wrong side facing up), the 1 piece of the felt (right side facing up), then the other felt piece (wrong side facing up) and top it off with the other piece of cotton (right side facing up).
7. Either using a sewing machine or needle and thread (I was able to use the sewing machine for one, but not the other), sew the sides and bottom. The top with be the end with the sewed cotton lining.
8. Turn inside out and you have an eye glass case!
 Copyright secured by Digiprove © 2013
 Follow




You two make a great team! I’m still wondering how a teacher could lose her student’s glasses case!! : )
Me too!
Love it…..Stella certainly is gaining so many wonderful skills