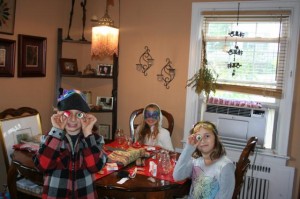
Well – the kids had another 3 day weekend!!! I don’t think they have been in school a full week since school started at the beginning of September! It was a fun filled weekend –  Bella stayed with us – we were suppose to go away to the beach, but the weather prediction was not good (and the weather never did come) so we decided to hang out at home. We had homemade pizza and movie night, we went apple picking, another movie night (Hunger Games), craft time, went to the movies (Hotel Transylvania -very good), playing outside (slight head trauma), many games of Pounce, barbies, reading, fort building, cuddling, homework, guitar practice, acting goofy, having fun and lots and lots of laughter!!!!
With all the holidays it seems that the mass marketing of them starts earlier and earlier!! To me it also seems that there is more and more stuff that we are suppose to buy for each of the holidays – so that we can decorate more and more and more!! These specimens jars cost about $3.00 each to make – and we have more for next year!! The kids had so much fun making them, can’t wait to take them home and display – and the best part is that they made them!!!! Building some self-esteem and I can do it smiles!
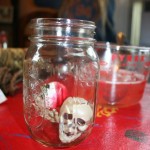
Specimen Jars
Items Needed
Unflavored gelatin (I package for each specimen jar – $1.49 per package)
Specimen jars – we used quart size mason jars
Water
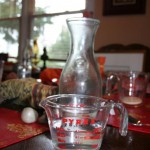
Glass measuring cups of bowls
Metal spoon
Food coloring (optional)
Specimens (I purchased skeleton hands, skulls and eyes – total costs for all $5.96)
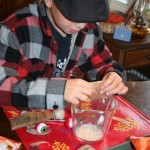
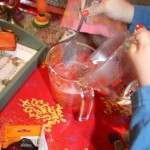
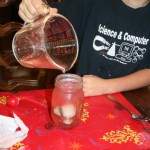
1. Set up a work area for each kid. I placed one of the artist place mats for each kid, easy to wipe up. Each had a glass measuring cup, package of gelatin, metal spoon, mason jar and specimens.
2. Empty all of the gelatin package into the measuring cup.
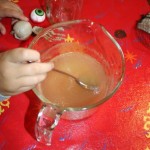
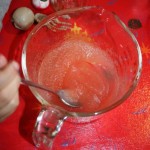
3. Mix 1 cup of cold water into the gelatin – stirring until it starts to gel.
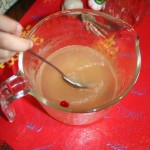
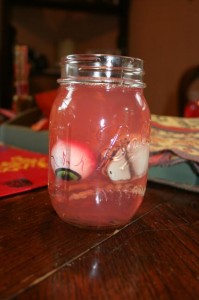
4. Add food coloring, if using. The kids decided they wanted their solution to look a little like blood – so each added 1 drop of red food coloring and mixed.
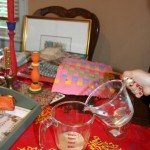
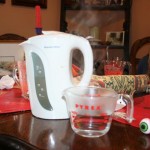
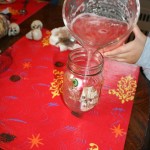
5. Boil some water and then pour 1 cup of hot water into the gelatin mixture.
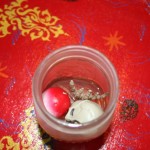
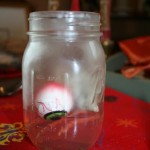
6. Place your specimen into the specimen jar. Since we were using plastic items – they tended to float and the kids wanted their items to look they like they were floating. So we had to do in stages. Place specimen in jar, pour some gelatin on, place in freezer, allow to set and then do again.
7. Once it is all done it takes about 3 hours for it to really set. We then place plastic wrap on top and used the screw top – this was so you can see inside the jar along with seeing from the sides.
 Copyright secured by Digiprove © 2012
 Follow


OMG! I can see why the kids love these. (Great photos!!)
They had so much fun making these!! Listening to them explain their specimens is just priceless!
they all look like they were having a blast! Kind of creepy to me but not for thise three!!