Since I started yesterday discussing school lunches, I figured I would continue with the school lunch theme. Yet, another project that I wanted to do with one of the sweaters I felted and also for a Christmas gift was a reusable lunch bag – I figured now was the perfect time. This project is a full weekend project or a several evening one.
How to Make A Reusable Lunch Bag
Materials Needed
1 large sweater, felted (see Turn a Sweater Into A Purse, October 2011 – for directions on felting a sweater)
Wool roving
Felting needle
Felting pad
Stencils
Matching thread
Cardboard box (for template)
Plastic for lining (can be purchased at fabric stores)
Velcro
Sewing machine
Directions
1. Felt sweater
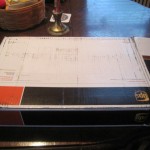 2. Using a cardboard box cut out the template. I re-used an UPS box. Cut out the front, back, side, bottom and pocket templates.
Measurements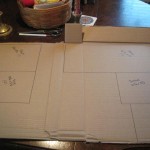
Back 6 1/2″ x 14″
Front 6 1/2″ x 8 1/2″
Side 5 1/2″ x 8 1/2″
Bottom 9 1/2″ x 5 1/2″
Pocket 5 1/2″ x 5″
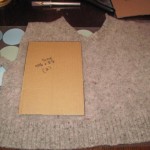 3. Cut out the felt pieces as follows: Back – 1 piece, Front – 1 piece, Sides – 2 pieces, bottom – 1 piece and pocket 1 piece. Make sure
 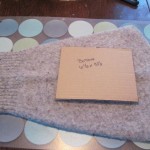 you place them so you know which is which – I left them with the template pieces. I pretty much used the whole sweater. Keep the pieces that you did not use – you will need for the strap.
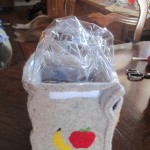
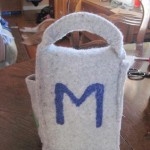
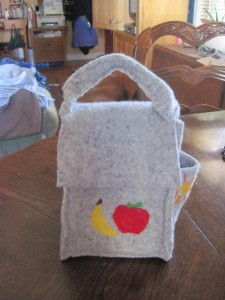
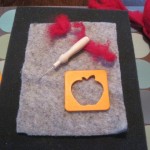 4. I decided to do some needle felting on the lunch bag. Chose an apple and a banana for the front – it is a lunch bag, hopefully for healthy food. I put a BIG M on the back for the
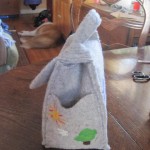
 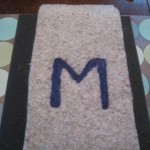 name of the recipient – figured it would be easy to find. The pocket I was not sure what to do for a design, but with Stella’s help we decided on a tree (since were helping to save one), a bird and the sun. It is hard to see what is the right and wrong side of the felt, but try to have all the pieces match by using the right side of the fabric.
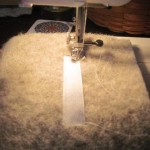 5. Next is sewing the velcro on. Cut 2 pieces of velcro (hook and loop) each about 3 1/2 ‘ long. On the wrong side of the back piece
 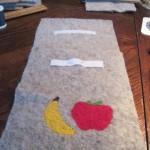 of the bag, measure down from the top about 2″ and center, sew on. On the right side of the front piece, measure about 1 1/4″ down from the top,center and sew on.
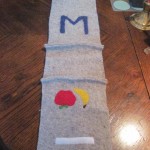 6. Now to sew the lunch bag together. You want to stitch the wrong sides together – so the seam is showing as the edging. Start by sewing the front and then the back to the bottom. Then you will sew the sides to the bottom. Starting from the bottom sew the sides to the front and back.
7. Decide which side you want the pocket on and then attach. I 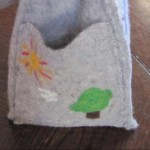 found that it was easier to attach by hand sewing, but that is up to you. I sewed it by matching up the sides of the pocket with the inside seam of the lunch bag.
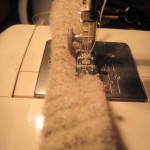 8. For the handle I chose to use the bottom of the sweater, the part that has ridges. I cut mine 9″ x 2 1/2″. Starting 2″ from the
 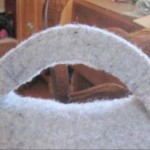 end I folded the pieces over and stopped 2″ from the other end. I sewed the folded part together on the sewing machine. Then I pinned it on the top of the bag and sewed the ends on.
9. I decided to line the inside of the my lunch bag with plastic, 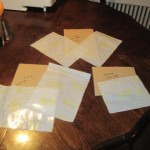 but you could choose not to. I did figuring the the plastic would catch any spills and could be wiped or washed. You will need to cut the following out of your plastic (this is usually found with the oil cloth at the fabric store). Using the same templates that you used for the felted bag. 1 – bottom, 2 – sides and 2 – fronts. The plastic comes lined with paper, keep the paper with the cut out pieces. You will need to have the paper when you sew it on the machine, if not the plastic will stick and the needle and foot will not move.
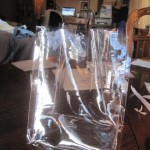
10. Sew the plastic pieces together. Sew the front pieces to the bottom and then the sides. Again, starting from the bottom up sew the front and back (which is really the other front) to the sides. Once you are done sewing, tear the paper off – it does so easily. Keep the paper, you will need to use in the next step.
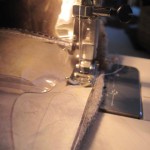
11. Place the plastic bag inside the felted bag. You are now going to sew the top to the inside of the bag. You will need to re-use some the paper you just ripped off.
Your bag is now done!
 Copyright secured by Digiprove © 2011
 Follow


Great design!! : )
Thank you – it was fun putting it together and seeing the final outcome!