So after felting soap with roving (see: Get Clean While Making Felted Soap 9/27/11 post), I decided to try some other ways of felting, knitting with wool yarn with yarn designs and needle felting designs.
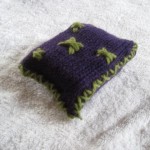
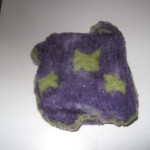
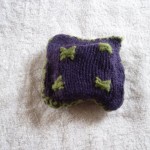
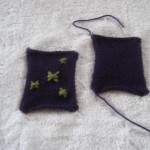 My first try was to knit two squares with wool yarn putting some designs with another color wool yarn on each side. I used some soap I had made with essential oil and lavender flowers. I sewed the squares around the soap and then went to the sink. I decided I would try to felt the knitted squares by hand with the soap inside. I rubbed and rubbed and the squares did not felt very well, but A LOT of suds formed. After about 20 minutes – I decided that maybe this was
 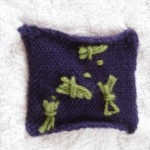 not going to work the way I thought it would. I wrapped the soap in a towel to get as much water out as I could, shaped the knitted/felted squares around the soap and let dry for several days – turning morning and night. I decided this is not a way to felt soap. I decided to put the soap in our shower for us to use and after many showers and baths where Stella leaves the soap in the water, squishing the soap through – it is now felting. Once the soap is done in this one – I will cut open and re-use with another bar.
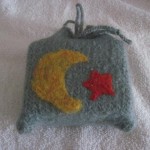
Back to the drawing board I went to think of how else to do felted soap by knitting and come up with a pattern. After a couple of days the idea came to me – knit a pocket, felt it, put the soap in, close it with a drawstring and do some needle felting on it. I decided that with using a drawstring it would be easy to re-load with new soap, instead of cutting it open and re-sewing.
Materials
Wool yarn – that can be felted
Double pointed needles
Darning needle
Wool roving
Stencils (optional)
Needle for felting
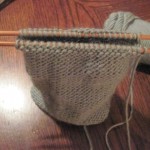
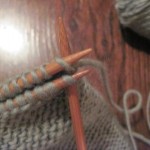
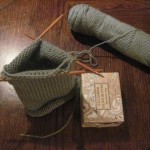 I used #8 size, double pointed needles and cast on an amount of stitches that can be divided by 2 and evenly divided on 3 needles (36 stitches, 12 stitches on 3 needles, 18 stitches on two needles for ending, for example), using the knitting on cast on method. Depending on the size of your soap and yarn/stitch measurement, you will be able to decide how many stitches. Knit in the round, making sure not to twist the first row. Remember that this will felt down so make sure there is ample space all the way around the bar of soap, leaving extra space for tying up at the end.
Once you have knitted a tube that will cover the soap, with the extra space, you can test along the way by sticking the bar of soap inside the tube you are ready to seam it up. The cast on side with be the opening. You will need to place an even amount of stitches on 2
needles (18 stitches each on 2 needles, for example). Turn the tube inside out and put both needles together, using another knitting needle (same size) knit together the first stitch on each needle. Knit together the second stitch on each needle point, then slip the first stitch over the second stitch, binding off (not too tightly) and joining the base of the bag at the same time. Repeat this until all stitches are bound off. Weave in ends.
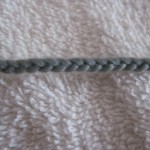 Making the drawstring – cut 3 very long pieces of yarn. Secure
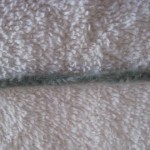
one end with a knot and braid – take into account that it will shrink when felted – so make it extra long. Knot other end. The knots will be cut off when sewing into bag at end – so take that into account too when sizing drawstring.
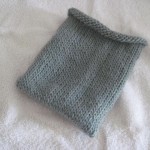 Fill the sink with hot water, as hot as you can take. Place the completed bag and drawstring in the water. Add a small amount
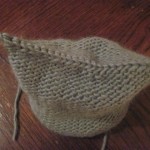
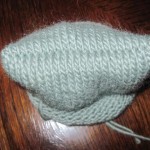
 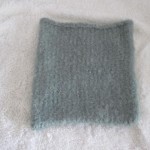 of dish soap to the bag and start rubbing, making sure it is fully saturated, keep rubbing in all directions – you can rub with your hands or rub the bag against itself. Keep it wet, checking to make sure that all is felted – check size against soap you will be inserting. Felt the drawstring the same way. When it’s felted enough, rinse in cold water, roll up in a towel to remove excess water and place the bag on something square to shape it while drying. It will take a couple of days to dry.
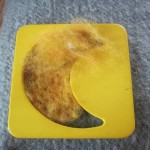
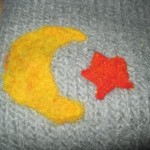
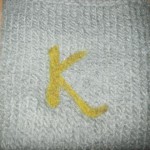
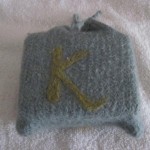
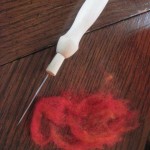 Once the bag is dry you can do some needle felting on it. You will need a felting needle, they are very sharp – please be extra careful when using. I decided to use a stencil for the moon and the star. I decided on what color roving I wanted to use and then taking a small amount at a time, I placed inside the stencil. You will need to put a felitng pad or you can roll up a place mat and stuff inside the bag, you do not want to felt the sides together. Taking the felting needle, start poking into the roving and bag – the felting needle has little teeth on it and it interlocks the fibers. Keep poking with the needle until it is felted and secured to your liking. I also did the other side with a K -since this was a present for my sister – I did the K freehand.
When you are done with the needle felting, put the soap in the bag. Taking the drawstring, cut off one of knots, thread onto a darning needle and then weave into the top of the bag. Once you have weaved it in, not to close – this is a drawstring – tie a knot – if the other knot does not look as nice – you can cut that one and re-knot. Now you are done!

 Follow
