
 Follow
As I mentioned in the cold frame post – part of the weekend projects when my cousin came to help was to expand the grape arbor. I will admit right from the beginning, even though I was there throughout the process, at the same time I was preparing dinner for 8 people and did not remember about pictures until the next morning – when it was pretty much completed! Ugh – I really do not like it when I do that – but I will be good about walking you through the steps and showing the finished described step.
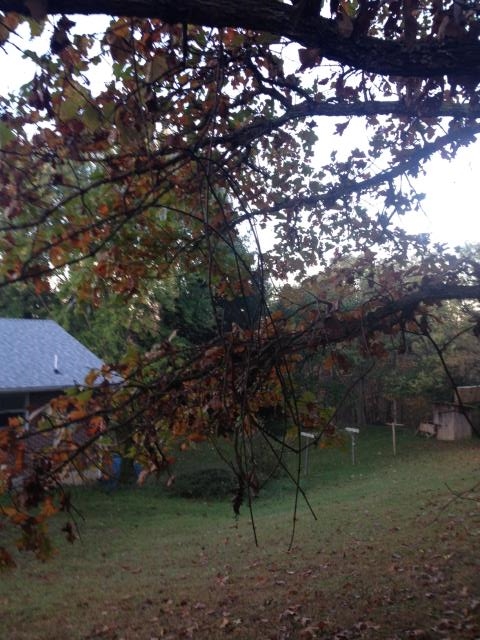 I have three grape vines, but since our home was a second home – the yard was not kept up fully. To top that off – two summers ago
 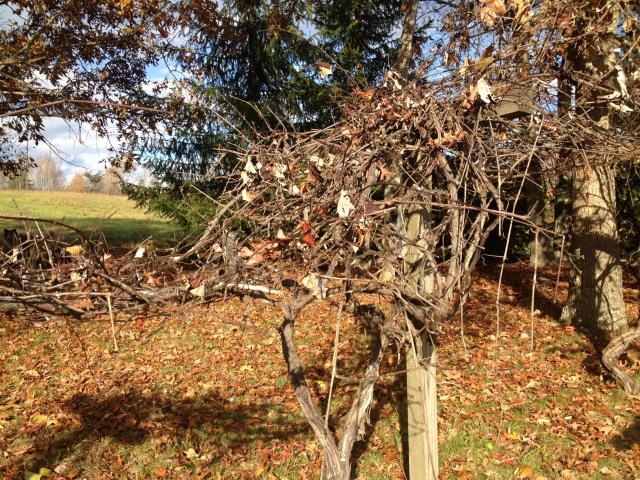 a bear attacked the arbor and did some damage – so for the rest of that summer and this past summer the vines were going up the tree. I will be cutting the vines and redirecting them to the expanded arbor – but it will be a good two years before it fills back out and I get a harvest – but it is worth it!! Best grape juice and jelly from concord grapes.
If you have grapes or are wanting to get some – this is a simple design to expand your arbor and build the beginnings of one. The great thing is that it does not take great carpentry skills to do it! Now I am very grateful that my cousin who is an amazing carpenter came to help me – but this is a very simple design.
Building or Expanding A Grape Arbor
Items needed
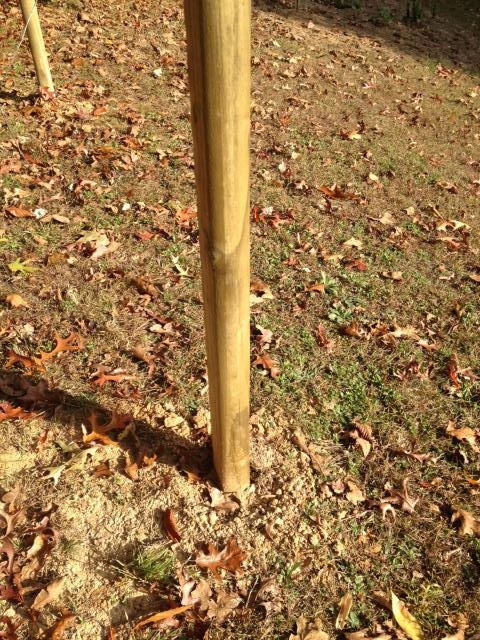
8ft garden posts (can be the 2ft round size)
2x4x8 wood
Wire – gauge
Eye screws
3″ exterior screws
Post digger
Post hole digger bar
Shovel
Table saw
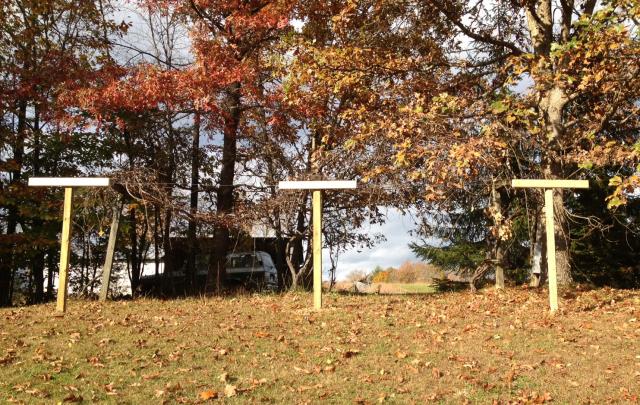
1. Since I have three (3) main post in the existing arbor – I decided I would build off of that. Measuring 6 feet from each post – dig holes about 2ft deep.
2. Place a post in each hole, having someone else hold them straight is a HUGE help. Fill with dirt and then using your post hole digger bar – pound the dirt in – making sure the post is secure.
3. Cut 3 “T’s” from the 2x4x8 pieces of wood, each “T” measures 3 feet.
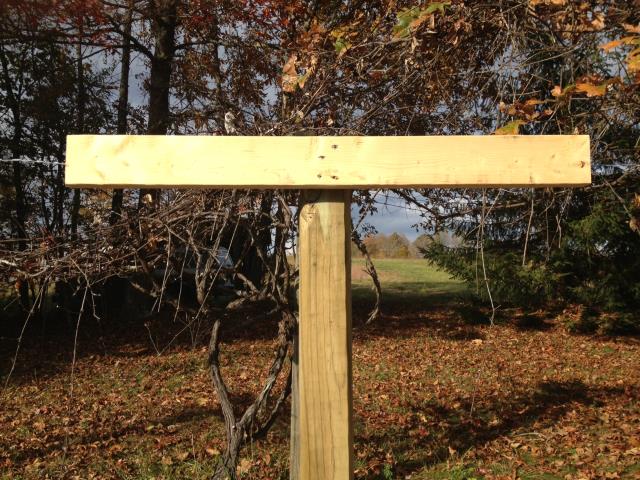
4. Secure you “T” to the top of each post using your 3″ exterior screws.
5. Because of the distance between the original posts of the arbor – we decided to run wire to each “T” instead of use hog wire. The reason for this is that it would have been too difficult to harvest the center.
6. Screw your eye screws into each “T”, we did 5 per “T”.
7. Taking your wire, secure one end to the original arbor posts or wire and then secure the other end to one of the eye screws. We twisted the wire to secure, but if you wanted you could use wire clamps to secure.
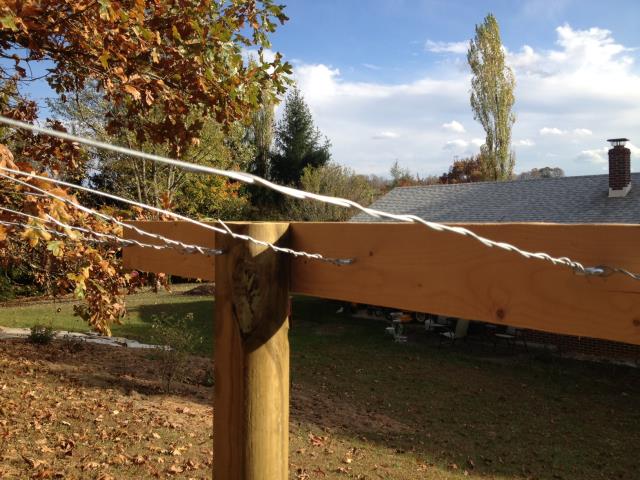
8. To make it even more secure and able to hold the weight of the grapes – we secured wire between each new post, using the end eye screw on each post to secure to each other.
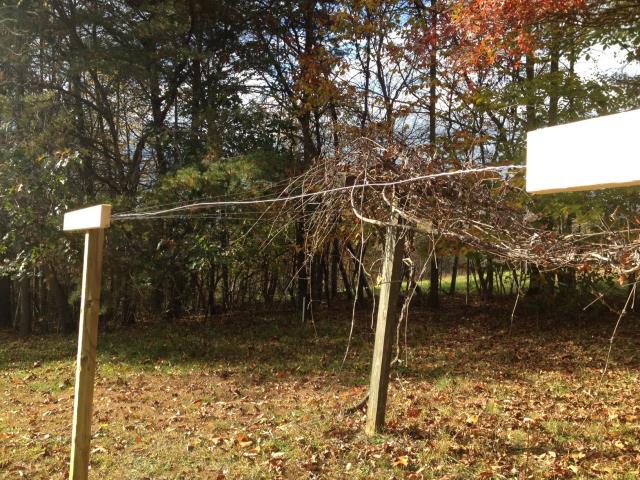
9. The next step would be to move your grape vines along the new wire supports. Since most of the vines I have are going up a tree – I decided I would cut most of the vine from the tree – but was hoping to be able to “save” some of the vine – therefore I am waiting for more of the leaves to fall from the tree.
Once I have pruned the vines and re-directed to the new part of the arbor – I will keep helping it along as it grows. Once the vines are healthy and really growing on the new part of the arbor, if I need more space I will just extend down the hill another 6 ft and follow the directions from above.
I researched all kinds of plans for the arbor and most were far more elaborate than I wanted – so we came up with our own design. One of the big factors in the design of the addition to the arbor was that I am trying to take over the hillside of grass and now the grapes will be a part of that and if I get really ambitious I can add more vines and take over even more of the hillside.
 Copyright secured by Digiprove © 2013


You are definitely one self-sufficient mama!! : ) Hopefully your arbor will be abundant with concord grapes!! : )
What a project….looks great. You are so darn industrious!