
 Follow
When moving into a new home and making the space your own – there is always something or many somethings that you just “need” to have to make that room, space – just right! Even though we all collect stuff – we feel that we always need something that we do not have – whether practical or not. In our new home I have been very conscious of spending, but also of how I can repurpose an item to fit a need or how can I make something with the supplies I have to fit that need.
Our basement is just that a basement with a cement floor. We have our storage, kids den, my office and craft area, the laundry room and wood burning stove in our basement. I did invest in an area rug for the kids den area – one that will not show spills, dirt etc – which is working out great! For the laundry area I wanted something that was easy to clean and that made the area less industrial looking. I thought about the place mats that I had made with artist canvas and decided to give a large rug a try!
I did come across a site that sells one of a kind designed floor cloths and their 2×3 size sells for $355 and their 4×6 is $1,370! Even with buying all the supplies ($55 for canvas, $22 for poly-acrylic, $30 paint, $10 brushes, $10 stencils, etc = $127) and this list of supplies makes more than 1 rug or set of place mats – you are ahead of the game! This is a great family weekend art project – everyone can join in and let their creative self shine!!
Floor Cloth
Items Needed
Artist canvas (can buy the roll on Amazon)
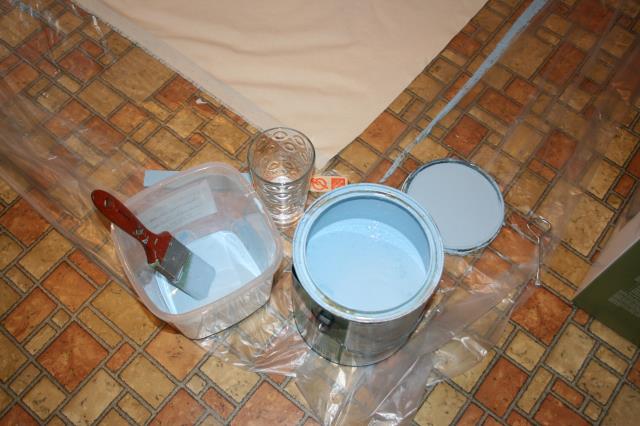
Paint (I get the small sample paints at a hardware store or use up paint in your house)
Stencils, sponges, etc.
Paint brushes
Water based poly-acrylic
Sewing machine
Matching thread
1. Cut your canvas to the size needed (mine before sewing seams was 6′ x 6′).
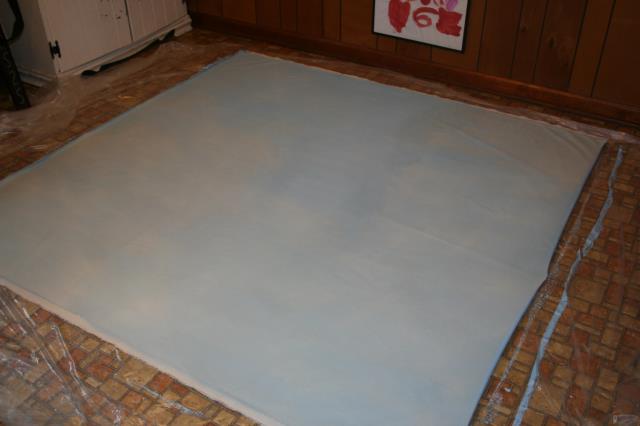
2. Decide what color you want your base to be and paint at least 2 coats – allowing plenty of time to dry in between coats. You can paint on either side and make that your top, but the “real” top is the whiter side. I used leftover paint from the painting of the inside of the house. I started doing this outside, but since it has been so wet and humid – I moved the project inside and had to put fans on the canvas overnight to really dry it!

3. Place some of the base paint in a cup, add water and paint the back of the canvas – allow to dry thoroughly.
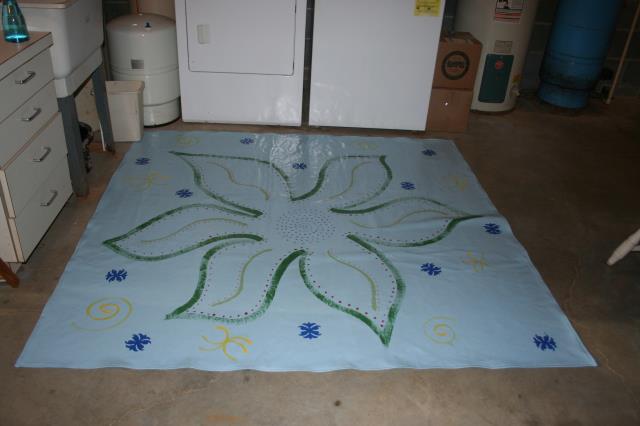
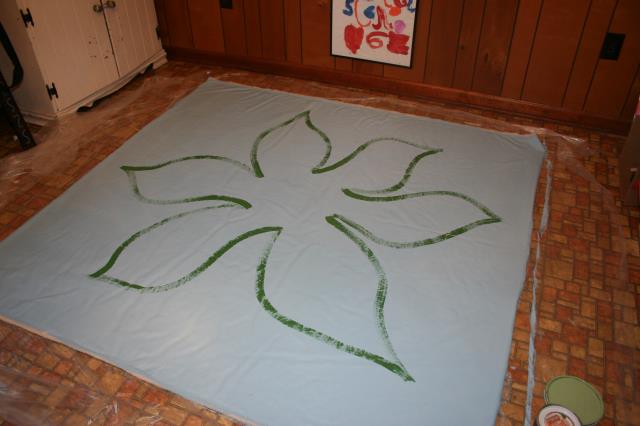
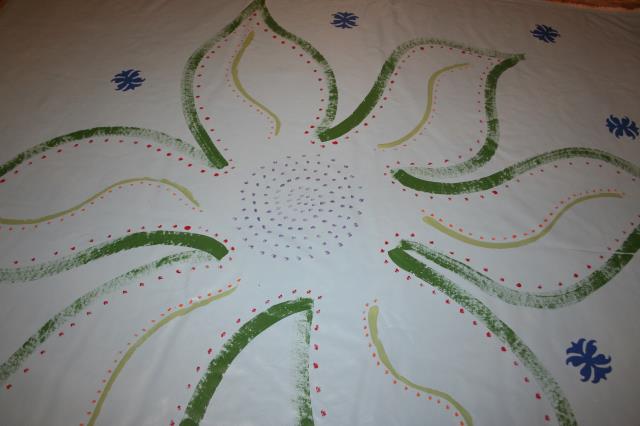
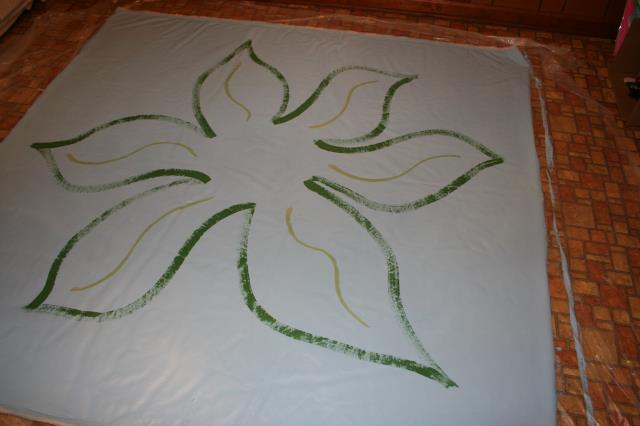
4. Now use your imagination and go for it – design away!! Use stencils, free hand – your imagination is your only limit on what is created. I painted a flower:
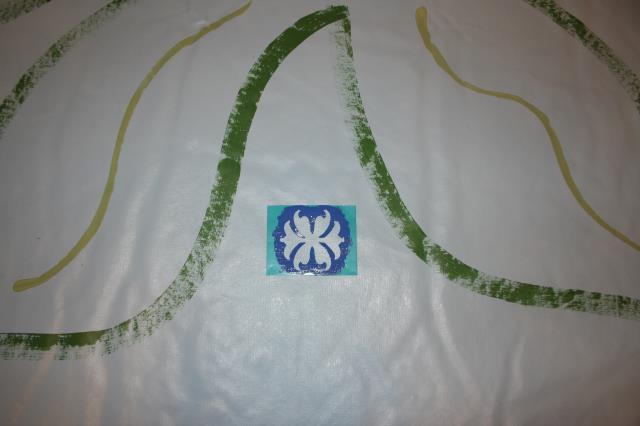
Then did some stenciling:
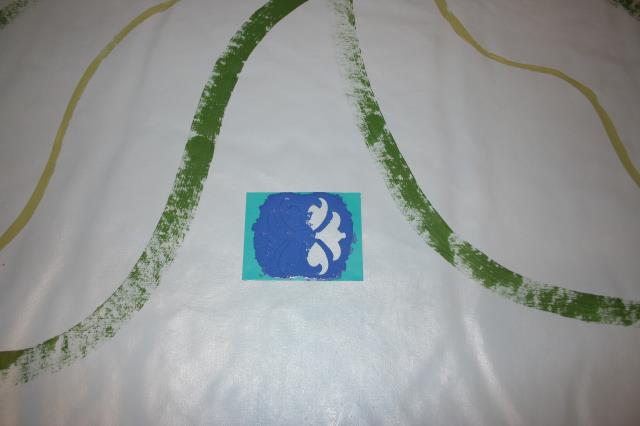
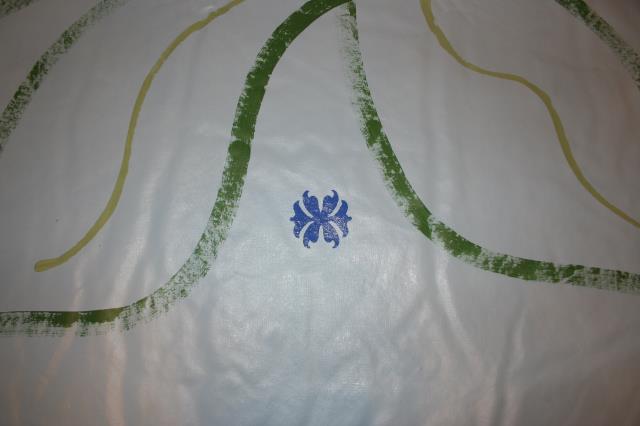
Some more on the flower:

And felt that it needed some yellow:

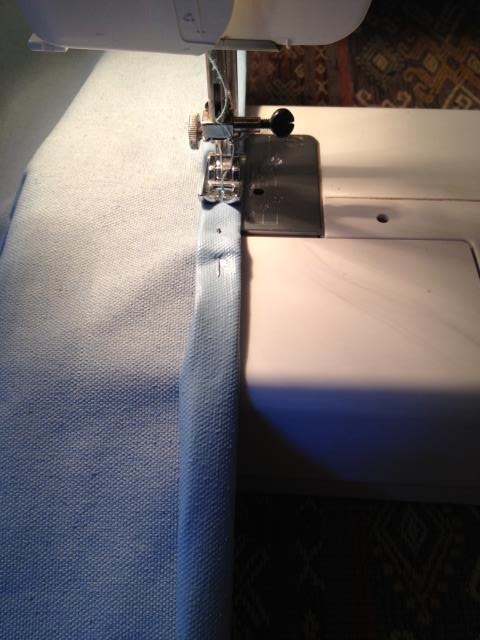
5. Once the canvas is completely dry – turn over each edge, twice, pin and sew. You can match the thread or use a bold color that stands out against your base paint.

6. Using the poly-acrylic, paint 2 coats on the top and 1 on the back. Allow to dry completely between coats.
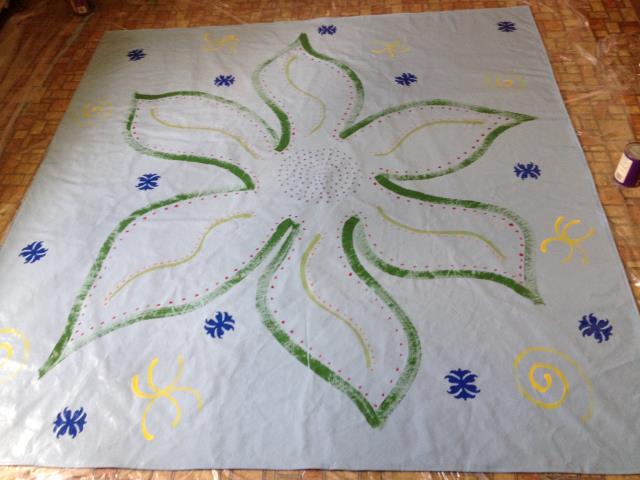
Place your beautiful rug in its “perfect” spot and smile each time you see it, walk on it, enjoy it! Cleaning it is a breeze – all you need to do is clean with a damp mop and that’s that – no laundry and it will last a long time! If your floor cloth needs a deeper cleaning, use a soft scrub brush with a mixture of vinegar and water – if need be you can hang to dry on a clothesline. When needing to move or store your rug – never fold or bend it, always roll it.
 Copyright secured by Digiprove © 2013


Love your floorcloth! Did you put non-skid material underneath it? Floorcloths were very popular in the first part of the 19th century!!
That looks so cool, Pamela. Love it!
I love it as well !
If you still have canvas on your roll, try cutting a piece or two that are like 15″ x 40″ (or so), put on the base coat and then, pin to one of Stella’s wall and let her design it as time goes by. A drawn picture, a few words, a flower, etc. With the base coat, it should handle crayons, pencils, inks, etc Then, when she outgrows it, roll them up and stash them away to keep to her years from now.