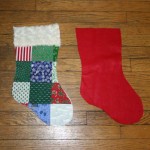
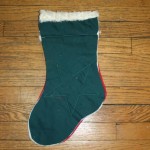
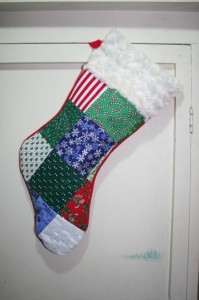
Over the years I have made many Christmas quilts, trees, place mats, etc. With all those projects I have accumulated many scraps and small pieces of Christmas themed fabric – enough to fill a small plastic storage container (a little bigger than a shoe box). My quest was to make 5 stockings and I had 2 more to go and wanted them different than the felted sweater stocking or the felt stocking – and then I thought about the Christmas fabric scraps in the attic! I was set for the last 2 stockings!! I want the trim on the top of the stocking to be furry and since I was already going to the fabric store to get the backing for the baby quilt, I figured I would look around and I found some fun furry fabric!!
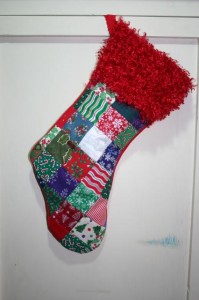
Quilted Stocking
Items Needed
Scraps of Christmas themed fabric, cut into squares
Solid fabric for lining of of quilt
Cotton batting
Fleece or fabric for back of stocking
Template for quilting
Fur trim for top of stocking
Sewing machine
Matching thread
Stocking Pattern (you can find one on the web or I use Butterick pattern 5783)
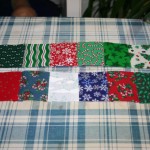
1. Cut squares of the fabric. I did 2 different sized squares since I was making 2 different stockings.
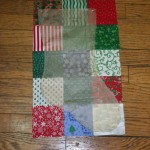
2. Sew the squares together into a row, press seams. Make several rows and then sew together. You want the piece big enough to cut a stocking out of it.
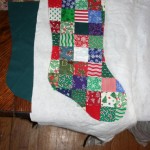
3. Cut your stocking backing for the quilt piece, the batting and the back of the stocking. So when done you will have 4 stockings: quilt, batting, backing and back.
4. Place the backing stocking on your surface, lay the batting on top and then the quilt stocking – pin together.
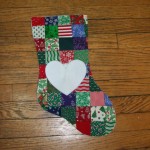
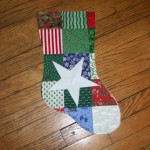
5. Quilt – I used a star and a heart as my template and sewed around them.
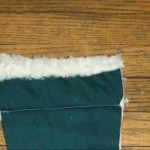
6. Cut the fur trim for the top of the stocking. I only did them trim on the front of the stocking, but you could do it all the way around.
7. Fold the fur trim over and place at the top of the inside of the front of the stocking – sew on.
8. Fold the trim over the top of the stocking and folding the bottom of the fir trim sew onto the front of the stocking.
9. Cut a strip from the same material you used for the back of the stocking – approximately 4″ x 1/2″.
10. Place the back stocking piece right side up and in the corner you want to hang the stocking from – loop the strip and place edges in the corner.
11. Place the front stocking piece on top of the back piece and loop – right sides together Sew the seams – leaving the top open. Trim the seams and turn right side out.
Hang and admire your craftiness!!
 Copyright secured by Digiprove © 2012
 Follow


Would love to have seen a photo of the quilted stocking. : )
Sew Pretty~!
Another beauty….what are you doing with all these great items!
Okay. Finally saw the photos. Wow. Beautiful. Love the “fur”… especially the red fur. :