I can’t believe that it is December!! I am not as far as I wanted or needed to be on my holiday gift making and as I was looking at the calendar I became a little anxious!!! Just like last year – I thought I would be way ahead of the game and have the weeks leading up to Christmas as ones to leisurely make cookies, etc – but just like every other year I am wondering if I am going to finish all the gifts in time or am I going to have to buy a few? I hope not!
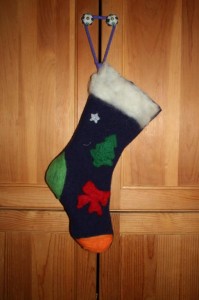
Felted Sweater Stocking
Items Needed
Wool sweater
Wool roving
Felting needle
Felting pad
Fabric for liner
Matching color thread
Stocking Pattern (you can find one on the web or I use Butterick pattern 5783)
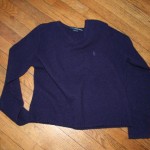
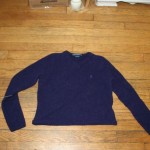
1. When I am at yard sales, goodwill ,etc I always keep an eye out for old wool sweaters. I found this one at the church bazaar. You will need to felt the sweater. Place the sweater in a pillow case and tie a knot to close. Toss in the washing machine with a pair of jeans and a little bit of soap. Turn the setting to the longest cycle, smallest load size and fill with hot water. Once it is done washing, take it out of the pillow case and put the sweater, jeans and pillow case in the dryer – there will be A LOT of lint. I had to do the sweater through 2 washes and 2 dry cycles to get it to the felting condition I wanted – but you also want to make sure you do not make it too small that you can not a make the item that you want.
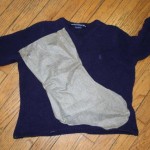
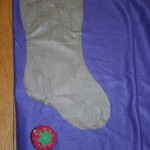
2. Lay the stocking pattern on the felted sweater and cut out 2 stockings.
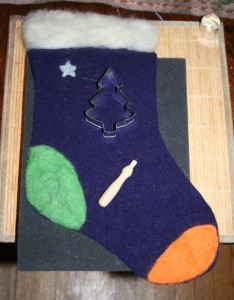
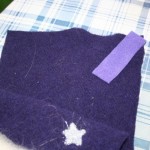
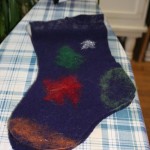
3. Get out your felting items and roving and start needle felting. I chose to felt the heel and toe and then to put a couple of Christmas items on the stocking. I used stencils and cookie cutters to make my shapes. For the top of the stocking I used natural wool roving and barely felted it on – I wanted it to have a “furry” look to it.
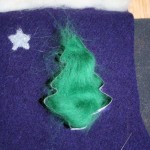
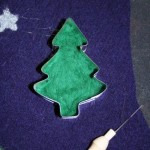
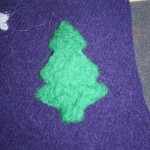
4. To use a cookie cutter – place where you want on the stocking and fill with wool roving – there more you put in the thicker the design. Taking your felting needle – start poking all the way around making sure the really get the edges. Once the design is secure and the edges are felted well – remove the cookie cutter. Using your felting needle felt the design more, really cleaning up the edges.
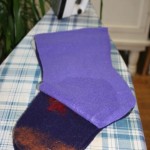
5. I decided to just line the front of the stocking since I only felted that one piece. I used a lighter purple fleece fabric and cut 1 stocking piece.
6. Place the lining on the wrong side of the front of stocking, folding over the upper edge. Either by hand our using a sewing machine sew the lining to the wrong side of the front stocking piece.
7. Cut a strip from either the felted sweater or the lining – approximately 4″ x 1/2″.
8. Place the back felted sweater stocking piece right sides up and in the corner you want to hang the stocking from – loop the strip and place edges in the corner.
9. Place the front stocking pieced on top of the back piece and loop – right sides together and the lining piece on the wrong side of the front piece – pin together. Again, either by hand or using a sewing machine sew the seams – leaving the top open. Trim the seams and turn right side out.
10. Hang it on the mantel or wherever you hang your stocking.
 Copyright secured by Digiprove © 2012
 Follow


Cool and beautiful stocking!!
Gorgeous!
Very pretty Pamela…great recycling idea for a beloved sweater that has moth holes or elbow holes from wear & tear!
That is SO cute!