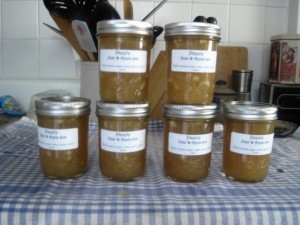
As I have mentioned earlier, last weekend we went pear and apple picking. I made apple  crisp, apple, cinnamon buttermilk pancakes and pear sauce, but still had some pears and apples leftover. I decided I would make pear and apple jam, but as I searched the internet I could not find a recipe for jam – just jelly and I wanted jam. So I decided I had made enough jam that I could make my own recipe – and that is what I did and not to go too overboard, it is pretty damn good!
I decided I wanted the jam to be more pear than apple, so here it goes.
Papple – Pear & Apple Jam
Ingredients
7 – 1o pears, depending on size
3 – 4 apples, depending on size
1 pkg of pectin
1/2 cup water
1/4 lemon juice
2 1/4 cups sugar (can be reduced or increased, depending on your taste)
1. First you want to wash and sterilize the jar. You can use a dishwasher, which I do not have – so I wash the jars and then put them in boiling water, the same water I use for the water bath. This recipe will fill about 6 half pints 

2. Put a spoon in the freezer.
3. Wash and peel the apples and pears.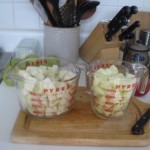
4. Cut up, in large chunks, 4 cups pears and 2 cups of apples, or any combination you want, but you will need to have a total of 6 cups.
5. Place the cut pears and apples into a large pot along with 1/2 cup water, turn the heat on high and let the water come to a boil. Once the water has come to a boil, turn the heat down, cover, simmer, stirring often until the fruit softens. Turn the heat off and let cool.
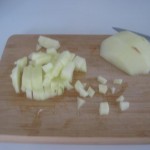 6. While the large chunks are cooking and cooling, cut up 1 cup of pears and 1 cups of apples, but this time cut them up into small pieces or squares.
7. Place all the pears and apples from the pot into a blender or food processor and puree, pour back into the large pot, add the small cut up pears and apples, lemon juice and the box of pectin that has been mixed with 1/4 cup of sugar. Mix well.
8. Turn the burner to high and stir occasionally to prevent burning. You want the mixture  to come to a boil – this takes about 5 – 10 minutes.
9. Since my kitchen is very small and I really only have one counter top to use – I am a stickler about cleaning up as I go. While the mixture is coming to a boil I wash all the items used so far and then set the jars out on an old dish cloth, so they are ready to be filled.
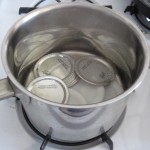 10. Place the lids into a pan of water and set to boil. Once the water has boiled turn the burner off and let the lids sit in the hot water. Keep the cover of the pot on.
11. Turn the bath water on high so that it is boiling when it is time to put the filled jars in.
12. Once the mixture is a rolling boil, where stirring it will not get rid of the bubbles, add the remaining sugar. I use no sugar pectin, which still calls for 3 cups of sugar. I usually use 1 1/2 – 2 cups of sugar, but it depends on how sweet you want it and how sweet the fruit already is.
13. It will start to thicken. Take the spoon out of the freezer and fill it about 1/2 way. Let it cool to room temperature – taste and if the thickness you want – it is done.
14. Using tongs or a magnetic top taker outer and take the tops out of the hot water and place on the dish cloth next to the empty jars.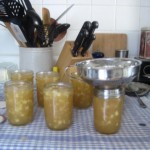
15. Place a funnel over a jar and using a ladle, ladle the mixture into the jars to about 1/4 inch from the top. Continue this until all jars are filled. Place the tops on and then put the ring on and tighten.
16. Place the jars into the bath water. After about 7 minutes you can start taking them 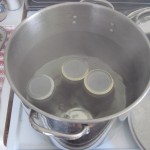 out – using a jar grip. Place them on the dish towel and then listen for the popping – this is the jars sealing. If one does not seal turn it upside down and let it stand there for about 5 – 10 minutes turn over and it should have sealed. If one does not seal that is the one you will place in the refrigerator after it has cooled and use it tomorrow morning on your toast. The jars should keep for about 12 months.
 Copyright secured by Digiprove © 2011
 Follow

