So last week when I wanted to try my hand at wet felting with Stella and she wanted to do needle felting- we ended up doing both. The only other wet felting I have done is over soap -so this was new to me. I really like needle felting, so don’t have the supplies for the wet felting and I like seeing my creation evolve. I realize that wet felting is not as easy as it looks or the videos show. I have trouble get all the wool roving to felt together when wet felting – but I guess I need more practice – it took time to figure out all the “to-do’s” with needle felting!
Wet Felted Flowers
Items Needed
Wool roving (several colors)
Sushi rolling mat
Bubble wrap
Mesh fabric (I used my re-usable veggie bag)
Water
Soap
Scissors
Towel
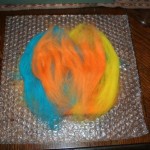
1. Pull several tufts from the wool roving, don’t cut. I decided to use 3 complimentary colors.
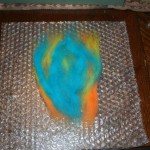
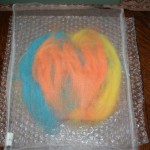
2. Lay your piece of bubble wrap on the table and layer your wool on it. First lay the tufts horizontally, then vertically and then horizontally again. This is done so that the fibers can interlock easier.
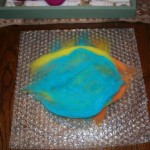
3. Carefully cover with you mesh netting fabric.
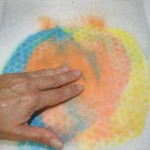
4. Bring your bundle to the counter near you sink. Sprinkle the felt with warm water – DO NOT saturate. Push down on the wool roving with a flat hand, this allows the wool to take the water and also will let you know if you need to add more water.
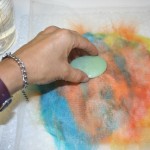
5. Without moving the wool, take your bar of soap and rub over the mesh netting. I found that soaping my hands and do the soap that way worked easier for me and I did not disturb the wool as much.
6. Gently rub the wool and soap in a circular motion. Get the soap all the way through the wool, but try not to move the wool around.
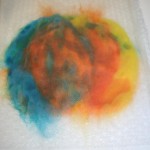
7. When it looks and feels like the wool has felted, carefully lift the mesh netting off the wool, releasing any trapped fibers.
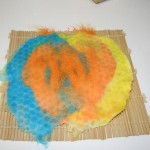
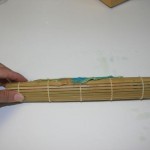
8. Gently pick up the felt piece off the bubble wrap and place on the sushi mat. Roll the piece up in the mat, tightly, draining any excess water.
9. Place the rolled mat on a towel and roll the mat backwards and forwards for about a minute.
10. Carefully unroll the sushi mat and turn the felt piece 90 degrees, roll back up and repeat step 9.
11. Turn the felt over and repeat steps 9 and 10. Repeat until the felt is felted. You can determine this by doing the pinch test. Pinch your thumb and forefinger into the felt and it you can pull the layers apart then it is not felted, keep rolling, turning, rolling until it is ready.
12. Rinse the felt in tepid water to remove the soap. Do a final rinse in cold water – if needed add a small splash of white vinegar to the water to help remove any soap residue. Place the felt between 2 towels and pat dry. If not flat roll it back up in the mat for a few seconds and this will flatten it.
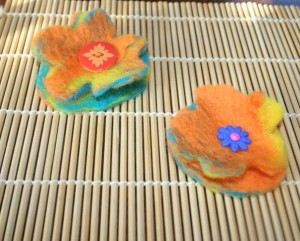
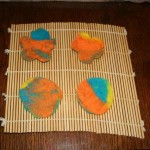
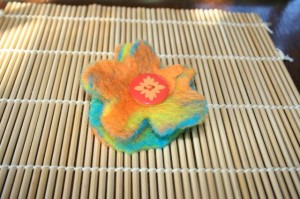
13. Allow to dry and then cut out your pattern. I cut a circle and then a free cut flower.
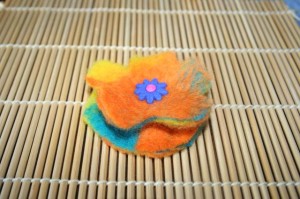
14. Place the flower on top of the circle and sew together in the center, using a button for the “eye” of the flower.
You can use these to decorate bags, pillows, jackets or place on a stem and make a bouquet of them. I am not sure what I am going to use mine for – thinking they may become part of package wrapping.
 Copyright secured by Digiprove © 2012
 Follow


Now that I’ve read through your blog here I can really appreciate all the work in wet felting. The flowers are very pretty!!
Definitely looks like a lot of work but the finished product is really lovely. The flowers would be really pretty on a bag or a purse — or even a lapel!