Over the summer, the phone rang and it was Mateo. He asked me if I had anymore wool left for felting and a sushi roll mat – which I answered yes to both. Great, can I come over and I can show you how to make felted coasters? I told him we would have to do it another day. Well I have now set aside several afternoons, but the kids have had other things to do – the pool, play outside, prepare for their fundraiser (stay tuned on that one!) and just being kids. Well, I decided I wanted to learn how to do the wet felted coasters – so to the internet I went. Ok – looked easy enough, a call went up the stairs – Stella do you want to felt with me – yeah, mom. So Stella came down stairs and we got all the stuff out and placed on the table. As I had been doing my research I came across a great listing of felting tutorials and ideas – I decided before we started I would show Stella a couple I thought were very cool. As we went through them she saw one that she wanted to make – a needle felted hotdog dog. I have been a little hesitant about the needle felting with her – mainly because it really hurts when you jab yourself with the needle – but I figured she was going to do it sometime, why not now!
We went ahead and set up our work areas – me for wet felting and Stella for needle felting.
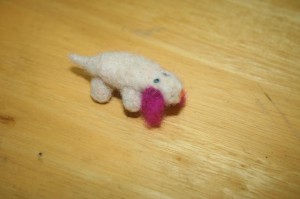
Needle Felted Hotdog Dog
Items Needed
Brown wool roving for the body and legs
Orange wool roving for the nose
Pink/red wool roving for the ears
Blue wool roving for the eyes
Felting needle
Felting pad
Chopstick
Note: You do not have to use as many colors as Stella did.
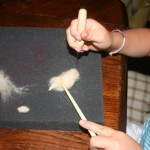
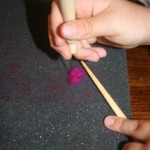
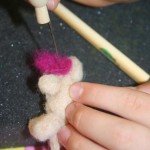
1. Taking some brown wool roving, roll in your hand to form a long oval – this will be the body, including the head and tail. Needle felt the roving until firm and you have made the desired shape. You may have to add more wool as you go. To avoid poking your finger – you may want to try holding the wool with a chopstick instead of your other hand.
2. Take small pieces of the brown wool roving and make four (4) legs. You want to make sure they are close to the same length and diameter. (Forgot to take a photo of the legs, but you can see the wool roving pulled and one leg made in picture.)
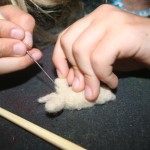
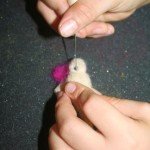
3. Attach the legs to the body. On the underneath side of the body – use your felting needle to flatten it out some. Place each leg (one at a time) where you want it on the body. Hold the leg in place and with your felting needle – stab the needle around the base of the leg into the body – this will intertwine the fibers of the leg and body – making it secure.
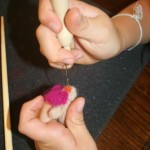
3. Pull two small pieces of the pink/red wool roving for the ears. With your felting needle, felt two ears in a solid “U” shape. Make sure they are close is size. Take 1 ear an attach on to the side of the head. You will do this by poking the needle through the top of the ear into the head- this will intertwine the fibers. Do the same thing with the other ear.
4. Take a small piece of the orange wool roving, roll into a ball, place where the nose would go and needle felt it on.
5. With the blue wool roving – pull off 2 pieces, relatively small and roll into tiny balls. Place one ball where the left eye will be and using your felting needle – felt the eye onto the face. Do the same with the right eye.
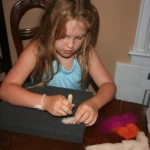
Stella did jab herself with the needle a couple of times and it hurt. She had a great time creating her dog and I only helped a few times – mainly showing her how it works and how to use the needle the “correct” way.

 Follow


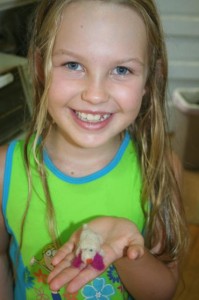


Amazing what can be handmade. Love the look on Stella’s face holding the “hotdog” that she made herself. Wonderful, wonderful.
YES! I love to see Stella and all the kids that come here – create – they all have such smiles on their faces and are beaming when they have the “finished” item in their hand!!