I love candles! As the days are getting shorter – it is almost time to start lighting the candles. We do not light candles very often in the summer, not because I don’t want too, but because of the heat. I use the lanterns outside when we eat dinner or I am hanging out with friends over a glass of wine. Several years ago I took a candle making class with Stella and we used all of our candles, but they were not made with beeswax or essential oils, but with some kind of wax and synthetic scents and colors – they were nice, but not like the good quality of a beeswax candle.
Since I had some beeswax on hand from making natural sunscreen – I decided it was time to make some candles. We were driving by the local Goodwill and decided to go in – they had just remodeled the store and made it bigger. I went to the housewares section and found some nice glass containers – perfect for candles and they were each $0.99 – so couldn’t beat the price. The holidays are right around the corner – and figure these could make nice gifts!
The benefits of a beeswax candle are many. They are economical, really in the long run they are, because they burn brighter, longer and cleaner than other candles. The flame from a beeswax candle emits in the same spectrum as the sun. They give off very little smoke and the smoke that is given off contains no carcinogens like other candles. Beeswax candles also clean the air!
Beeswax Candles
Items needed
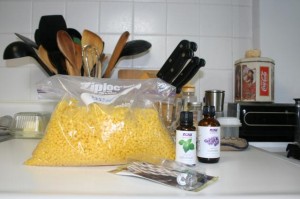
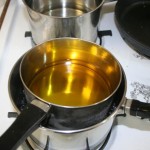
Double boiler (used a pot that I did not care about for the wax)
Beeswax
Wicks (ones that are made for beeswax, preferably cotton or you can make)
Essential oil (optional)
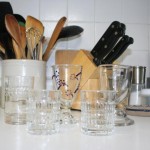
Glass containers
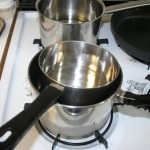
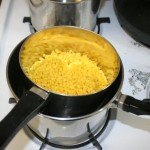
1. Fill the bottom pot of the double boiler with water, turn burner on. Fill top pot with wax. Turn burner on medium-high.
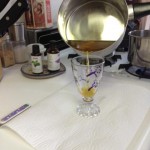
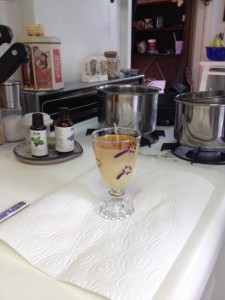
2. Line your glass containers up on counter – placing a newspaper or a paper towel under the containers, to catch drips.
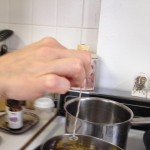
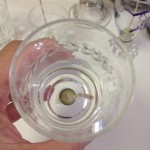
3. When the wax begins to melt, dip the metal end of the wick in the wax and then secure the wick in the container. The wax will harden and adhere the wick to the container.
4. When the wax has melted, pour into the container.
5. If you are using essential oil – allow the wax to cool slightly, then add some drops of oil.
6. Continue melting wax until all your containers are filled.
7. Allow to completely cool and the wax to harden. Store in a cool, dark location.
A couple of mine split and I added some more wax. I need to figure out why they split.
 Copyright secured by Digiprove © 2012
 Follow



Liked seeing homemade beeswax candles. I used to make dipped candles and that take SO long, but these are much quicker and I think in the containers, they’re safer. Love the color of natural beeswax too. Good photos and directions. Where did you get the wicks with the metal bottoms???
You can get the wicks with the metal bottom at Michael’s. You just need to make sure that they are cotton and can be used for beeswax – it will state on the back of the packet.
They look beautiful! You are amazing