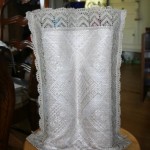
I have my favorite wine shop in town, Riverview Wine. The owner is great, their wine selection is ecclectic and they have great tastings. My regular canvas bag is fine when I am buying one bottle, but when I am buying two I usually have to use one of their bags and then reuse when walking the dog. I wanted to make a bag that I could use for my wine purchases and would accomodate 2 bottles. I was going through the bag of items I saved from our yard sale and came across a lace table runner – the light bulb went off!
Table Runner Wine Carrier
Items Needed
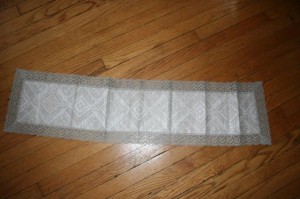
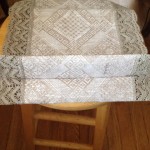
Table runner ( one that is wide enough for 2 bottles of wine)
Sewing machine
Matching thread
Wine bottles
Scissors
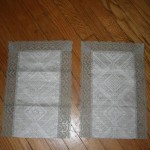
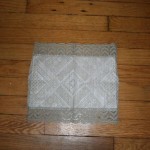
1. Fold the table runner is half, lining up the short side edges. Measure from the short edge the length you would like the bag to be, but remember that you will have a bottom. I measured 15″. Pin short edges together and cut the runner. The leftover piece will be used later so set aside.
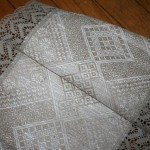
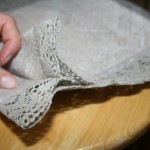
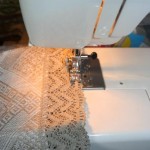
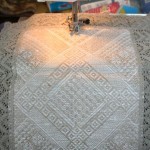
2. Pinning the pieces together, right side to right side and sew together. You will now have 1 long piece. My runner had lace trim – so I sewed together the edges that did not have lace.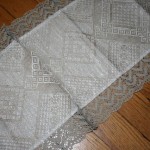
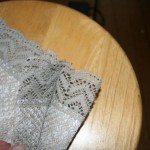
3. Now to make the bottom of the bag. Match the tops of bag together, wrong side to wrong side (I did this, again, because of the lace edging) and pin together, top and sides.
4. I am not sure how to really explain this, but I will do the best I can. I wanted my bottom to be about 3″ across. Taking the seam, push up inside the bag about 1 1/2″ (this will form a hand puppet like mouth). Pin the sides.
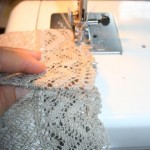
5. Sew the bottom seams together. I had to do this is two parts. Sewing the new seam on each side of the bottom seam separately. I hope this is not as confusing as it is seeming as I am writing this and I hope the photos help.
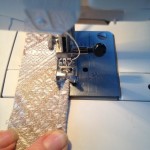
6. With the bottom of the bag done, you need to sew the side seams. I did this as close to the edge as possible.
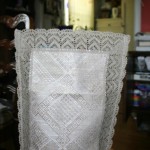
7. Place 2 bottles of wine inside the bag. You want to determine where the middle seam will be, this is so the bottles don’t hit one another as you are walking. You want to make sure that the bottles get home in one piece. Mark the center. Take the bottles out.
8. Sew the middle seam. Start from the top and go almost to the bottom of the bag.
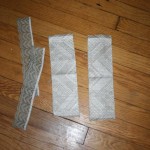
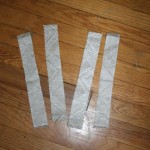
9. Take the leftover fabric and make your strap. I decided I wanted one strap. I cut the lace off the fabric and then cut the fabric in half. Taking the cut fabric I cut it is half. Sew the pieces together.
10. Once your strap is sewn together, you want to finish the sides. Turn the fabric over about 1/4″ and sew. Repeat on other side.
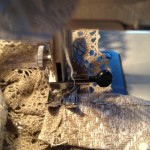
11. Sew your strap onto the bag. I chose to sew it where the sides were sewed together. To make it extra strong I sewed in a square.
 Copyright secured by Digiprove © 2012
 Follow






That is really cool and elegant looking. Good idea. xo
What a pretty bag and great photo of you!! : )