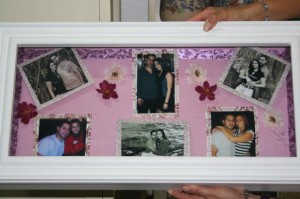
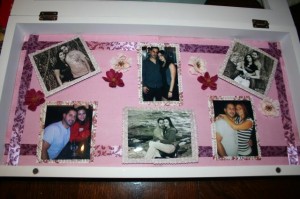
Recently in an answer to a post comment – I said that I didn’t think I would end up the weird cat lady on the street, but the weird craft lady! I think it is already happening. Our neighbor, who is also our pet sitter and Stella sitter, wanted to make a memento for her boyfriend’s mother. When I had been at their house, she had showed be the shadow box she was going to use and her idea of how to fill it – I of course, made a few suggestions and said if you need some supplies come on over. Two night later she came over and for almost 3 hours we printed, cut, glued, rearranged and contemplated… it turned out fabulously!
Picture Memory Box
Items Needed
Photos
Shadow box
Glue
Patterned paper
Ribbon, beads, flowers
Glue gun and glue sticks
Cardboard
Scissors (we used design scissors)
Toothpicks
Exacto knife
1. Decide on what photos you want to use and print them – I would suggest printing more than you will use – just because you never know.
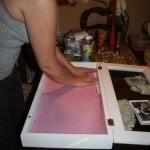
2. We decided to cover the cork on the inside with some scrap booking paper – just glued on with white glue and trimmed with an exacto knife.
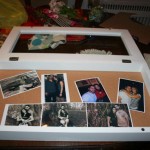
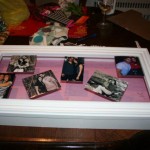
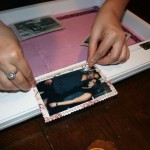
3. Now to lay out the photos and decide on how many and which ones.
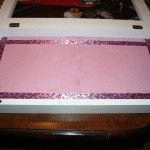
4. Using ribbon – make a border around the inside – the trick here is to make sure that you 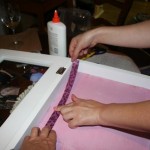 can see it when you shut the lid. We laid out the ribbon, closed the top and then stood on a chair to look down on it (like we would be looking at it when hanging on the wall) – moving the ribbon around until it was just right. We glued on using white glue – the top and bottom strips went on first and then the sides.
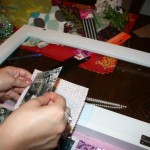
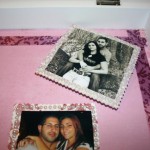
5. Next was deciding on what paper to use and the background for the pictures. We 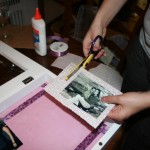 decided on two different papers. One paper was for the pictures that were going to have a bead border and the other paper was for the pictures that were going to be raised. We cut the paper with the fun scissors and then glued the pictures on.
6. Next was bordering the pictures with beads. This looks harder than it was – the beads are attached to a sticking back in a strip.
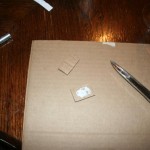
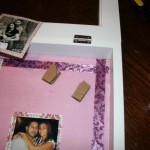
7. To make the stands for the raised pictures – cut small pieces of cardboard (we used 3 pieces high). Glue the pieces together and then place in box as to where you want them. We used two stacks per picture – but I have to make a disclaimer – the next day the pictures had started to droop – so either use for cardboard towers and place at corners or do what Lina did – she placed toothpicks at each corner to hold up.
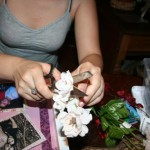
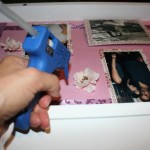
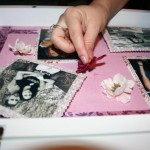
8. Taking some plastic flowers, cut the flowers off – as close to the flower as possible. Decide where you want them on the box and glue using the glue gun.
Now stand back and admire your work!
 Copyright secured by Digiprove © 2012
 Follow


No ad today. : (
This memory box has potential for so many things…. babies, family reunions, birthdays, etc., etc. Very good.
You could continue to add memories for many years. Love it!
Yes and yes!