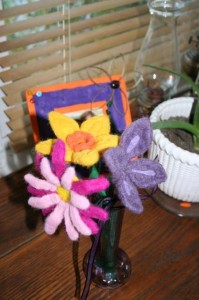
I have a very dear friend that just recently had a big birthday. I know that she loves flowers, so I decided to make her a bouquet that would last and last. How you ask and so glad that you did ask – I made a bouquet of felted flowers. I have never done felted flowers before – so this was a learn as you go project. I had great aspiration to make 5 different flowers, but only ended up making 3 – they took longer than I thought they would.
I am not sure if my directions/explanations of how to make the felted flowers was enough – so I have included a lot more pictures than usual. Enjoy the picture creation.
Felted Flowers
Items Needed
Wool roving of different colors
Felting needle
Felting pad
Pipe cleaners
Vase
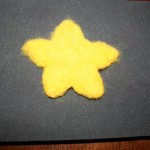
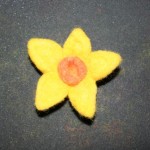
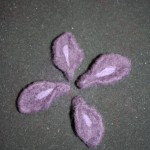
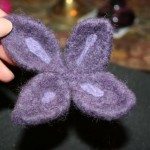
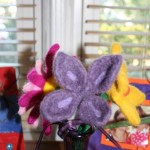
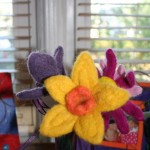
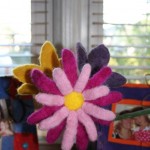
1. Decide what colors you will need and what type of flowers you will be making. The only flower that resembled a true flower was the daffodil and that came to me – well because we had some in a vase on the dinner table. Since purple is Jane’s favorite color I had to have a purple one. The pink one I thought was just “happy”
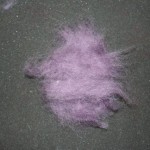
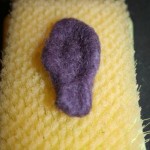
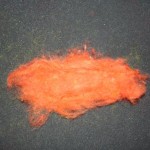
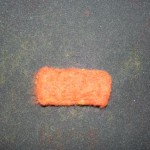
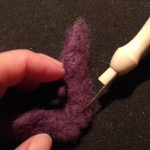
2. With some wool roving fold it over 2 or three times – so that the fibers cross. With your felting needle felt the outline of the flower and then felt the inside. Fold the roving outside of your design needle edge and using the needle felt it into the pedal shape.
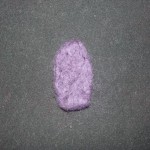
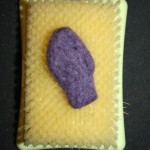
3. Once you have the petal pretty well felted you need to really shape it. Felt the side and really felt the petal until it is firm, but not too firm.
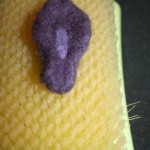
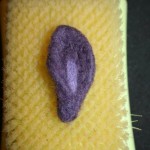
4. Using your felting needle you can now add some character to the petal – showing a definition in the petal and also make them curve. Add a little color to the center of the petal if you like.
5. To add a curve to the petal – where you want the petal to curve use your needle and felt a row – this will cause the fibers to interlock more and pull the other part of the petal up or down, depending on where you do the line.
Making the Purple Flower
Making the Daffodil
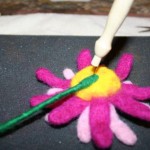
6. Attach the petals, either to each other or to a center. This is done by felting the pieces together. Place the petals together and using your needle poke it several times – this will interlock the fibers. This is how you would also attach to a center.
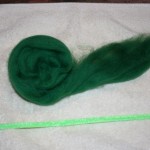
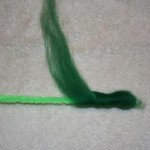
7. To make the stem you will need a pipe cleaner. I folded the bottom of the piper cleaner to give it a heavier base. With green roving, wrap the pipe cleaner. Roll the pipe cleaner that has been wrapped in roving and this will secure it. For the top and bottom – using your felting needle to felt the roving together and cover the ends of the piper cleaner. Place the pipe cleaner on the back of the flower and attach with your felting needle – poking and poking the needle until the fiber have attached to one another.
8. Place the flowers in a vase and bend the pipe cleaner stems whichever way you want.
 Copyright secured by Digiprove © 2012
 Follow





Those are the kind of flowers they could put in nursing homes and day care centers!! They do look like they took time and you know how to felt!! : )
I think if I did more I would get faster. I am thinking/working on doing some more, since I want a lasting bouquet in my house!
Gosh Pamela you never seise to amaze me. They are beautiful.
Thank you.