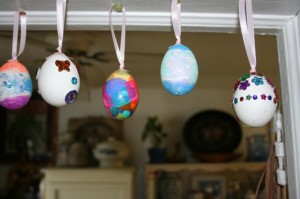
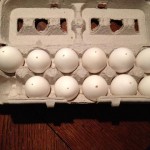
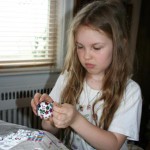
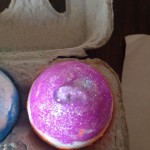
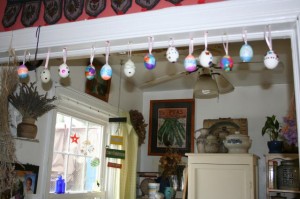
I have never been one that enjoys dying Easter eggs – you spend all that time making your eggs pretty and then they are gone! We decided this year we would blow eggs and then decorate them, so that we would have Easter eggs that lasted. We tried a couple of different decorating ideas – my favorite was the decoupage eggs and Stella’s was the gem covered eggs. We hung them in the entrance way to the kitchen, this way we could see our decorated eggs from many different places in our home. We started with a dozen eggs and ended up with 11!!! I thought we would break more, so I was pretty impressed that only one broke – ok another broke, but we were able to salvage it.
Blowing and Decorating Easter Eggs
Items needed
Eggs
Nail
Toothpicks
Glass bowl
Straws or coffee stirrers
Decorations (we used glitter, stick on gems, tissue paper and decoupage glue)
Ribbon
Glue gun
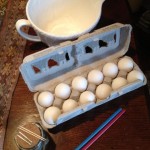
1. Get all your items together (eggs, nail, toothpicks, glass bowl and straws). If using straws instead of coffee stirrer you will need to cut them in half.
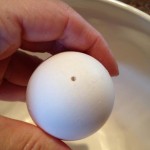
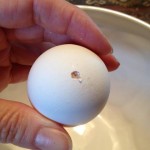
2. Taking your nail, hold the egg firmly and put a hole in both the top and bottom of the egg – sometimes there is a soft spot. Make one hole bigger than the other, preferably the bottom hole.
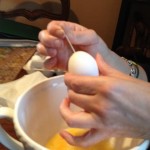
3. Taking your toothpick, push in through the hole and jab a couple of times, you want to break up the yoke and membrane – this will make it easier to blow out the egg.
4. Holding the egg over the bowl, place the straw over the smaller hole and blow and blow and blow until all the egg comes out. Stella said this was hard work and that her lungs hurt! Once all the egg is out you will want to rinse the egg in water, get some inside the egg, swish around and then blow out the water. Place back in the egg carton to dry – turning the egg at least once.
5. Repeats steps 2 – 4 until all your eggs are done. We allowed our eggs to dry over night.
6. Now it is time to decorate. Cover your work area with newspaper and get all your decorations out.
7. For glitter: Using a paintbrush, paint the part of the egg that you want to glitter with Elmer’s glue, sprinkle the glitter over the egg (best to have a bowl underneath to catch the excess glitter), using your finger to help spread the glitter. Allow to dry and then glitter more of the egg.
8. For the stick on gems: Pretty self explanatory – stick the gems on where you want them.
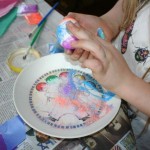
9. For decoupage: Tear up pieces of different colored tissue paper and using a paint brush put some decoupage glue on the tissue paper, place on egg, smoothing out the paper and then coat the top with decoupage glue. Once you have covered the egg with tissue paper do one or more coats of decoupage glue over the entire egg. Allow to dry.
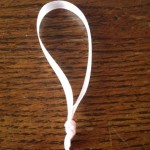
10. Cut pieces of ribbon about 6″ long, loop, tie in a knot and secure on the top of the egg with glue gun. Hang your eggs on an Easter tree, from door frames or place in a basket (with or without the ribbon).
11. Pack them away with care (an egg carton works great) and you will have decorated eggs for years to come!
 Copyright secured by Digiprove © 2012
 Follow





Does Stella know how lucky she is to have a mom like you???? Beautiful eggs. You have more patience than I do. : )
I think she does. I have to admit, my patience was wearing thin by the time we were done blowing the last egg – glad this was a 2 day project. The decorating was easy – just let her have at all the items and then she helps clean it all up! I love out door of eggs, makes me smile walking thru it each time.
I forgot about the toothpick trick….last week I blew some of our americana blue eggs and it was tough. I use a push pin instead of a nail…seems to be more leverage. Your eggs are mighty beautiful..xoxo
Ah, the toothpick – it makes all the difference. I bet your American blue eggs are gorgeous!
Beautiful eggs…with all that work it is wonderful that they can be taken out year after year to enjoy! Happy Easter! xoxo