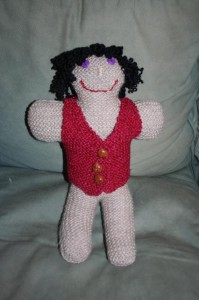
When I saw the pattern for this doll – I had to make it. I loved the hair and that is what drew me to her. Stella was given a kids knitting kit for Christmas and it included a knitting book with patterns for kids and beginning knitters – but there were a lot of patterns that I want to make, this being one of them.
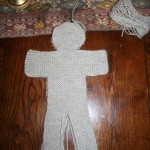
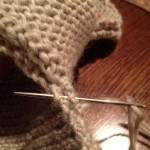
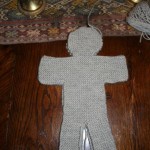
I started knitting her on a plane – so you will notice the different backgrounds of the pictures. I think the gentleman next to me thought I was a little crazy , positioning my knitting for pictures and then taking pictures of my knitting. Knitting is not the easiest thing to do on a plane, let alone from the middle seat (Stella always gets the window seat, but I think that is going to change soon!). I really liked seeing the doll come together in one piece, except of course for the beginning of the legs.
Garter Stitch Doll (Thanks to Kids Knitting, by Melanie Falick)
Materials Needed
1 skein bulk yarn (175 yards) (I used a wool yarn)
Bulky yarn in a contrasting color for the vest (about 85 yards)
Scrap yarn for the hair (wool works best) and face features
Size 8 knitting needles
Size 10 knitting needles
Stitch holder
Point Protector or rubber band
Stuffing or unspun wool
Buttons for eyes and vest
Sewing needle and thread
Crochet hook
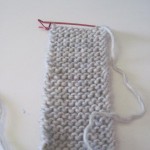
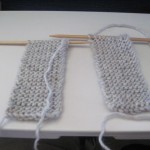
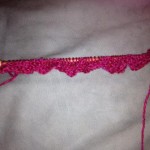
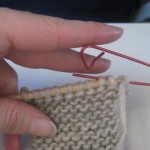 1. Making the first leg: Cast on 10 stitches. Work in garter stitch (knit every row) for 5″. Cut the yarn, leaving a tail, several inches long, slide 10 stitches onto a stitch holder.
2. Making the second leg: Cast on 10 stitches. Work in garter stitch for 5″ (want it the same length as the first leg). Do not cut the yarn or remove the stitches from the knitting needle.
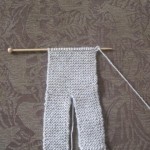
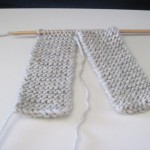
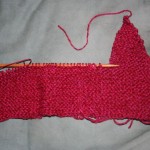
3. Making the lower body: Knit the 10 stitches from the second leg, then knit the 10 stitches from the first leg (starting with the stitch connected to the tail of the yarn). You now have 20 stitches on your needle. The tail of yarn from the first leg should be hanging in the middle of the 2 legs (remember I am making a girl doll – I know what you are thinking!)
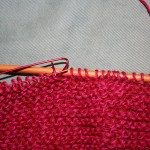
4. Knit the 20 stitches in garter stitch until the piece measures 4″ from where you joined the 2 legs.
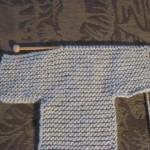
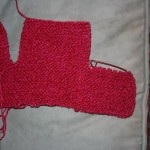
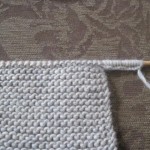 5. Once the main body section measure 4″, cast on 12 stitches, this
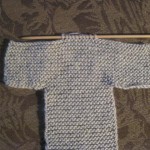
 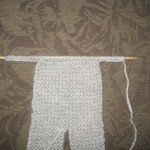 is for the first arm, at the beginning of the row, knit across all 32 stitches. At the beginning of the next row, cast on 12 stitches, this is for the second arm, and knit across all 44 stitches. Work in garter stitch until the arms measure 2 1/2″ (I think the next time I would knit until it measured2″ – they were a little too thick for my liking). Bind of 17 stitches, do this on the side of the first arm, you will now have 27 stitches, knit across. On the next row bind off 17 more stitches – you will now have 10 stitches, knit to end of row.
6. You are now ready to knit the head. Work in garter stitch, increasing 1 stitch at the beginning of the next 8 rows. You will increase by casting on one stitch at the beginning of each row. Once you have 18 stitches, knit in garter stitch for another 12 rows. Now you need to decrease. At the beginning of the next 8 rows, decrease by 1 stitch – K2tog and then knit the rest of the row. Once you have 10 stitches left, bind off.
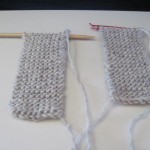
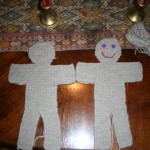
7. Follow steps 1 – 6 to make the other side of the doll.
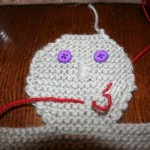 8. If you are putting a face on the doll – this is the time to do it. I
  used buttons for the eyes, used the satin stitch for the nose and the back stitch for the mouth.
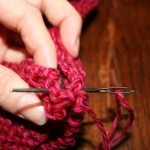
9. Thread the darning needle with the same yarn you kit the doll in and sew the doll together, leaving the top of the head open (for stuffing).
10. Stuff the doll and sew up the head.
To Make the Vest
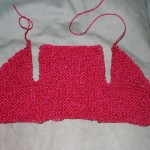
1. Using the 85 yards of the same weight yarn as you knit the doll, but in a different color and size 10 straight needles, cast on 52 stitches.
Rows 1 – 8: Work in garter stitch (knit every row).
Row 9: Knit 2 stitches, K2tog, YO (yarn over), knit to end of row.
Rows 10 – 16: Work in garter stitch
Row 17: Knit 2 stitches, K2tog, YO (yarn over), knit to end of row.
Rows 18 – 24: Work in garter stitch
Row 25: Knit 2 stitches, K2tog, YO (yarn over), knit to end of row.
Making the left front
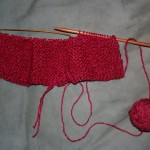 Row 26: Knit 15 stitches, then place the remaining 37 stitches on a stitch holder.
Row 27: Knit across row
Row 28: K2tog, knit to end of row
Row 29: Knit across row
Repeat rows 28 & 29 until there are 4 stitches remaining, bind off.
Making the back
1. Slip the middle 22 stitches on the holder from the left to right onto a needle. Place the other 15 stitches onto a stitch holder.
2. Starting with a new piece of yarn, knit 23 rows. Bind off.
Making the right front
Slip the remaining 15 stitches onto a needle, remember that your forth stitch is a yarn over, be careful that you do not let it drop off.
Row 26: Using a new piece of yarn, knit to the end of the row
Row 27: Make sure the start of this row is the side that the button holes are on. K2tog, knit to end of row.
Row 28: Knit to end of row
Repeat row 27 & 28 until you have 4 stitches left, bind off.
Finishing the Vest
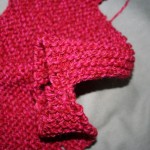
1. Sew the shoulder seams together.
2. Weave in all ends.
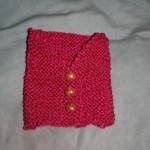
3. Sew the buttons on. I found 3 leather buttons in my button jar that were the perfect size and I liked the way they looked.
Making the hair
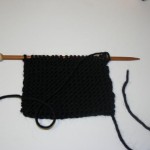
1. Using scrap yarn, cast on 20 stitches – I used size 8 knitting needles.
2. Knit every row until the piece measures 4″. Do not bind off, just cut a long tail.
3. If need be, place a point protector or rubber band at the end of needles to keep the stitches from falling off. I did not, I just pushed the stitches closer to the end of the needle.
4. Wet the piece completely, gently squeeze out the water and set aside to dry.
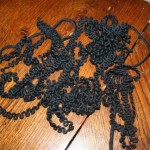
5. Once it is dry, unravel the knitting – you will have one long piece of curly yarn.
6. Cut the yarn into pieces for the hair, the pieces should be twice as long as you want the hair.
7. Fold the piece of yarn in half, using a crochet hook, pull yarn through a stitch on the top of the dolls head, you are pulling where the yarn is folded in half, insert the ends of the piece through the loop and pull to tighten. Repeat this with all the pieces of yarn. Trim the hair to a style you like.
Your doll is done!
 Copyright secured by Digiprove © 2012
 Follow





that is so cute!
Like you, I too fell in love with this doll. What character. Seeing so many stages of the development in photos was GREAT!! The doll is adorable. : )
Yaay! Thank you Pamela. My daughter was playing with the dolly today. It’s got a lot of character and perfectly knitted. We love your dolls!
Oops, accidentally pressed send. Yes, it was a lovely birthday present. She loves it. Thanks again.
xx