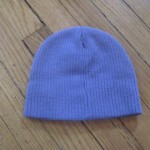
I made this one a little differently from the earlier one that I made. I had been thinking about one with braids and then it all came to me this past weekend. While Stella was skating the hat she was wearing kept riding up and we decided that it was not one that she would wear again – so of course I started thinking how could I use it! I figured I could use it for the arms of the doll and I would use old children socks for the legs. So with scissors in hand I got to work.
How to Make A Monster Doll
Items needed
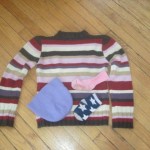 Old sweater, preferably one that can be washed
2 pairs of old socks
An old hat
Multi-colored yarn
2 Mis-matched buttons
Stuffing
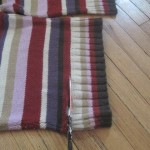 1. Whenever I am at goodwill or a yard sale, I keep an eye out for old sweaters (wool or colorful ones). I found this one at the local
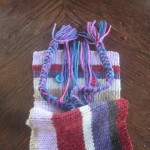
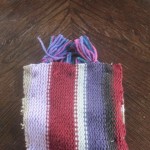
 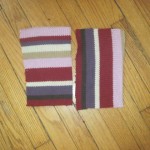 goodwill and I think I paid about$2 for it. It is a child’s sweater, so I could not use the arms for the body of the doll – I had to use the body. Wash the sweater before using for any projects. I cut off the bottom ribbing, cut one side of the doll with the strips going vertical and the other side of doll with the stripes going horizontal. The measurement of the pieces is about 6″ x 9 1/2″.
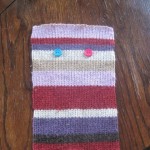 2. Taking two mis-matched buttons, sew on for the eyes. I also used different thread for each eye. If you are making this for a
 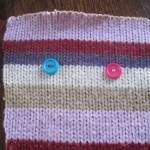 child under three (3) do not use buttons for the eyes – they are a choking hazard – please refer to the monster doll post from November 29, 2011 (http://simplyrurban.com/?p=1504)
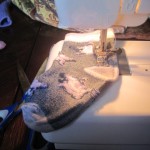 3. I found some mismatched socks in Stella’s sock drawer and I sewed them, following the shape of the sock. This was to make them a little narrower. Sew, trim seam, turn right side out and stuff.
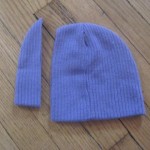
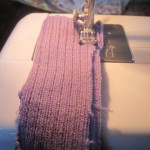
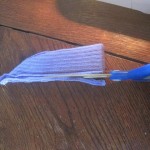
4. Using the hat – I cut two arms. Sew up the seams, trim seams, turn right side out and stuff.
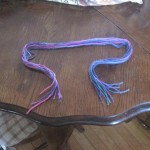 5. I wanted this doll to have braided hair. Using multi-colored
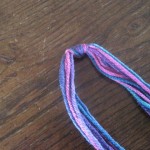
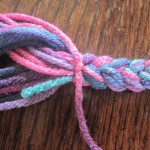
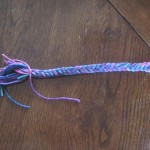
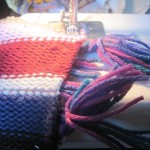
 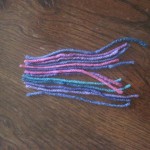 yarn I cut 24 pieces and divided in half. Taking 12 strand, fold in half and tie a knot, making sure to keep the yarn the same length on each side. Divide into 3 sections, braid and tie off at the end. I also wanted some bangs – cut some yarn strands – as many as you want.
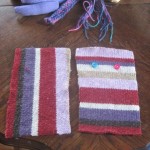 6. Putting the doll together – take the sweater pieces and face right sides together and pin. You will need to leave a spot open to turn right side out and to stuff – I usually do this on the side where I will be sewing on an arm. Open up the top of the doll and place the braids and bangs where you want them – pin back. I place the tied part of the braid at the top, it is not as thick as the knotted side and easier to sew. Sew around the sides, making sure not to sew the “hair” into any other seams, trim seams and turn right side out – stuff.
7. Fill the doll with some stuffing – not too much and then sew up the opening.
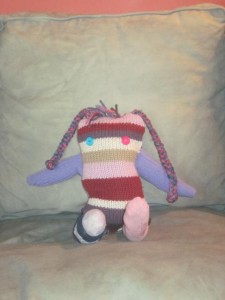
8. Sew up the ends of the legs and arms and then sew onto the body of the doll. Your monster doll is now done – or name it whatever you would like. I chose to keep the knot on the end of the braid, but you could cut and then tie the end and leave some fringe.
This one is a keeper and she sits on our couch – Stella named her Kristina!
 Copyright secured by Digiprove © 2012
 Follow


Quite adorable and so creative!! Like the name, Monstor Doll.
Too cute!
Pamela-Very Cute. You have the best ideas or know where to find them!
Va.
I get many of my ideas from seeing other things and then re-creating them with a little Pamela twist. Other things come from wanting something and not being able to find what I want – so to the drawing board. I also get ideas sent to me and emailed and others that ask me, hey I want something like this can you do it.