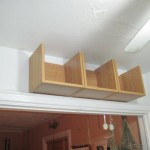
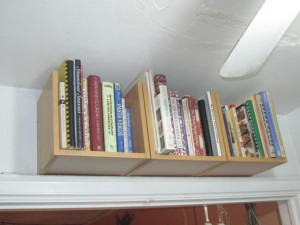
My home was built around 1930 and there is very little storage and closets. My kitchen is especially small. For Christmas, Santa brought me some cooking dishes and I also was the happy recipient of some other cooking items, but for the past several weeks the items have been sitting in the boxes on the floor of my kitchen, being moved around to get into 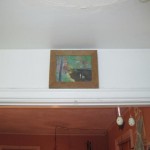 cabinets. I have racked my brain, trying to figure out how to make more space. Looking around the kitchen – I noticed that above the entrance was a nice size of open wall – perfect for some shelves. I figured that in one of my hutches the whole bottom shelf, plus some more is filled with cookbooks – if I moved the cookbooks to the shelves I would have space for all my new kitchen gadgets! I went to ebay looking for a shelf made from old wood, a week went by and then another week – and I had yet to find what I was looking for… then I realized that I had some shelving in the basement, leftover from some shelves that I hung in my living room. Now this is not old wood, but I figured I was not going to use them for anything else, so why not, they had been sitting in the basement for 2 years.
Off to the basement I went, back to the kitchen for some measuring and then to get my drill out of the closet and some screws. Now I am not a builder, so I designed these shelves so they were easy to put together and pretty much mistake proof. Holes were drilled, screws screwed in, cookbooks taken out and placed and YES – there is enough room for everything, with a little space left over!!!!!
Shelf Cubbies
Items Needed
Wood
Drill
Screws
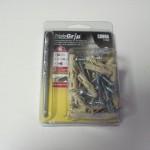
Wall anchors
A friend to help hang them!
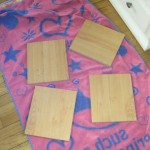
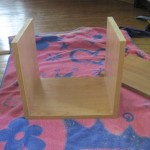
1. Using 4 pieces of wood
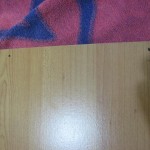
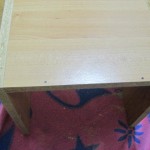
2. Mark where you want the screws
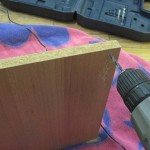
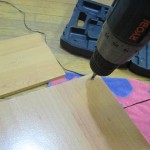
3. Drill the holes
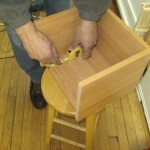
4. Attach the sides to the bottom piece with screws. I used two screws for each piece of wood.
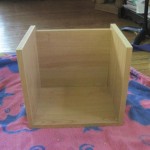
4. Then do the same for the back piece, marks, drill, screw – done. I used two screws for the back piece.
5. Now that the shelves are done (I made three). I measured the wall space and marked where to hang each shelf.
6. Measure and mark where you want the screws to go on the back of the shelf. Drill two holes in to the back of each shelf.
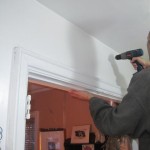
7. Hold the shelf up to the wall and drill marks for where you need to place the anchors.
8. Drill the holes in the wall and then using a hammer, hammer the anchors in.
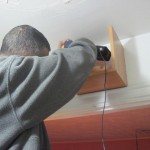
9. Screw the shelf into the anchor in the wall.
10. The shelves are all hung, thanks to the help of a neighbor. It was a little too hard for one person to do alone.
5. Add cookbooks, I left the ones I use more often in easy reach in the hutch….
Now admire your work!
 Copyright secured by Digiprove © 2012
 Follow


That is so impressive and so attractive!! You need to send that in to a building show!! Nice work.
Thank you – not sure what show to send to – maybe the Nate show.
Very cool and resourceful!
Thank you!
I enjoy reading your info when I get a chance. The shelves are great!
Glad you can read occasionally – thank you!