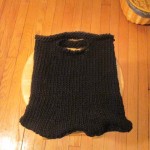
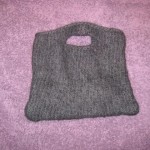
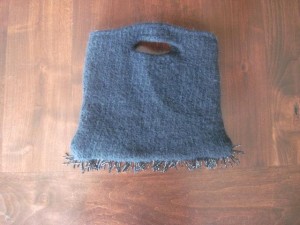
I used to have the perfect little black beaded bag that I would use for those occasional dress up events, but the last time that I needed it I could not find it anywhere. Maybe in one of my cleaning frenzies I put it in the goodwill bag or maybe I lent it to someone and never got it back, but I needed another one. I decided that I would make my own this time instead of buying one. I found a great knitted purse pattern that could be felted – so I was on my way – added some beaded fringe and I had my little, black bag.
Felted, Knitted Black Purse
Items Needed
1 skein bulky wool yarn (I used black, but you could use whatever color you wanted)
Size US13 circular needles (24″)
Darning needle
Beads
Pillow case
Approximate size before felting: 13″ wide and 10″ tall
After felting: 10″ wide and 7.5″ tall
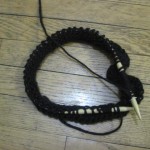 1. Cast on 60 stitches – join into a round, being careful not to twist.
2. Knit 6 rounds
3. Next round: *K9, K2tog, repeat from * to last 13 stitches, K11, K2tog
5. Next round: *K8, K2tog, repeat from * to last 12 stitches, K10, K2tog (56 stitches)
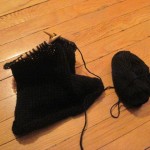
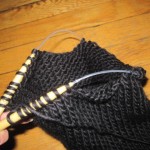
6. Knit even until piece measures 9.5″
Handles
Use the backward loop method to cast on where necessary (http://www.youtube.com/watch?v=HJdBdf2jaWo)
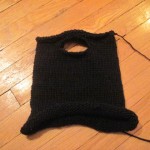
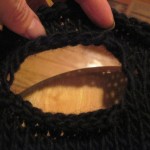
Round 1: K9, bind off 10, K18, bind off 10, K9
Round 2: K8, cast on 10,k18, cast on 10, K10
Knit 6 rounds and bind off and weave in end.
Assembling the bag:
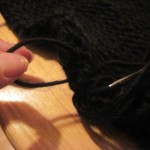
With the right sides together, sew the bottom of the seam with an overcast stitch. Stitch the seam twice, Weave in the ends.
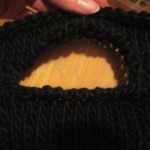
For the handles – I chose to sew around the handles to reinforce.
Felting the Bag
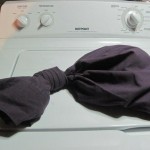
1. Place the purse inside a pillow case and knot closed.
2. Set the washing machine to the lowest water level, longest washing cycle and hottest temperature.
3. Add a tiny bit of liquid soap and add the pillow case and a pair of jeans to the wash.
4. Check the purse frequently – once it is felted to your liking take it out, rinse in cold water, place in-between a towel and press to get excess water out.
5. Shape the bag and let dry.
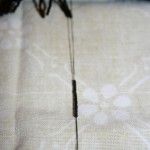
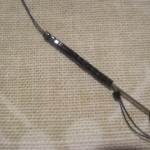
You can be done here or you can add some flare to the purse. I chose to do some beaded fringe along the bottom edge. Fringing is not hard to do.
Beaded Fringe
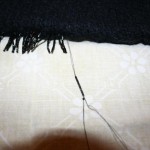
1. Thread needle with same color yarn as beads – I double the thread, but you do not have to.
2. Place as many beads as you want on the thread, that will determine the length of the fringe. (I did between 14 & 17 beads per fringe)
3. Now go back through all the beads but the last one that you put on the thread, pull tight, stitch into bag, having the needle come out close to where the other fringe ended and repeat. I did not count how many beads I put on each fringe – I wanted them to be uneven, Fringe the whole bottom.
You could also decide to do some beading on the purse itself – I may do that at a later date, but I think the fringe is enough for me at this point.
Now get dressed up and go out on the town with your significant other or your girlfriends!
 Copyright secured by Digiprove © 2012
 Follow




Wow. You make it all look so easy. Purse is great. : )
Thank you!