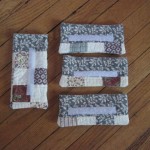
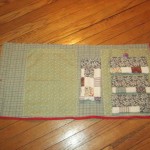
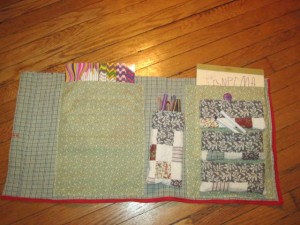
For Christmas Stella was the happy recipient of markers, sparkly markers, coloring book (optical illusions) and art book. She loves to draw and when she does, she carries around her notebook/drawing book, a box of markers, box of colored pencils, etc – and she more often than not drops one or all and then it is pick up time. I decided I would make her a carrier that would hold 2 drawing books and lots of coloring utensils. Remember the quilt that Bernie put holes in and that I made my knitting needle holder out of? Well that is what I used to make the notebook and pens carrier.
Cloth Notebooks and Coloring Utensil Carrier
Items Needed
Scrap materials (one heavier weight and the other regular weight)
Velcros
Buttons
Pony tail holders
Bias tape
Sewing machine
Needle and thread
I was very lucky and received a surger as a Christmas gift – I was going to use it on this project, but decided not everyone has a surger, and since it was a small area that I was going to use it on – figured to use bias tape instead.
1. Using the heavier weight fabric, cut one (1) 31″ x 15″ piece (main piece of project), three (3) 16″ x 3 3/4″ and one (1) 9″ x 8 1/2″ piece (these are the coloring utensil pockets).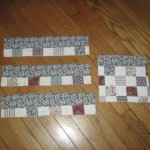
2. Using the lighter weight fabric cut two (2) 14 1/4″ x 10 3/4″ pieces (the notebook pockets)
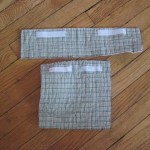 3. Taking the coloring utensil pockets – fold them over to make pouches – 3 will be 8″ x 3 3/4″ and the other one will be 4 1/2″ x 8
 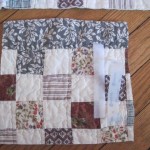 1/2″. These will be sealed with velcro and will attach to the carrier with velcro. I do not have measurements for the velcro – I cut what I thought was adequate for each pouch (inside and out).
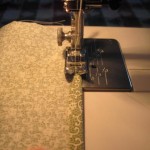
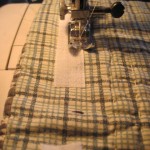 4. Sew the velcro on the inside of the pouch and the piece on the outside. I chose to put the softer velcro piece on the outside of the pouch – I figured this was going to be carried around and the soft velcro does not seem to pick up as much “stuff” as the rough velcro piece.
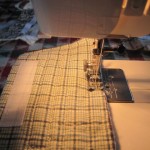
5. Place right sides together, sew the pouches together, trim seams and turn right side out.
6. Taking the notebook pockets, fold over the edge (about 1/4″) on both sides and bottom, sew. The top you will fold over twice to make a nice finished edge.
7. On the inside top of one of the notebook pockets, sew a velcro strip on. On the other sew a button on the outside of the top. I chose to it this way, so that one pocket could take a larger drawing pad.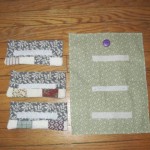
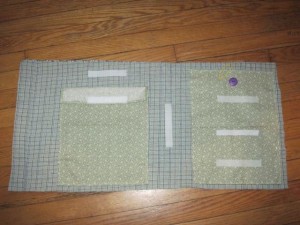
8. On the notebook pocket with the button – you need to sew the other velcro strips – this is where the pouches will attach. I laid it out by placing the pouches on and determine their location that way. Then you will sew the velcro pieces on.
9. Now it is time to lay the inside of the carrier out. Place the button notebook pocket close to the right edge, but do not line it up to the bottom. Place the other notebook pocket about 5″ to the left of the other pocket – pin them on.
10. Remember we still have another pouch – this pouch will go in-between the two notebook pockets – place in the center – then pin the other velcro strip to the inside of the carrier.
11. Take the other half of the Velcro for the notebook pocket – pin that on to the inside of the carrier.
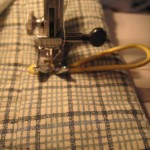
12. Take a pony tail holder and pin inside the notebook pocket with button – pinning to the carrier.
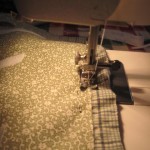
13. Sew all for the inside of the carrier.
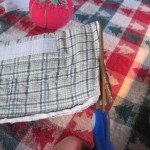
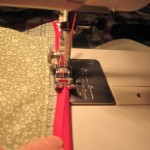
14. Taking your bias – sew around the rough edges of your carrier – I only had 2 rough edges.
15. You are almost done. Taking the other pony tail holder, sew to the middle of the inside of the left side.
16. I waited until I had loaded up the carrier before I determined where the button would be on the back of the carrier, but that was my choice.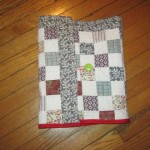
17. Insert all your items into the carrier!
 Copyright secured by Digiprove © 2012
 Follow
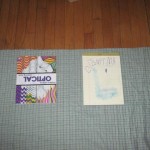
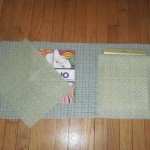


Very clever and very cool!!
Thank you – Stella is really enjoying it, it came in handy when she was playing teacher!