It is mid December and there is no snow on the ground nor in the forecast – I guess we are getting a break since we had 10″ in October. I wanted a snowman for the holiday decorations and since there is no snow outside I had to improvise. Stella practicing her guitar and me needle felting – perfect way to pass some time.
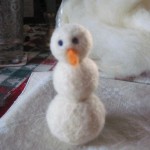
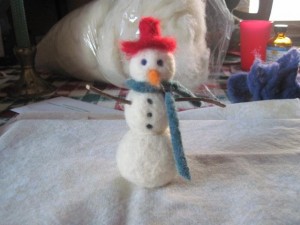
Needle Felted Snowman
Items Needed
Wool roving (white, black, blue, red, orange)
2 small twigs
Bell (optional)
Felting needle
Felting pad
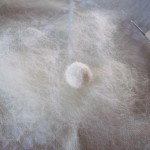
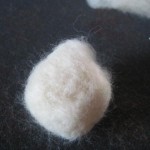
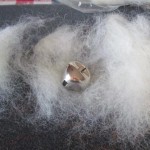 1. Taking a bell (which I thought I would put in each ball – only did it in one!) wrap some white/natural wool roving around and start needle felting. You want the ball to be firm. You will keep wrapping roving around the ball, using your needle to felt it – keeping in a ball, wrap, felt, wrap felt – until it is size you want. It was hard to felt with the bell inside and I broke a needle – I had to angle the needle different ways and it really added to the time.
2. Make the middle and head balls – same way as above.
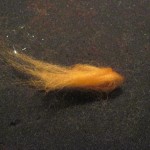
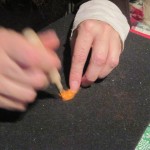
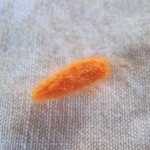
3. To make the nose – take a small amount of orange wool roving – form it the best you can into the shape of a carrot nose and start felting – turning the nose as you go.
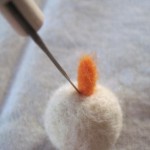
4. Taking the smaller ball (head) place the nose in the center of the ball (face). Taking your needle you are going to connect the nose to the ball by needling around the nose, pushing down into the ball – this is connecting the fibers together.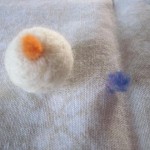
5. For the eyes and buttons – take a small amount of roving (I used blue for the eyes and black for the buttons) and using the needle poke it into the ball. I opted to do the buttons after I put the bodies together – but it does not matter.
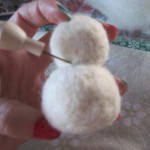
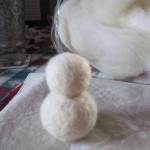
6. Now to connect the balls. I first flatten the bottom of each ball, some – not a lot. I did this by needling the area. You want to make sure that your snowman will stand up and not fall over and by flattening the bottom of other balls it is easier to join. You will join the balls together the same way that you did the nose.
7. I made the hat free form. Using the same method as for the nose – I first made the top 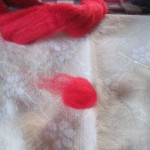 part of the hat. Once the top was done – I had some more roving on the bottom and needled it in a circle then attached the the top part. Once you are done with your hat you will join it to the head same as the nose and balls were done.
8. Using a scrap piece of a felted sweater I cut a scarf out and attached around the neck of the snowman.
9. Next – add the arms. I took my twigs and then just pushed and turned where I wanted them on the body.
 Copyright secured by Digiprove © 2011
 Follow


What an adorable snowman!! : )
Very Cute!!!
Va.