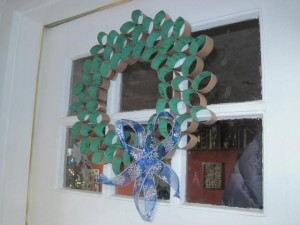
Some toilet paper manufacturers have finally gotten smart and taken the cardboard tube out, unfortunately I have not found that at my store with the brands that have post consumer paper. What to do with the cardboard tubes. When Stella was in preschool they made projects out of them and then I have a friend that runs a preschool and I will give them to her, but now we mostly recycle them. About a year ago I came across a blog that was craft oriented and while perusing the older posts I came across a wreath made of toilet paper tubes – I thought I need to do that – so I started saving our tubes. So now the holidays are upon us and I wanted to make the wreath, but I could not find the blog. I know some of you are saying why didn’t you bookmark it – well I did, but my motherboard went on my computer and I had to get a new one about 6 months ago – so many things were lost. I went a-searching on the world wide web, and still could not find the wreath, but I found some other ones that were really interesting – one using the tubes to make a flower wreath – love it! Check it out – http://www.sisteroo.com/2011/07/diy-toilet-paper-roll-summer-wreath.html . Taking ideas from a couple different wreaths I did find – here is what I came up with.
Toilet Paper Tube Christmas Wreath
Items Needed
Cardboard toilet/paper towel rolls (at least 10)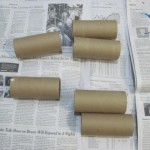
Paint (I used green)
Paint brush
Glue gun or glue and paper clips
Ribbon
Ruler
Pencil
Scissors
Newspaper or drop cloth
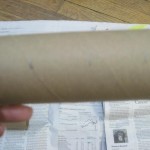
1. Taking a cardboard tube and ruler draw your cutting lines. I made my cuts every 1 1/4″ – giving me three rings to use on the wreath and a small ring – that I saved for later.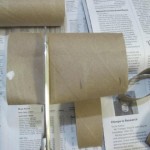
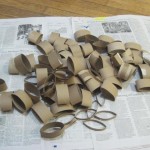
2. Press/flatten the tube and cut, keep doing this until all tubes are cut.
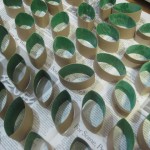
3. If you are going to paint any part of the tubes, this would be when. I decided to paint the inside of my tubes green. I wanted to leave part of the cardboard showing. I just used some of Stella’s poster paint and then let them dry over night.
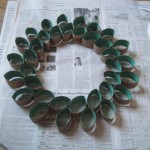
4. If you are going to be doing this with a child, I would suggest using regular glue and 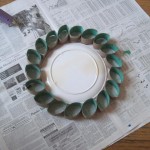 paperclips, but since Stella was working on another craft item and did not want to help – I used the glue gun. Place a plate (face down) in the center of your work area. The size of the plate will determine the size of your wreath – I used a dessert size plate. Lay out your first ring of tubes in a design of your choosing. Glue this ring together.
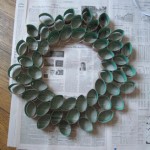
5. Keep adding rings until either you are out of cardboard rings or the wreath is the size that you want.
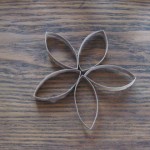
6. With the small cardboard rings that you have you can be creative and design some fun things – one being a flower. I have not decided what I am going to use the flowers for – maybe on some gifts.
7. Place a bow on your wreath and hang on your door!
 Copyright secured by Digiprove © 2011
 Follow


Wow!! I love it! Great job and great job of showing us how. : )
Thank you. This was so much fun to make and to see something so beautiful out of something we toss or recycle! Already thinking of other crafts I can do with Stella once we accumulate more!
Watch out Martha Stewart-Here comes Pamela!!!!
Va.
You have many hidden talents my dear…keep them coming. This is beautiful!