A couple of Mother Day’s ago I purchased a couple of felted soaps for gifts from one of our local shops – Whimsies. I love Whimsies, the store supports local artists, fair trade and co-op craft organizations. After purchasing the soaps I started researching and trying to figure out how to felt soap – I could not find too much out there, which was disappointing. This summer, one of Stella’s friends was doing camp at Stone Barns and he showed me that he had felted soap – I told him he had to come over and show me how to do it. I went off to the the local craft store and bought an assortment of felt, when Mateo came over for my lesson on soap felting – he told me I had purchased the wrong kind of felt – that I needed wool. Now I knew why I could not find directions on how to do this – I was looking for the wrong material. So then it was off to the web to search for a supplier and to find tutorials on how to do it. I found 2 great suppliers: www.livingfelt.com and www.weirdollsandcrafts.com . I ordered some wool and Mateo and I waited for the package to come – the day it came he was over to show me and to make some felted soap. After getting my tutorial from Mateo I was a little confused, so we both went to the computer and watched on how to felt soap – I think this is a good one: http://www.youtube.com/watch?v=9eH46r94yEw.
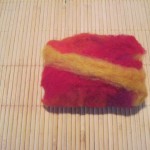
Our first attempt at felting soap, was good, but not what I was envisioning in the coverage 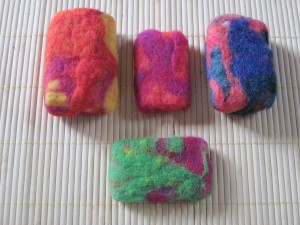 of the soap.
I was off to the library, where they had to get felting books sent from other branches. I read about the history of felting, different methods of felting and was intrigued and wanted to try more, especially needle felting.
It was off for more soap and back to the sink!
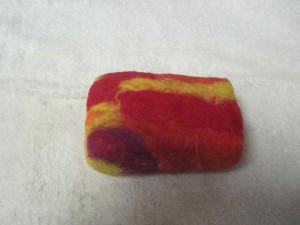
I found this way very successful and experimented with not just 2 colors, but several and different ways of wrapping the roving around the soap. This way is also easier for the kids to do because in the beginning the roving stays put.
Felting Soap
1. Get some bars of soap, preferably natural soap and either square or rectangular on the smaller side to start with – easier to handle and learn.
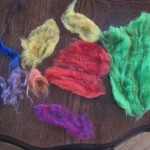
2. Pick out 2 colors (you can do more once you have the method down). The roving or wool comes in many colors – once you decide on what colors you want – firmly grab the roving and pull a piece out. If it not long enough you can always place more on top of the first piece.
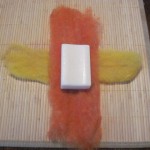 3. Lay the roving out, one color north to south and the other color
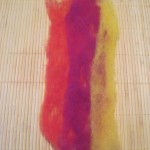 east to west. The fibers needs to cross in order to lock and felt.
4. Wrap the felt – I like to have the ends for the different colors happen on opposite sides of the soap – so the completed project is more balanced in the coverage.
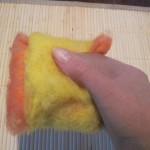 5. Place you hand inside of a pantyhose (knee highs work well)
 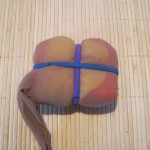 and the then grab the wrapped soap and pull the pantyhose over the soap, then place pony holders around the soap.
6. Fill the sink with hot water – I usually also add a pot of boiled water – do it to a temperature that you can stand putting her hands into. Place a towel on the counter next to the sink.
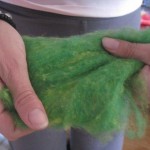
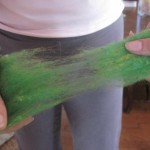
7. Dip the soap into the water and push the water through – making sure that the whole thing is thoroughly wet – then start rubbing. Just like you were in the shower roll the soap 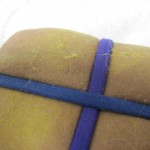 around in your hands – in all directions – you want to make sure the the fibers start connecting. If it gets too soapy, just rinse in the sink water. Once you see the fibers coming through the pantyhose – take the pony holders off and the panty hose and then keep rubbing the wool – you can now really rub it and make sure where the wool over laps that the fibers have interlocked – you can check by pulling a little on the wool.
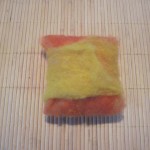
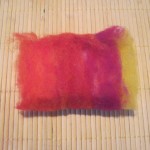
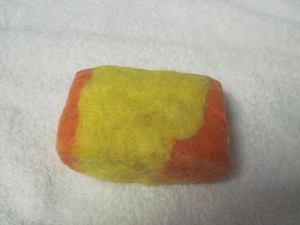 8. Once the wool roving has felted, rinse the soap under cold water, squeezing the water and air out. Place the soap on the towel and roll up in the towel getting even more of the water out. Shape it and let dry. It will take at least a day or more for it to dry – I flip the soap a couple of times to make sure it is drying out everywhere.
9. You can now use in the shower or tub – once the soap is used up, you slit open the felted skin, insert another bar of soap, sew up and use again.
I am going to try a couple other ideas for felting soap that I have been thinking about – I want to include knitting and needle felting, which most on that when I have completed the projects.
 Copyright secured by Digiprove © 2011
 Follow


So cool…..I am impressed. Xo
They are so easy and work really well.