The kids lately have been using socks on their hands as puppets. These socks are nothing more than the socks off their feet, placed over their hands – they then run around chasing each other with their sock puppets. We have a sock puppet book – but as of yet have not made any. With Halloween around the corner, I remembered last winter that I had bookmarked a sock skeleton “how-to” from Martha Stewart’s website.
Sock Skeleton (Thanks to Martha Stewart)
Items Needed
One pair of white crew or athletic socks (or other socks of your choice)
Ruler and fabric pencil
Sewing machine
White thread
Scissors
Stuffing
Sewing needle and embroidery needle
Black embroidery floss
Straight pins
Pencil or knitting needle for stuffing arms and legs
2 black four-hole coat buttons approximately 3/4 and 5/8 inch
2 white four-hole shirt buttons approximately 7/16 and 1/2 inch
Template for cutting out skeleton
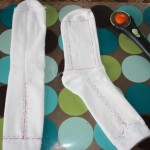
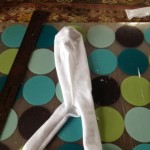
1. Turn both socks inside out and follow the template for marking, using your ruler and fabric pencil.
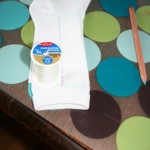
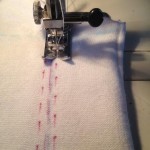
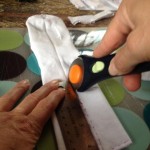
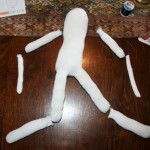
2. Sew the legs on both sock #1 & #2, following the lines drawn (to make even curves use a spool of thread to outline while drawing). After sewing, cut along the cut lines.
3. Cut out the other part of the sock #2.
4. Sew the 4 arm pieces.
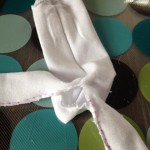
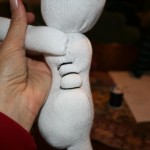
5. Turn sock #1 right side out – this is done through the opening between the legs.
6. Stuff the body and then the legs. A great way to stuff the legs and arms – start to turn the right side out, but not all the way, using a chop stick or pencil – wrap some stuffing around the pencil – stick pencil in the arm/leg, along with the stuffing and fill as you turn right side out. (Not sure if that made sense, but if you go to the Martha Stewart link and click on the video they show it nicely.)
7. With a needle and thread sew the hole closed on sock #1.
8. Stuff and sew closed the other leg sections and arm sections.
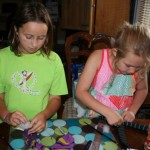
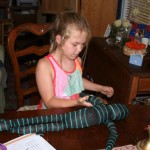
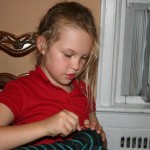
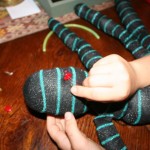
9. Sew the bottom part of the legs on and then do the same for the arms. The kids had to take a break from sewing here.
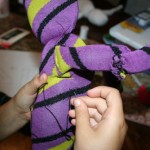
10. Taking some black embroidery thread – tie the head or choke your skeleton. Pull it tight and tie in a knot or two.
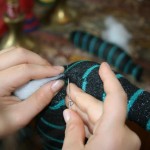
11. Now it is time for the ribs and mouth. Take black embroidery thread, make it long and knot the end. Starting just under the arm – go in through the back and out the front, wrap the thread around side of body, back in through the same point in the back and out the same spot in the front – pull the thread – do this 2 – 3 times per rib. On the last time for one rib – go in through the back and then out through the next front spot. I marked the three rib spots in the front, making the ribs a little bigger each one down. When done, knot in the back. Repeat on the other side.
12. The mouth is done the same way. Go in one side of the mouth out the other side, pull and repeat 2 – 3 times, knot off.
12. For the eyes – double up the buttons – black on bottom, white on top. Sew on face. I chose to do them a little uneven.
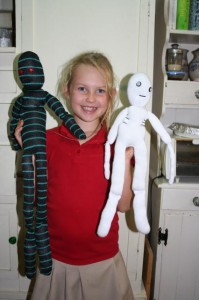
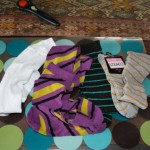
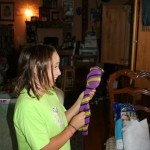
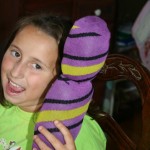
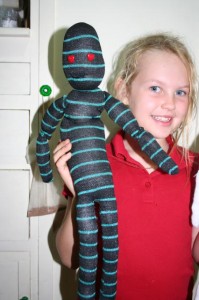
The girls decided that the white socks we had weren’t big enough, so we went to the clothing store down the street so they could pick out their own knee socks to use. Once they started stuffing they thought, out loud, that they should have used the white socks – since it was a lot more work for the larger one!
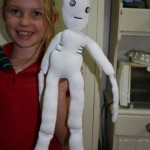
This project took longer than I thought it would – mainly because of all the hand sewing. I did all the machine sewing and helped with some of the attaching hand sewing. They were a fun project, Bella learned how to hand sew and Stella got to practice. They of course wanted them “perfect” like the picture, which they never are! The best part was when they thought they had messed up or made a mistake – showing them how most “mis-takes” can be “re-taken” or fixed where only you know that there is a small imperfection – which makes it even more unique!
 Copyright secured by Digiprove © 2012
 Follow



What fun. Love the photo of Stella laughing. These sock dolls are great and what potential for all kinds of dolls. This post definitely brought a grin to my face.
Love it. Looks like a great project. Gotta love that Martha Stewart! Stella is too cute !