Halloween is just around the corner and talk of a costume has begun. Stella decided a long time ago what she was going to be this year, that will be kept secret unless you remember the post that she already made something for her costume! She wants to make her costume again this year, but I was told that I will have to buy her a black wig!
Halloween is a huge deal with us being next door to Sleepy Hollow. We already have our pumpkin, but I had to bring it in to the alcove since the animals already started to nibble on it!
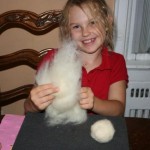
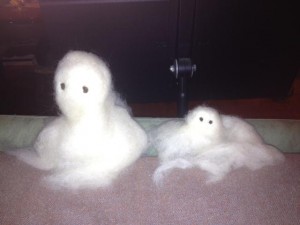
We have a couple of really fun projects for Halloween planned, but decided to start with a felted ghosts since Stella is learning the techniques of needle felting.
Felted Ghosts (thanks to Ancient Hearth)
Items Needed
White wool roving or wool stuffing
Black wool roving
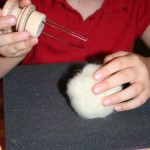
Felting needle
Felting pad
Black thread
Styrofoam ball (optional)
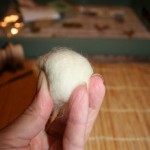
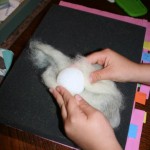
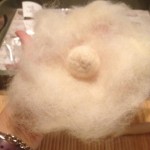
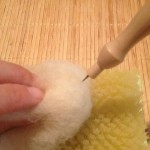
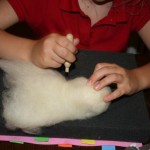
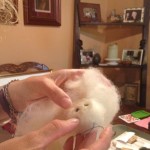
1a. To begin you have to take some wool roving and roll into a ball, tucking the sides in as you go. Once you have made the ball – you will need to needle felt it until it is fairly firm.
1b.Since this is perfect for pricking fingers and I had found some styrofoam balls in the closet – I decided to let Stella cover the ball with wool roving and needle felt that – easier to hold and practice her technique with less of a chance for pricking her fingers. If you have needle felted and pricked your finger – you know how painful it is! And, yes she did prick her finger and, yes, it hurt.
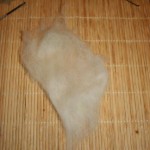
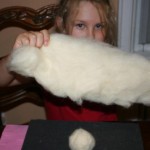
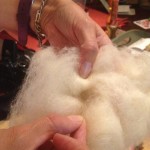
2. Pull a piece of wool out from the bigger bundle of roving.
3. Take the piece of roving and place the ball in the center of the piece. Wrap the piece around the ball and give it a couple of good pokes with the needle – this is to connect the ball to the piece of roving.
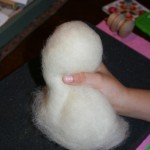
4. Arrange the piece of roving so it looks flowey and ghostly and then using your needle – felt the roving to stay that way. You want this to be whispery looking! (Don’t you love my new words?!)
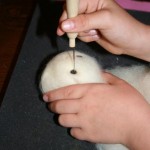
5. Taking some black roving (we couldn’t find our black, we may need more), small pieces, to make the eyes. Roll into a small ball and then using your needle poke them into your ghost.
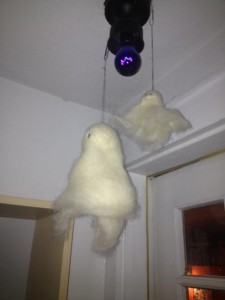
6. If you want to hang your ghost(s). Take a needle and thread (double threaded), go up from under the ghost head through the top and then back down to create a loop – tie and hang.
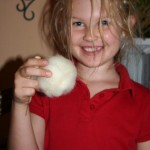
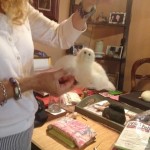
These were fun to make and could be done in an evening or afternoon. Put on some haunting music and set the mood! Stella enjoyed herself and loved it when we hung the ghosts under the purple light – she even had to walk outside and pretend she was coming in – to scare herself! The best part for me was to sit across from my daughter as we both needle felted – it was very bonding for me.
 Copyright secured by Digiprove © 2012
 Follow
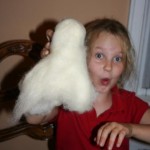


Stella is a wonderful model. She is coming into her own, and I love her expressions. Cool ghosts. xxox
She is so cute and so are the ghosts. Love ’em
Stella,, a nice job..so cute you are and I wish to see all decoration with ghosts for Halloween… Wish to be back for a while… You guys have a lot fun always.