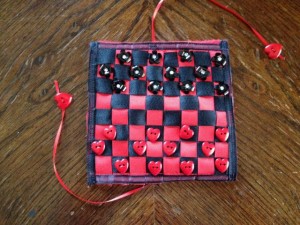
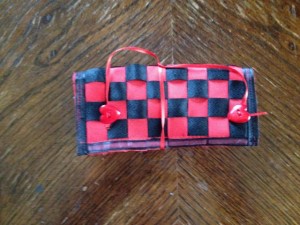
I remember as a little girl playing checkers with my great grandfather. Great way to spend some quality time and entertain a child. I came across this travel checker board in my 1970’s craft book and decided why not. As I was showing Stella the picture, she informed me that she did not know how to play checkers!! What kind of mom does not teach their child to play checkers?! ME – I could have sworn that I had played checkers with her, but I guess I must have dreamt it!
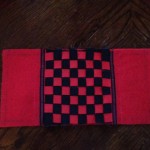
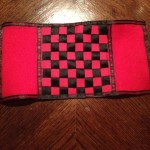
Travel Checker Board
Items Needed
6″x12″ piece of black or red felt
1 3/8 yards (5/8″ wide) black grosgrain ribbon
1 3/8 yards (5/8″ wide) red grosgrain ribbon
1 1/2 yards (3/8″ wide) black grosgrain ribbon (I could not find, so I got another black ribbon, same width)
10″ (1/8″ wide) black grosgrain ribbon
10″ (1/8″ wide) red grosgrain ribbon
Thread to match
Fabric pencil
Transparent tape
12 (1/2″) red buttons
12 (1/2″) black buttons
Extra buttons for ribbon ties and “just-in;case” you loose buttons
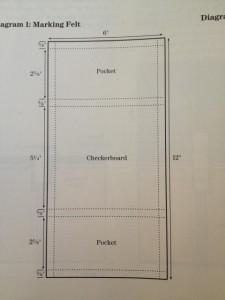
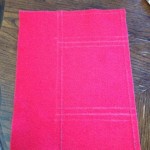
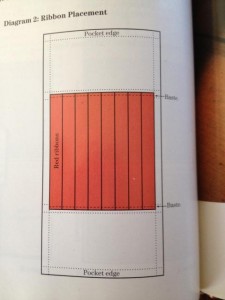
1. Mark your piece of felt according to the diagram. Don’t skip this step.
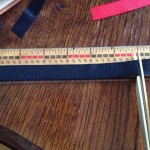
2. Cut 8 (5 3/4″ ) lengths each from the 5/8″ wide black and red ribbon, set aside.
3. From the 3/8″ wide black ribbon cut 4 (5 3/4″) lengths, set aside.
4. Cut your felt.
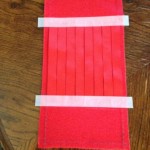
5. Referring to the diagram, position the 8 lengths of red ribbon on felt, securing the ends with tape. The ribbon edges must butt together so that no felt is showing through. Baste ribbons in place, 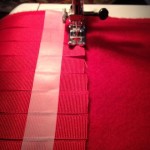 along width, remove tape.
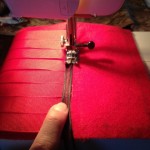
6. Place 1 length of the 3/8″ wide black ribbon on top of the basted ends of red ribbons, aligning black ribbon with marked lines on felt, machine stitch along both edges of the black ribbon.
7. Beginning at the top left corner, weave 1 length of 5/8″ wide black ribbon under and over red ribbons repeatedly. Continue weaving until all lengths of the 5/8″ wide black ribbon are used, butting long edges closely together and securing cut ends with tape, baste ribbons in place along sides and bottom of checkerboard area; remove tape.
8. Place 1 length of 3/8″ wide black ribbon on bottom basted ends of red ribbon, machine stitch along each edge of black ribbon.
9. Machine stitch 1 length of 3/8″ wide black ribbon along each pocket edge of felt piece, refer to diagram above.
10. Cut 2 (13″) pieces from the 3/8″ wide black ribbon. Place 1 length along each long edge of felt, machine stitch along edges.
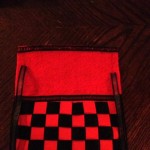
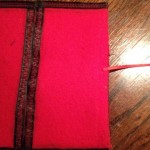
11. To make pockets, fold felt to back along ribbons at top and bottom of checkerboard. To secure pockets, top-stitch along each edge of ribbons surrounding checkerboard.
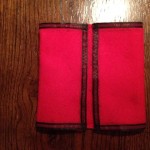
12. For ties, tack 1/8″ wide red ribbon to center of 1 side and tack 1/8″ wide black ribbon to the center of other side (I only had red ribbon in this size). If desired, tie matching color button to end of each ribbon.
13. Insert 12 red button in 1 pocket and 12 black buttons in the other pocket (I did 14 for each, bummer if one gets lost). Fold the checkerboard at center and tie ribbon in a bow or loose double knot.
 Copyright secured by Digiprove © 2012
 Follow


What a delightful project, and yes, great game for kids.
You are so darn talented. That is so cool. xox