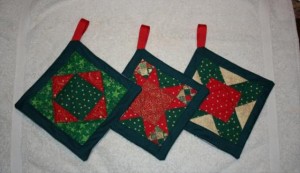
Pot holders are one of those items that I never buy. I am not sure how I have the ones that I do, maybe they were gifts, but I have had the ones that I have it seems forever. Whenever I go into a second hand store I always look at the books and about 3 years ago I came across a couple of crafting books – I think from the 70’s, looking at some of the pictures – but some of the crafts I really wanted to try my hand at. One of them being quilted pot holders. I love to quilt and have lots of scrap fabric and a collection of fat quarters – so I figured it was time to try them. The only thing I did not have was ironing board cover fabric, but that was easily acquired at the local fabric store, a little pricey, but not much is needed. I have found with patterns, after doing Stella’s quilt, that it is better to get a little extra than to wind up with not enough! After cutting out the material that I needed for the pot holders that I wanted to make I had some extra ironing board cover material so I made a set of Christmas pot holders – maybe for me or a gift – not sure – but I have time to decide.
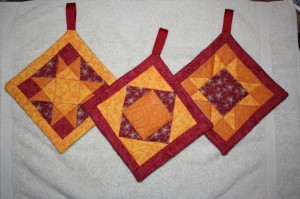
Quilted Pot Holders (to make 3, thanks to Best Selling Bazaar Patchwork)
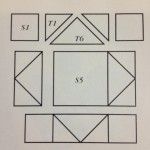
Items needed
Assortment of scrap cotton material
1/4 yard cotton batting
1/4 yard ironing board cover fabric (silver silicone coated)
1/2 yard of 3/8″ grosgrain ribbon
Thread to match
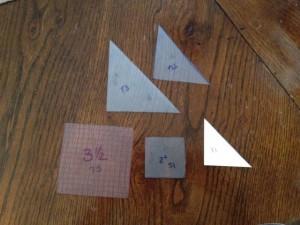
Template material or scrap card board
1. Cut your templates out.
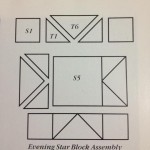
T1 – right triangle (side and bottom legs measure 2 1/4″, long side measures 3 1/4″
T3 – right triangle (side and bottom legs measure 4 7/8″, long side measures 5 1/4″)
T6 – right triangle (side and bottom legs measure 3″ and long side measures 4 1/4″)
S1 – square (all sides 2″)
S5 – square (all sides 3 1/2″)
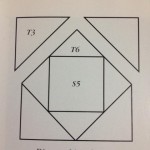
2. Cut your fabric out following the design patterns. In addition to the pattern pieces you will need to cut for each pot holder 2 strips 1 1/2″ x 6 1/2″ and 2 strips 1 1/2″ x 8 1/2″ (these are the border strips), (1) 8 1/2″ square of patting, (1) 8 1/2″ square of ironing board fabric and (1) 6″ strip of ribbon for hanger.
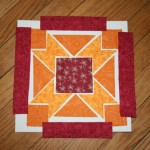
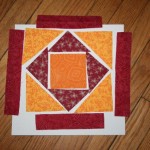
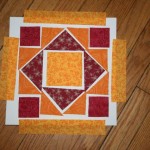
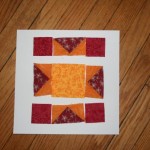
3. I like to lay the fabric out in the pattern, and even though I did that I still made 2 of the same, instead of 1 of each pattern – go figure! I flipped the rows when sewing together.
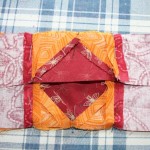
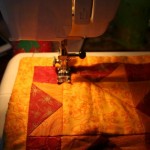
4. Sewing the pattern together. I make squares, if possible and then sew rows together. Pressing seams open as I go and trimming to make straight edges. Some people like to press their seams going towards the center – but I was taught open – so that is what I do.
5. With right sides facing, pin the 6 1/2″ strips to opposite sides of square and sew. Press seams and then sew the 8 1/2″ strips on the other sides – press seams.
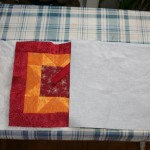
6. Assemble your pot holder by stacking the batting then the quilt pattern square (right side up) and the ironing board fabric (right side down).
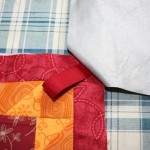
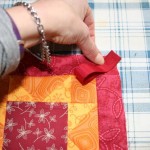
7. Place your ribbon in the corner that you want it, loop – with ends sticking out a little from edge of fabric – pin all pieces together.
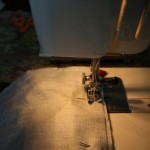 8. Sew the pot holder together, leaving an opening on the bottom
 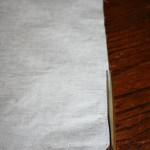 for turning. Trim corner and seams, turn right side out and press. Slip stitch opening closed.
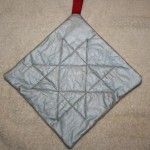
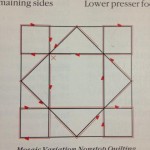
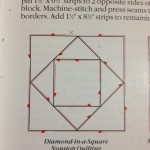
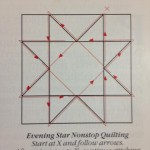
9. Using your sewing machine, quilt your pot holder. Follow the diagram below for each pattern. Start at the X and follow the arrows.
Go bake a dish so you can use your new pot holders!
 Copyright secured by Digiprove © 2012
 Follow



Great post. Really good directions and photos and beautiful pot holders. Thank you!!
I want some of those! fabulous