Stella is working on an art project at school and was in need of some brown yarn. I went through my yarn stash and did not find any brown yarn. She also needed some white, which I had – actually more than what she needed. Instead of going out and buying a skein of brown yarn – we decided we would try and dye our own using coffee. I am not a coffee drinker, but I keep some in the house for guest. I researched steps and found some on eHow and I had all the items – so off to the kitchen we went.
Dying Your Own Yarn Using Coffee
Items Needed
Wool yarn – I am not sure if the yarn I used was 100%, but we used it anyway
Coffee
Water
Vinegar
Wool soap or gently soap (I used castille)
Glass bowl
Large pot
Coat hanger
Spoon or spatula
1. Measure out the amount of yarn you need or want to dye.
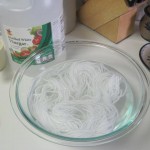 2. Fill a bowl with warm water so that the water covers the yarn add 1/2 cup of vinegar. Let it soak for at least 30 minutes.
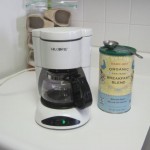
3. Make a pot of coffee – you can use day old. The stronger the coffee the browner the yarn will be.
4. Pour the coffee into a large heavy bottom pot to cool a bit. Add 1/2 cup of vinegar into the coffee.
5. After 30 minutes, gently wring out some of the water from the yarn – you don’t need to get all the water out. Squeeze gently so that the yarn is not soaking.
6. Place the yarn in the pot of coffee and vinegar.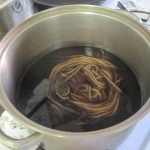
7. Turn the burner to medium heat. You don’t want the mixture to boil, but you do want it hot.
8. Simmer for 30 – 60 minutes, depending on how dark you want the yarn to be. Watch the yarn to make sure it is all covered with 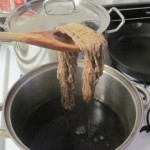 coffee. Stir the yarn, occasionally wit a spoon or spatula.
9. Once it has reached the color that you desire or slightly darker, remove from the heat and allow to cool.
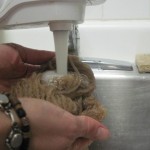 10. Once it is cool enough to handle, rinse the yarn with water that is the same temperature as the dye water, you don’t want to shock the yarn.
11. Fill the sink and add a small amount of soap. Again, the water should be the same temperature as the yarn.
12. Rinse all the soap from the yarn until the water runs clear, again, using the same temperature water.
13. Gently ring the yarn to remove excess water.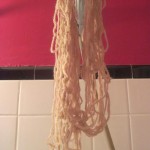
14. Wrap the yarn on a hanger and hang in the shower to drip dry. The yarn may take a couple of days to dry.
Once the yarn is dry it is ready to use.
Stella’s mask is done, but they have not sent them home – when they do I will update this post with the picture of her mask with the hand dyed yarn!
 Copyright secured by Digiprove © 2012
 Follow



You make everything so doable! I think that’s why this post is so good. Will be fun to see the mask.
As soon as the mask comes home – I will update this post with a picture of it. I can’t wait to see it! We had a good time doing this and Stella was surprised that coffee would dye the yarn – so it became a project inside of a project.